How to waterproof outdoor coax connections comes down to four things: mate and torque the connector, smear dielectric grease over the threads, wrap self-amalgamating tape stretched to twice its width, then finish with UV-rated vinyl tape. Do those four in that order and a mast-mounted joint typically outlives the antenna hardware around it.
The failure mode is boring and slow. Water enters the braid, corrodes the center conductor, and the antenna loses receive sensitivity quietly over a season until one day a distant station fades out. Nothing looks wrong from the ground. For ham radio, shortwave, TV, satellite and cellular booster installs, the seal is the cheapest reliability upgrade on the tower.
Here is the method I use, the material choices for different connectors, and the four mistakes that undo an otherwise decent job.
Table of Contents
- 1What You Need
- 2Connector and cable
- 3Sealing materials
- 4Tools and safety
- 5Weatherproofing methods compared
- 6Step-by-Step: How to Waterproof Outdoor Coax Connections
- 7Step 1: Inspect the joint before you touch it
- 8Step 2: Clean and dry both mating surfaces
- 9Step 3: Confirm the connector and sealing system match
- 10Step 4: Grease the threads and mate the connector
- 11Step 5: Fit strain relief and form a drip loop
- 12Step 6: Wrap the self-amalgamating tape, stretched
- 13Step 7: Add the UV layer, then cure and verify
- 14Common Mistakes
- 15Using indoor electrical tape on its own
- 16Wrapping without stretching
- 17Sealing a wet or corroded connector
- 18No drip loop, or a cable routed uphill into the connector
- 19Turning the antenna so weep holes point up
- 20Ignoring grounding and surge protection
- 21Frequently Asked Questions
- 22Can I use electrical tape to waterproof an outdoor coax connection?
- 23Should I put dielectric grease under the connector boot?
- 24Do I need to replace the connector if it has already gotten wet?
- 25What is the best waterproofing method for SO-239 or N-type connectors?
- 26How do I tell if an outdoor coax connection is leaking?
- 27Can self-amalgamating tape be used on every coax connector?
- 28Conclusion
What You Need
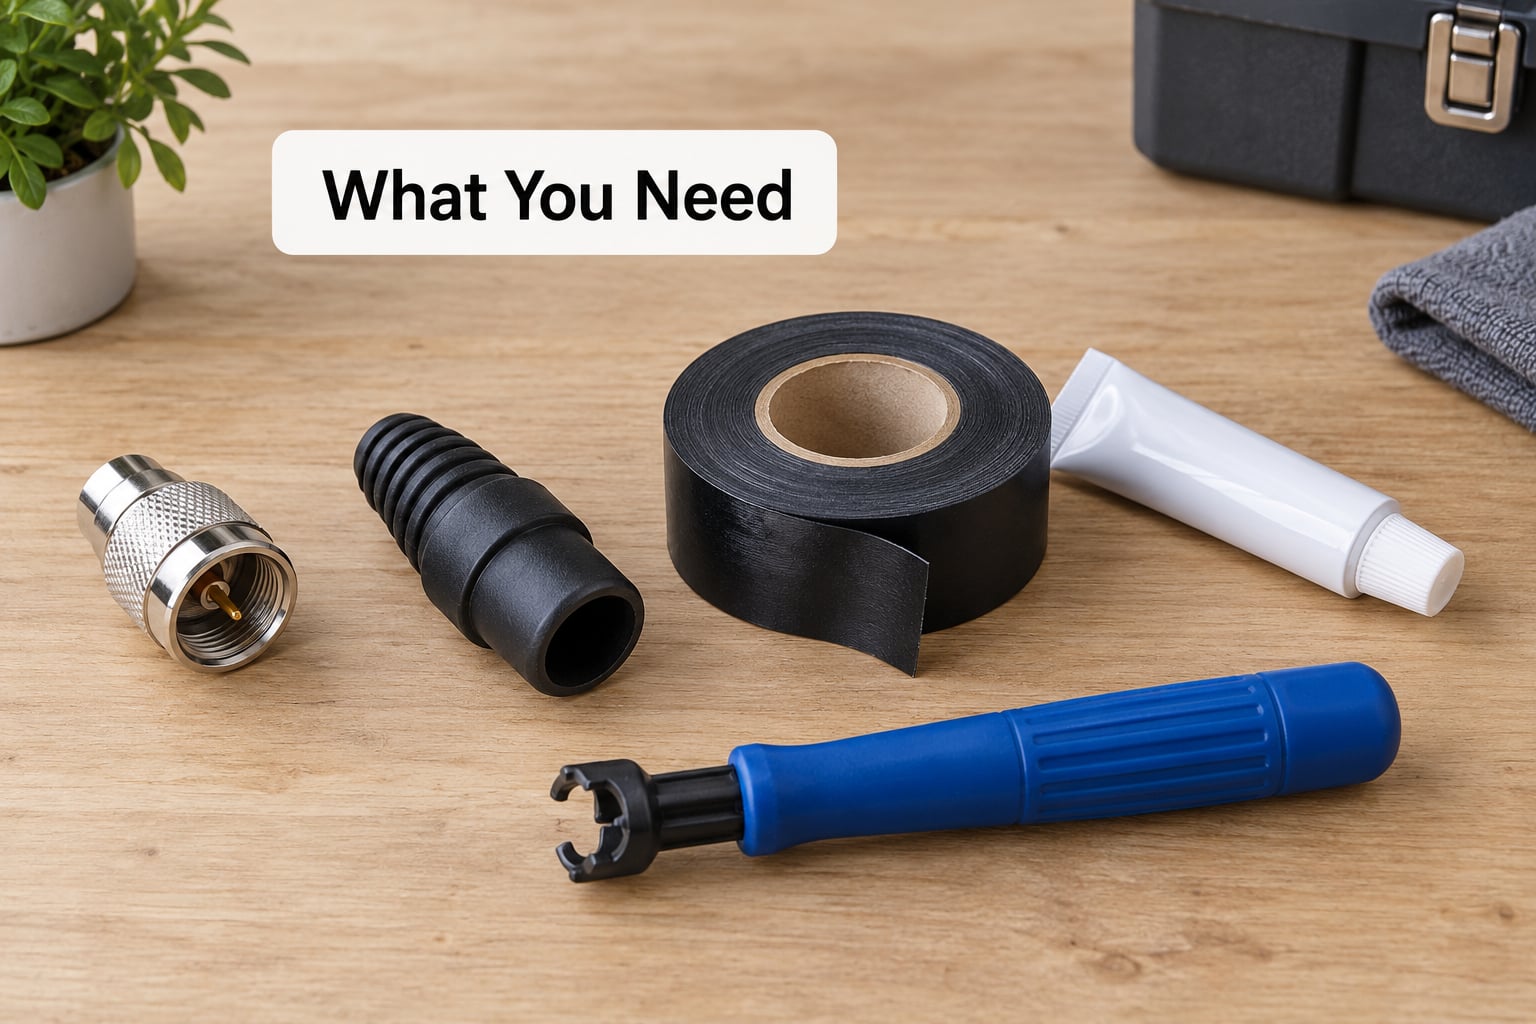
Match the materials to the connector and to how exposed the joint sits. A connector tucked under a soffit and one bolted to a rooftop mast do not need the same seal.
Connector and cable
- The connector type already on the cable: PL-259, SO-239, N-type, F-type, BNC, or a compression fitting.
- A mating half or barrel coupler if you are joining two cables.
- The cable jacket spec, LMR-400, RG-58, RG-213 or RG-6, since stiff jacket needs a wider strain relief than thin RG-6.
Sealing materials
- Self-amalgamating or vulcanizing tape, also sold as rubber splicing tape. This fuses to itself and is the base layer.
- UV-rated vinyl tape for the outer layer, such as Scotch Super 33+ or Super 88, or a 3M Temflex equivalent. Outdoor-grade tape only; indoor electrical tape goes brittle in weeks.
- Dielectric grease for threaded and mating surfaces, silicone grease for non-threaded seals and O-rings.
- Coax seal putty or mastic tape as a shapeable filler for large connectors and awkward geometry.
- A self-amalgamating heat-shrink tube or adhesive-lined heat shrink as an alternative to the outer tape layer.
Tools and safety
- Cable stripper or the prepared cable from the manufacturer, plus a connector crimp tool if you are terminating.
- Wrench sized for the connector, or a torque wrench if precision matters to you.
- Weatherproof connector boot or heatshrink sleeve in the connector diameter.
- Gloves, safety glasses for working aloft, and a stable ladder or lift. Anything above head height on a mast belongs to a person who does that work regularly.
Weatherproofing methods compared
| Method | Difficulty | Typical life | Best for | Weak point |
|---|---|---|---|---|
| Self-amalgamating tape plus UV overwrap | Easy | 10 years or more | Almost every outdoor coax joint | Nothing permanent; needs the first layer done right |
| Coax seal putty plus overwrap | Easy | Years, varies by climate | Large connectors, seals that move after fitting | Very sticky to cut through later |
| Weatherproof compression connector | Moderate | Years | F-type and N joints where you need to disconnect | Needs the right compression tool |
| Self-amalgamating or adhesive heat shrink | Moderate | Years | Straight cable runs, no service points | Must shrink fully, no air gaps |
| Enclosed junction box | Hard | Years | Multiple connections, wall penetrations, RV and marine installs | Cost and cable entry sealing |
| Silicone plus grease on an LNB or dish joint | Easy | Seasons | Protected positions and masthead amplifier ports | Poor UV life, so keep it shaded |
Step-by-Step: How to Waterproof Outdoor Coax Connections
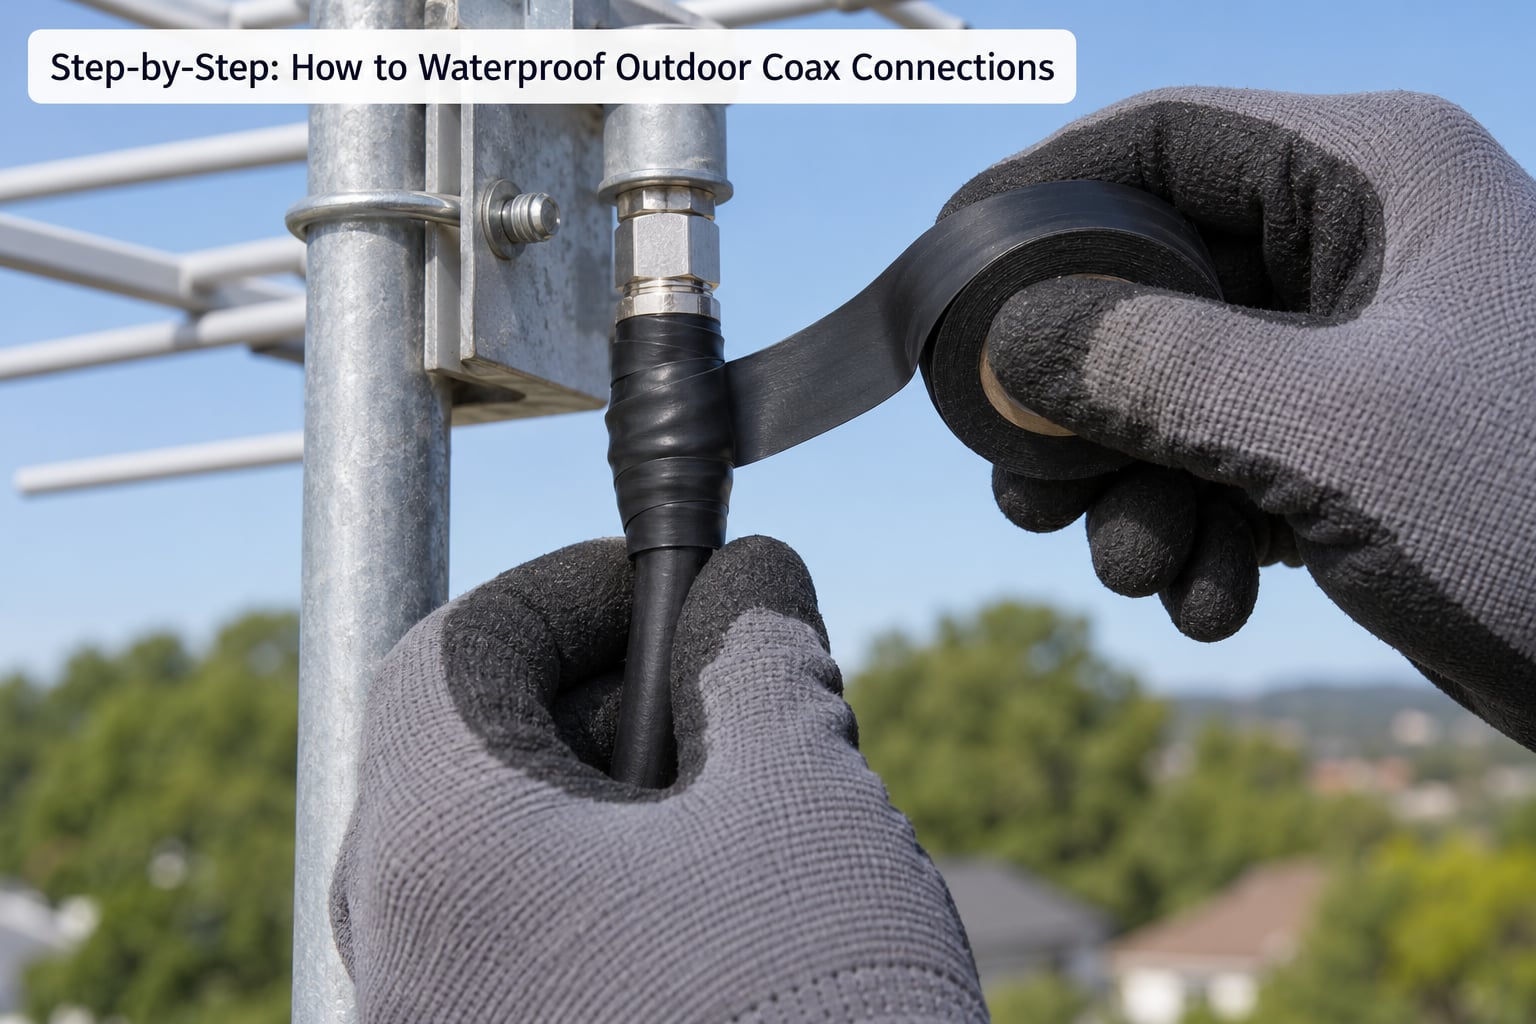
Step 1: Inspect the joint before you touch it
Look for green or white powder on the connector barrel, a jacket that has slipped back, and a cable that has taken a permanent set from the wind. Any of those mean replacing the connector before you seal anything. You cannot weatherproof a fitting that is already corroded; the tape will simply preserve the corrosion.
If the cable jacket has pulled back more than a few millimetres from the ferrule, cut it back and install a fresh connector. If you want to keep the same connector body, note that the factory strain relief seal is usually lost once the jacket is stripped.
Step 2: Clean and dry both mating surfaces
Dirt and flux residue under a joint hold moisture against the metal. Wipe the connector body, the barrel and the threads with a lint-free cloth dampened with isopropyl alcohol, then let them dry fully.
Work in shade when you can. Metal that has been in direct sun is hot enough to flash off alcohol before it gets a chance to dissolve anything.
Step 3: Confirm the connector and sealing system match
Each connector has a sane sealing approach, and choosing the wrong one is the most common reason a wrap fails in the first year.
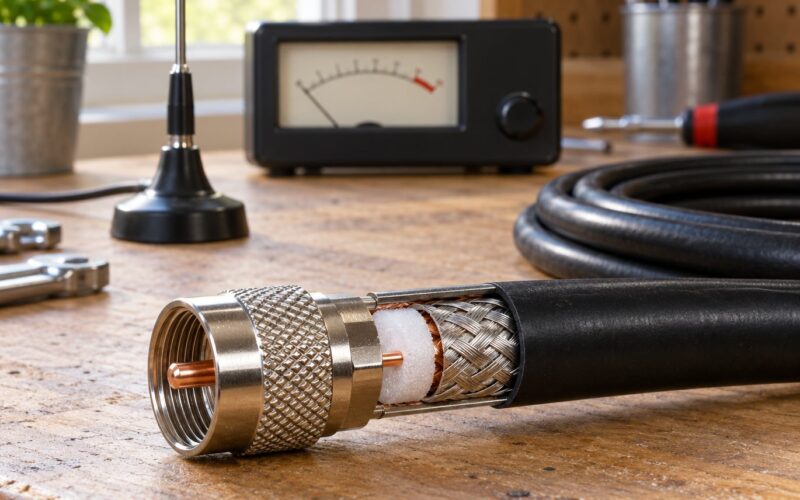
- PL-259 and SO-239 use threads, so they take a thin film of dielectric grease on the threads and a standard self-amalgamating tape wrap. They have no weatherproof boot by design.
- N-type connectors resist corrosion better but are not waterproof as installed. Many operators assume otherwise, then find damp braid after the first wet winter. Wrap them.
- F-type compression connectors with an integrated O-ring seal outlast screw-on F connectors, and they still benefit from an overwrap for UV protection.
- BNC on outdoor runs needs the same tape treatment as everything else, plus more care because the bayonet lugs snag in wind.
Step 4: Grease the threads and mate the connector
Put a thin film of dielectric grease on the threads and flat mating surfaces. Grease displaces water and stops threads from galling, which matters when you need to undo the joint later. It goes on the threads, not over the contact face, and not on the braid.
Hand-tighten first to make sure it threads without force, then snug with a wrench. Overtightening cracks the dielectric and, on thread-on types, shears the connector body.
Step 5: Fit strain relief and form a drip loop
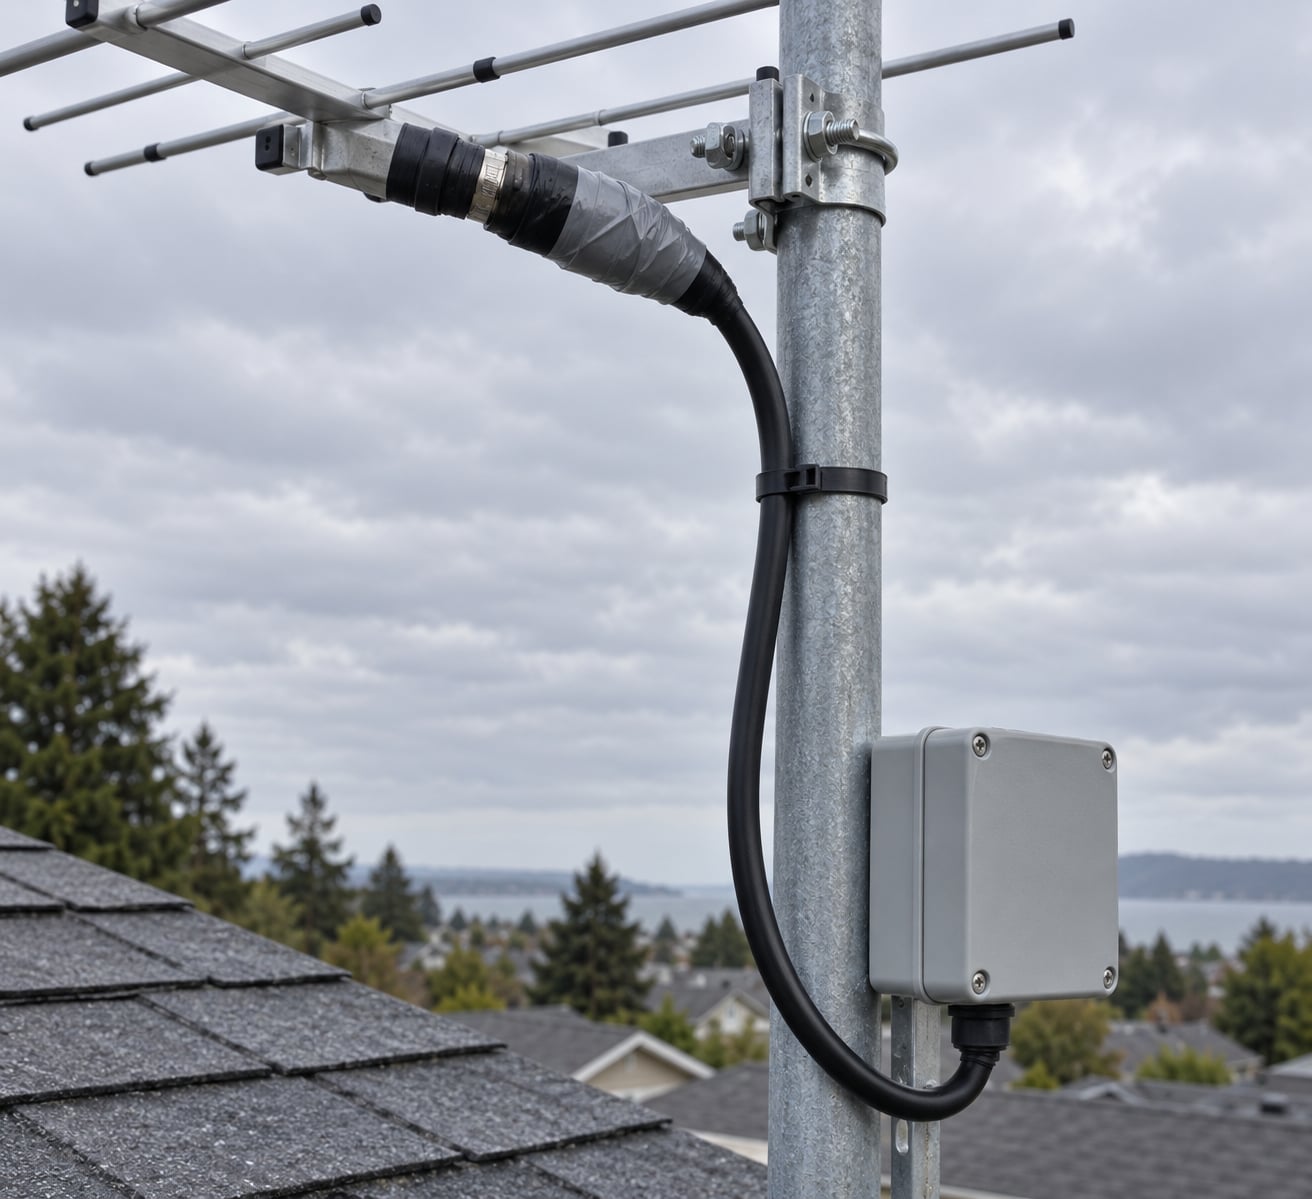
Strain relief is what keeps the seal intact. Use a moulded boot, a wrap of self-amalgamating tape that grips the jacket below the ferrule, or adhesive-lined heat shrink sized to the jacket. A cantilever coax whipping in the wind will work the tape apart from the connector far faster than weather alone would.
Then add a drip loop: slack the cable into a downward U before it enters the building or the radio. Water running down the jacket falls off the bottom of the loop instead of following the cable uphill into the connector. Aim for roughly 15 to 30 cm of slack, enough to keep the loop hanging under its own weight in a breeze.
Step 6: Wrap the self-amalgamating tape, stretched
Start the wrap a little below the connector body, on the cable jacket, so the lower layers overlap onto the jacket and not just onto the connector. Stretch the tape to roughly twice its width as you wrap; the tension is what makes the layers fuse into one continuous rubber sheet instead of a spiral of separate rings.
Work upward with each layer overlapping about half the tape width, and cover the connector body, the coupling and a little of the cable on the far side. Two layers is the usual minimum, and a third is worth it on a rooftop or coastal joint. The wrap must overlap itself with no gaps, and the ends should finish out of the way of where the cable bends.
Rub the wrap with your thumb as you go. Pressure helps the layers bond, and the finish will look smooth and continuous instead of stepped.
Step 7: Add the UV layer, then cure and verify
Overwrap the self-amalgamating layer with two or three layers of UV-rated vinyl tape, stretched only enough to kill the slack and bonded along its length. The inner rubber resists water but degrades under ultraviolet light, and this outer layer is what buys the seal its long life in sun.
Sealants vary, but most need 24 hours at moderate temperature before the chemical bond is at full strength. Treat the joint as finished at the end of that window, then go back and look at it.
Your check should confirm three things: the wrap is continuous with no visible gaps or lifted edges, the cable leaves the connector with a slack drip loop below it, and the connector body still threads and unthreads by hand. If you fitted a surge arrestor at the entrance point, confirm its ground lead is connected to the building ground and that the coax clamp is tight.
Common Mistakes
Four errors account for most failed seals, and each has a fix you can apply the next time you are up the ladder.
Using indoor electrical tape on its own
Ordinary vinyl tape shrinks, uncoils and turns brittle under sun and temperature cycling. Operators report it failing within a couple of weeks in summer heat. Fix: use self-amalgamating tape as the waterproof layer and outdoor-rated tape only as the UV skin over it.
Wrapping without stretching
Self-amalgamating tape fuses to itself under tension. Wrapped slack, it stays a stack of separate rings with channels between them, and those channels become the water path. Fix: pull roughly a 2 to 1 stretch as you wrap, and rub each layer down firmly.
Sealing a wet or corroded connector
Tape over a damp joint locks the moisture in and accelerates the damage you were trying to stop. Green powder on the threads means copper has already moved. Fix: cut the connector off, dry or replace the cable end, and check the braid colour before you refit. A dark, slightly green braid is usually still serviceable; a stiff, blackened one is not.
No drip loop, or a cable routed uphill into the connector
Water travels along the jacket under capillary action and pools wherever the cable points at the building. Fix: slack a downward loop below the entry point and below each connector that sits above another one. Route the run so water always has somewhere to fall that is not your seal.
Turning the antenna so weep holes point up
Many Yagi elements and some coax connectors have weep holes that drain water by default. Install them upside down and the hole becomes a funnel. Fix: follow the drain holes, and on Yagi antennas check orientation before the mast goes up rather than after.
Ignoring grounding and surge protection
A sealed connector does nothing about a direct strike or an induced surge, and a surge that arrives on an ungrounded line can take the radio with it. Fix: add a coax surge protector at the point where the cable enters the building, bond its ground lead to a solid building ground, and follow the bond with the shortest practical run.
If a connection has been outside for years and you have no idea what state it is in, inspect the joints every spring and after any storm. New weatherproofing is a ten-minute job at that point; a waterlogged cable run to the shack is a weekend.
Frequently Asked Questions
Can I use electrical tape to waterproof an outdoor coax connection?
Not on its own. Indoor vinyl tape shrinks and turns brittle in sun and heat, and operators regularly report joints failing within two weeks. Use self-amalgamating or vulcanizing tape as the waterproof layer, stretched about two to one as you wrap, then cover it with UV-rated outdoor tape such as Super 33+ or Super 88. That combination keeps water out for years.
Should I put dielectric grease under the connector boot?
Use it on threaded and flat mating surfaces of PL-259, SO-239 and N-type connectors, where it displaces water and stops threads from galling. Keep grease off the braid, since it can wick along the conductors. On non-threaded joints such as O-ring seals and some LNB ports, a thin coat of silicone grease on the seal itself is the better choice.
Do I need to replace the connector if it has already gotten wet?
Replace it if you see green or white powder on the threads, stiff blackened braid, or a jacket that has pulled back from the ferrule. A clean connector with slightly green braid is often fine. The key rule: never seal over a damp joint, because the tape preserves the moisture and the corrosion. Cut the connector off, inspect the cable end, dry it fully, then refit.
What is the best waterproofing method for SO-239 or N-type connectors?
Both take the same treatment: a thin film of dielectric grease on the threads, then two or three stretched layers of self-amalgamating tape, then a UV-rated overwrap. N-type connectors resist corrosion better and are not waterproof as supplied, so treat them like any other joint. SO-239 adapters in exposed positions benefit from a moulded boot or heat shrink over the joint as extra insurance.
How do I tell if an outdoor coax connection is leaking?
Start with an ohmmeter between the center conductor and the shield on a disconnected run. A low reading that climbs toward infinity as the cable warms usually points at moisture between the braid and the jacket. Also look for corrosion on the connector threads, green powder, a swollen or softened jacket, and a noticeably elevated VSWR reading that improves when you re-seat the connector.
Can self-amalgamating tape be used on every coax connector?
On every connector that is a cable end rather than a live feed. Do not wrap the junction between a transmitter output and the antenna, or any connector carrying RF power, since the added capacitance and loss affect the match. On receive lines, LNB ports and antenna feed points it is fine. If a connector already carries its own boot or O-ring seal, wrap anyway as UV protection.
Conclusion
Start by deciding what the joint is actually exposed to, then match the sealing system to the connector and the conditions. Threaded PL-259, SO-239 and N-type joints all take grease, stretched self-amalgamating tape and a UV overwrap, and that is the answer for most outdoor installations.
Before the connector goes up, check three things: the wrap is continuous with no lifted edges, the cable leaves the joint with a slack drip loop below it, and the surge protector at the building entrance is grounded. Those three checks catch nearly every failure that shows up a year later, and they take about a minute.