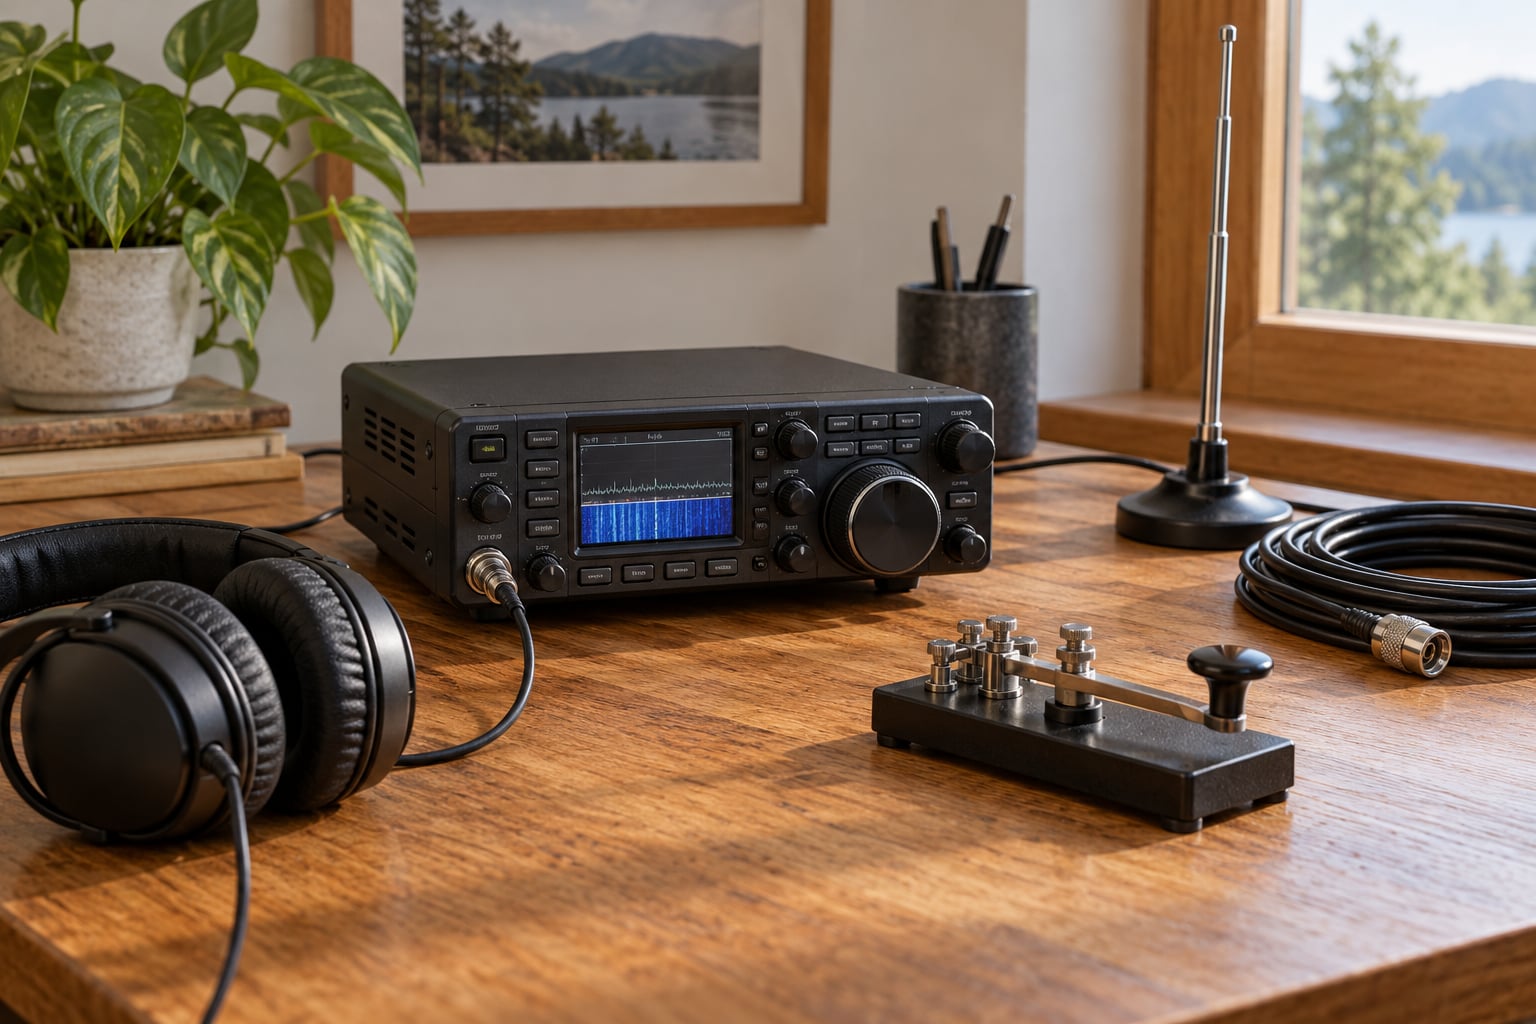
Picking your first HF radio comes down to five decisions, in this order: what your license lets you transmit on, how you plan to operate (shack, portable, or listening only), how much total budget you have once antenna and power supply are included, how much transmit power you actually need, and what antenna you can legally and practically support. Get those five right and the model choice becomes easy. Get them wrong and you will spend good money on a radio that fights your location.
This guide is written for new amateur radio operators, for shortwave listeners deciding whether to move up from a cheap receiver, and for anyone working out whether HF is even viable from an apartment, a small lot, or an RV. It is a decision guide, not a catalogue. Model names come last.
Updated for 2026 models and practice.
Table of Contents
- 1How to Pick Your First HF Radio: Start With Your Goals
- 2How to Pick Your First HF Radio at a Glance: The Main Choices Compared
- 3Receive-Only or Transmit-and-Receive?
- 4Which HF Bands and Modes Do You Need?
- 5How Much Transmit Power Do You Really Need?
- 6Which Receiver and Signal Features Matter?
- 7Dynamic range: the specification worth reading twice
- 8Filters and adjacent channel rejection
- 9Noise floor and sensitivity
- 10Features that earn their place
- 11What About Size, Weight, and Battery Life?
- 12Will Your Antenna and Station Setup Match the Radio?
- 13What Budget Should You Set Aside?
- 14How to pick your first HF radio when money is tight
- 15What Should You Look for in Reviews and Spec Sheets?
- 16Final Checklist Before You Buy
- 17Frequently Asked Questions
- 18Do I need an HF radio that can transmit?
- 19What is the easiest HF band for a beginner to use?
- 20Is a software-defined radio better than a traditional transceiver?
- 21Can I use a portable whip antenna with any HF radio?
- 22Should a first HF radio be new or used?
- 23Conclusion: Make Your First HF Radio a Learning Radio
How to Pick Your First HF Radio: Start With Your Goals
Start by naming what you want to do, because the goal decides nearly everything else. Here are the five common starting points, and what each one actually demands from the radio.
- Receive-only listening. You want to hear shortwave broadcast stations, utility traffic and amateur signals without transmitting. A wide-coverage communications receiver or an SDR is enough, and it is the cheapest way in.
- Local and regional HF. You want QSOs across your state or region, plus the occasional long run on a good band day. A 50 to 100 watt transceiver with a decent receive section covers this comfortably.
- Portable operation. Operating style, SOTA, parks, the beach, backpacking. Here weight, current draw, battery capability and an internal tuner matter more than raw watts.
- Contesting and Field Day. Fast frequency changes, CW and RTTY, memory channels, a good speaker, and a second receiver would be nice. Antennas and logging software carry as much weight as the radio.
- Future expansion. A rig that also covers VHF and UHF, has USB audio and CAT control, and leaves room for an amplifier keeps you from replacing it in two years.
Write your answer down. Most beginners who bounce between radios within a year did not settle this question first.
How to Pick Your First HF Radio at a Glance: The Main Choices Compared
There are four families of radio, and the table below compares them across the five things that actually change your experience. This table answers which type of radio suits which kind of first station.
| Radio type | Relative cost | Can it transmit? | Portability | Learning curve | Antenna needs |
|---|---|---|---|---|---|
| Communications receiver | Lowest | No | Varies, many are desktop | Gentle | Passive or small active antenna works |
| SDR dongle or compact SDR | Very low | No | Excellent, needs a computer | Moderate, software setup | Cheap wire or whip antenna |
| Multiband transceiver | Low to mid | Yes, usually a subset of HF bands | Good, many are battery-capable | Moderate | One workable antenna, tuner helps |
| All-band transceiver | Mid to high | Yes, full HF coverage | Heavy for full-size units, lighter options exist | Steeper with touch interfaces | Antenna system worth the effort |
| Full-featured all-band SDR transceiver | Highest | Yes | Varies | Highest, menus and PC integration | Antenna system worth the effort |
One thing this table makes clear: transmitter capability is only one column. For a first station, the antenna and feedline decide your results far more often than the radio does.
Receive-Only or Transmit-and-Receive?
Listening costs a fraction of transmitting and teaches you a lot. If you have no license yet, or you are not certain you will transmit, an SDR setup or a communications receiver is the honest first purchase.
The listening-first route has three real benefits. You learn the bands and what real signals sound like without any exam pressure, you find out what the noise at your address is actually like, and you spend far less on a step you might abandon.
Many experienced operators on amateur radio forums say the same thing: test the location first with an inexpensive SDR and an active whip antenna, then decide whether a transceiver makes sense. That advice costs a fraction of a new rig and it removes the biggest unknown in the decision.
Go straight to a transceiver when you already hold the license, you have a specific plan for the bands you want to work, and you have somewhere to put an antenna. Everything else can wait.
Which HF Bands and Modes Do You Need?
Full HF spans roughly 3 to 30 MHz, and no single band gives you everything. Here is what the common amateur HF bands are actually like.
- 160 m (1.8 to 2 MHz). The classic DX band at night, but electrically enormous antennas and a very noisy receive environment make it a poor first band.
- 80 and 40 m (3.5 to 10 MHz). Reliable daytime and nighttime contacts, workable with simple antennas, and the bands most new operators actually enjoy.
- 20 m (14 MHz). The worldwide daytime band and the single most useful one to have working first. It is open almost any time of day.
- 15 and 10 m (21 to 29.7 MHz). Excellent when the solar cycle cooperates, quiet when it does not. 10 m also suits longer antennas and simpler setups.
On modes, SSB is voice and CW is Morse. A first HF transceiver that does both covers nearly everything you will hear. FT8 and other digital modes work through a sound card interface or USB audio, so look for a USB port rather than a separate interface.
License class decides which of these you can transmit on. Below General class in the US you have no HF transmit privileges at all, so do not buy a transceiver yet. Listening needs no license anywhere.
A practical rule: one all-band radio covering 20 m through 10 m serves most beginners for years. Add 40 m if your antenna situation allows a longer wire.
How Much Transmit Power Do You Really Need?
More power gets you heard further, but the first 10 dB of power buys far less than the first 10 dB of antenna improvement. That is why the smart answer is usually the lowest power tier that works for your operating style.
- 5 to 10 watts (QRP). Entirely workable on 20 m with a decent antenna, kind on the battery, and the right choice for portable and travel operating. Many stations run QRP for years and enjoy it.
- 25 to 50 watts. A middle ground that covers more marginal paths without the heat and current draw of a full-size rig.
- 60 to 100 watts. The traditional home shack figure. It opens up more contacts and handles poorer conditions, at the cost of a heavier radio and a bigger power supply.
Signal reports usually improve a step or two going from 5 W to 100 W, but they do not transform. A 100 watt radio with a bad antenna loses to a 10 watt radio with a good one. Buy power for the operating style you want, not because the number is bigger.
Heat is the underrated cost. Full-output rigs run hot, need ventilation in a small room, and pull 20-plus amps at 13.8 V on transmit. That current figure decides your power supply, your coax size, and whether you can run the rig from a deep-cycle battery at all.
Which Receiver and Signal Features Matter?
The receiver matters more than most spec sheets admit. On HF you are often listening for a signal buried under noise and stronger local stations, and that is a dynamic range problem.
Dynamic range: the specification worth reading twice
Dynamic range is the difference in dB between the strongest local signal and the weakest signal you can still copy. A bigger number means weak DX survives next to loud broadcast stations and neighbouring signals. It is the single most useful receiver number for an HF radio.
Filters and adjacent channel rejection
An IF filter narrows the slice of spectrum your radio accepts. Wide filters sound better on SSB, narrow filters reject neighbours better on CW. A roofing filter, the first filter after the mixer, does most of the heavy lifting against strong nearby signals. Bands where one roofing filter covers everything (HF rigs that filter at 40 or 60 MHz) tend to perform better than single-band-per-filter designs.
Noise floor and sensitivity
Noise floor is the level of self-generated noise inside the radio. Lower is better. Sensitivity is how faint a signal the radio can pick up. Marketing often conflates the two, so look for a receiver section compared in reviews against a known reference rather than a number on the box.
Features that earn their place
An S-meter you can calibrate to a known signal, a noise blanker and noise reduction that do not chew up CW, AGC that does not pump, and a digital filter with adjustable width all help every day. A waterfall display and spectrum scope are genuinely useful for seeing what is happening on a band, though they are not essential.
Features that mostly add menu depth: touch screens with buried settings, proprietary USB cables that limit the interface to one program, and voice recorders you will not use. Judge a radio by what you will operate with, not by how long the feature list is.
What About Size, Weight, and Battery Life?
Size is the compromise you feel every session. Fixed-base rigs put weight and heat where you can live with them. Tabletop units split the radio from the power supply, which is flexible and lets you swap supplies. Portable rigs shrink everything and pay for it in smaller displays, tighter controls and weaker internal speakers.
Current draw is what decides whether portable operation is realistic. A 100 watt rig pulling 20-plus amps on transmit will flatten a small battery in minutes; a 5 watt rig running a few amps can work all afternoon off the same pack. Before buying for portable use, multiply peak transmit current by transmit time and add receiver draw for the whole session. If the math does not work, either reduce power or change batteries.
Small rigs are harder to tune with cold hands or gloves. If you plan to operate outdoors in winter, that matters more than the spec sheet suggests. Many portable owners also report that the internal speaker is weak and that headphones or a small external speaker make a bigger difference than any other accessory.
One last practical note: buy a radio with a standard 12 VDC input rather than one that needs a proprietary battery brick. Standard packs are replaceable, cheap and available everywhere.
Will Your Antenna and Station Setup Match the Radio?
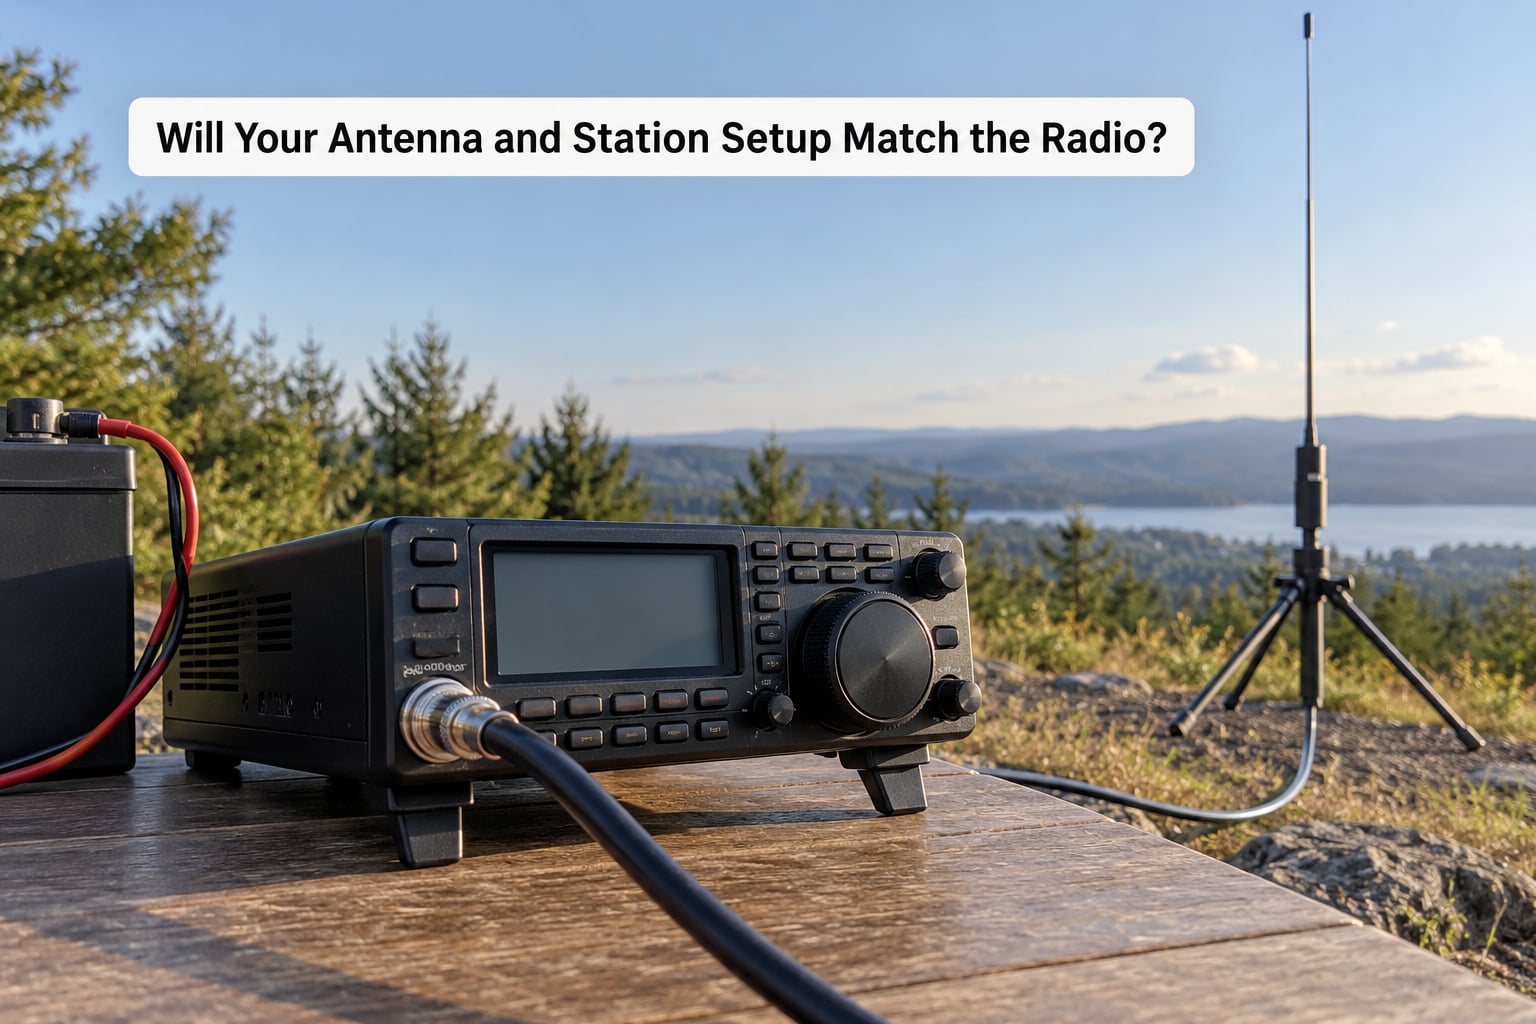
Antenna, feedline and power are where a station succeeds or fails, and every one of them can limit an otherwise good radio. Work through these before buying.
What can you actually put up? A half-wave dipole on 20 m is about 10 metres of wire end to end. A full-size vertical needs ground radials. Apartment dwellers, renters and anyone under an HOA usually end up with an end-fed wire, a magnetic loop, or a compact vertical with elevated radials. Any of those works with the right radio, and the radio cannot fix the antenna.
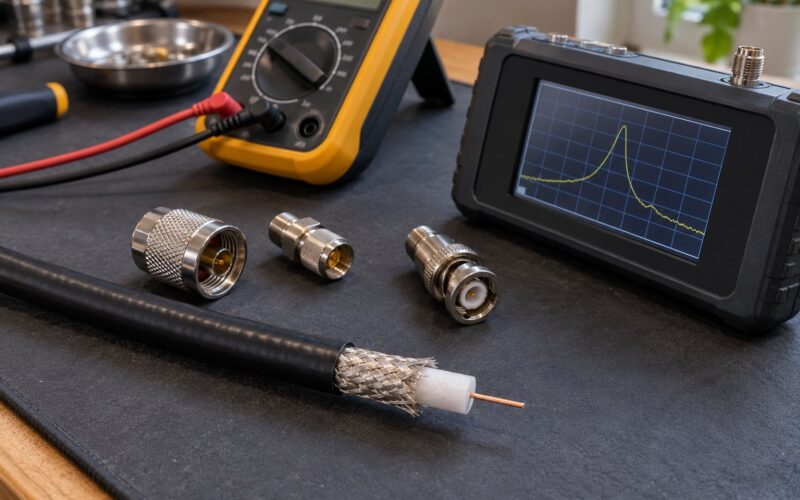
Feedline. Use 50 ohm coax and keep the run short. Loss climbs with frequency and with length, so the type of coax you use for HF matters more than for VHF. Thin coax over a long run to a tower quietly eats signal before it ever reaches the radio. A common-mode choke near the radio helps when you hear your own transmitter noise leaking into the receiver.
Impedance matching. An antenna tuner, sometimes called an ATU, matches the radio’s output to whatever impedance the antenna presents. It is genuinely useful on end-fed wires and at band edges. It does not make a bad antenna radiate better, and it is not a substitute for a sane feedline impedance.
Grounding and RFI. Bond the radio chassis to your station ground, use a decent power supply, and keep the radio and computer on the same circuit where practical. In an apartment, a shared electrical ground and switching power supplies can create real problems, and ferrite common-mode chokes on the feedline are cheap insurance.
Power. Most modern transceivers run on 13.8 VDC. A supply rated for 25 A gives headroom for full-output transmit without the radio cycling down. Budget for it as a real line item, not an afterthought, because budget spent on the radio and nothing left over is the number one beginner complaint in forum threads.
What Budget Should You Set Aside?
Treat the radio as one line in a station budget, and plan on it being roughly a third to a half of your first-year spend. The rest goes to the antenna, feedline, power supply, microphone or key, coax connectors, a headset, logging software, and a decent dummy load for testing. Prices vary by region and change over time, so treat the percentages below as a starting shape rather than a quote.
This table shows how a first-station budget divides across components, for three typical totals.
| Line item | Lean first station | Standard first station | Comfortable first station |
|---|---|---|---|
| Radio | 35 to 45 percent | 35 to 40 percent | 30 to 40 percent |
| Antenna and supporting hardware | 15 to 20 percent | 20 to 25 percent | 20 to 25 percent |
| Coax, connectors, common-mode chokes | 5 to 10 percent | 5 to 8 percent | 5 to 8 percent |
| Power supply or battery pack | 10 to 15 percent | 10 to 12 percent | 8 to 12 percent |
| Microphone, key or keyer, headset | 5 to 10 percent | 5 to 8 percent | 5 to 8 percent |
| Antenna tuner (optional, many radios include one) | 0 to 5 percent | 0 to 5 percent | 5 to 8 percent |
| Logging software, cables, dummy load, books | 5 to 10 percent | 5 to 8 percent | 5 to 8 percent |
Three cautions on budget. Buying used is where most of the value lives, and a decade-old mid-range transceiver often beats a brand-new entry-level rig on receive. Spending on the antenna first is the most reliable upgrade available. And spending the whole amount on the radio leaves you with no antenna, which is the fastest way to conclude that HF does not work from your house.
How to pick your first HF radio when money is tight
Buy used, keep the antenna plan realistic, and skip features you will not use. A simpler radio with a good antenna outperforms a loaded radio with a bad one, and the money you keep goes into the feedline and the power supply. Buy the antenna first if you can only afford one expensive thing this year.
What Should You Look for in Reviews and Spec Sheets?
Evaluate a radio on how it behaves rather than on how it is advertised. Here is a checklist that works for any model.
- Receive performance compared to a known reference. Look for measured receiver rankings or a comparison against a radio in a different price band, not the manufacturer’s sensitivity number alone.
- Blocking dynamic range. This is the number that tells you whether you will copy weak signals next to loud ones. Published comparisons are worth more than spec sheets.
- Transmit power accuracy. A rig rated at 100 W should actually put close to 100 W into a 50 ohm dummy load at the bands that matter.
- Filter options. Check which IF filter widths are selectable, whether any roofing filter covers multiple bands, and whether narrow CW filters are available as an accessory.
- Thermal behaviour. Reviews that mention the final amplifier, hot-spot problems, or protection circuits kicking in under long transmissions tell you more than the wattage claim.
- Documentation. A well-written manual and a manual that is clearly a translation are two very different experiences on your first night with a new rig.
- Repair and warranty support. Check the manufacturer’s service policy and whether parts are still available for the model. This matters most for anything older than a few years.
- Interface openness. Standard USB audio and CAT control beat a proprietary cable, because you can change logging software later.
- Accessory availability. Headsets, mic elements, cables and repair parts for common models are easy to find; for obscure models, not so much.
If you are shopping used, add these specific checks. Ask the seller to transmit into a dummy load and receive on both ends of several bands. Listen to the receiver on an unused frequency and on a frequency with a strong local station for hiss or overload. Run the internal keyer and the memory channels. Check the display for dead segments, test every knob and button, and listen to the speaker for rattle or weak audio. Ask about alignment history and whether the radio has been on 13.8 V continuously or stored without power. Check for the accessories a good owner keeps: hand mic, power cable, original box, and service records.
Cross-check used purchases against owner photos of sold units of the same model, and read the reviews on sites where buyers post long-term ownership reports rather than first-week impressions. That kind of reporting is far more useful than a store page.
Final Checklist Before You Buy
Run through this list and you have an honest answer rather than an expensive experiment.
- Your license class permits HF transmit. If not, start with a receiver or SDR.
- You can name the bands and modes you will actually operate.
- Your total budget covers radio, antenna, feedline and power supply, not just the radio.
- You know what you can put up, and how high, given your property, roof and rules.
- Your power tier matches your operating style rather than a number you liked.
- You have checked the noise floor at your location, ideally with a borrowed or rented SDR.
- You have decided shack, portable, or both, and whether the radio can do both without compromise.
- You have ruled out features you will not use and confirmed the ones you need are present.
- You know where service and parts come from for the model.
- You have a fallback plan: a good antenna, a modest radio, a club member who will help you put it up.
If three or four of those are still open questions, the answer is not a better radio. It is an afternoon at a local club meeting, where someone will happily measure your noise floor with you and tell you what actually works from your street.
Frequently Asked Questions
Do I need an HF radio that can transmit?
No, not yet. Listening needs no license in most countries, and an SDR or communications receiver costs a fraction of a transceiver. Learn the bands, hear the noise at your location, and decide later. Many operators say that testing with an inexpensive SDR first is how to pick your first HF radio without spending on the wrong box.
What is the easiest HF band for a beginner to use?
20 metres is the usual answer. It is open nearly any time of day, worldwide paths are regular, and a dipole for it is about 10 metres of wire. 40 metres is a good second band and is workable at night. Avoid 160 metres as a first band; the antennas are large and the receive environment is punishing.
Is a software-defined radio better than a traditional transceiver?
For receiving, an SDR gives you a waterfall view, better filtering flexibility and inexpensive upgrades. For transmitting, a conventional transceiver is simpler, needs no computer, and works the moment you switch it on. Most beginners end up wanting both eventually, which is why starting with an inexpensive SDR receiver and adding a transceiver later is a sensible order.
Can I use a portable whip antenna with any HF radio?
Any HF radio can feed a whip, but results depend on length and design. A short telescopic whip on 20 metres needs a good ground system or elevated radials to work properly, and the tuner in the radio helps only with matching. A longer telescopic or wire whip, a proper counterpoise, and a radio with a decent receive filter matter far more than the brand name.
Should a first HF radio be new or used?
Used offers the best value per watt, since a decade-old mid-range transceiver usually beats a new entry-level rig on receive. The risks are hidden faults and missing documentation, so transmit into a dummy load on several bands, check the display and controls, listen for hiss or overload, and confirm service history. Buying new buys you a warranty and peace of mind at a higher outlay.
Conclusion: Make Your First HF Radio a Learning Radio
The radio is the last decision, not the first. Before you compare models, write down your license class, the bands you want to work, the operating style, the total budget once antenna and power supply are included, and what you can actually put up at your location. If you can do that in one page, choosing a first HF radio becomes an easy comparison instead of a gamble.
And if your noise floor at home turns out to be brutal, that is useful information too. It points you toward portable operation, a loop, a better feedline choke, or simply a different band, and every one of those is a better use of money than a more expensive box.