Finding electrical noise on HF is an isolation problem, not a guessing game. Power the rig from a battery, open the main breaker one branch at a time, then walk toward the noise with a portable receiver and watch the S-meter climb until you are standing in front of the culprit.
That sequence works because every noisy device radiates interference that gets stronger as you approach it. The source is always the loudest point, so a receiver with a rough signal strength indicator is all the direction finding gear most people need. A whole session can take twenty minutes if the noise is in your house, or several evenings if it comes from a utility pole two streets over.
Table of Contents
- 1What You Need
- 2Step-by-Step: How to Find the Source of Electrical Noise on HF
- 3Step 1: Establish a baseline noise level
- 4Step 2: Check the receiver and audio path
- 5Step 3: Disconnect and compare antenna systems
- 6Step 4: Turn off household and station noise sources
- 7Step 5: Test by time of day and location
- 8Step 6: Confirm the source and choose a fix
- 9Common Mistakes
- 10Frequently Asked Questions
- 11How can I tell if HF noise is coming from my receiver?
- 12Why does electrical noise appear on some HF bands but not others?
- 13Does a noise blanker remove electrical interference or just mask it?
- 14What common household devices cause buzzing or clicking noise on HF?
- 15Should I report persistent electrical interference to my utility company?
- 16How do I distinguish electrical noise from lightning or atmospheric static?
- 17Conclusion
What You Need
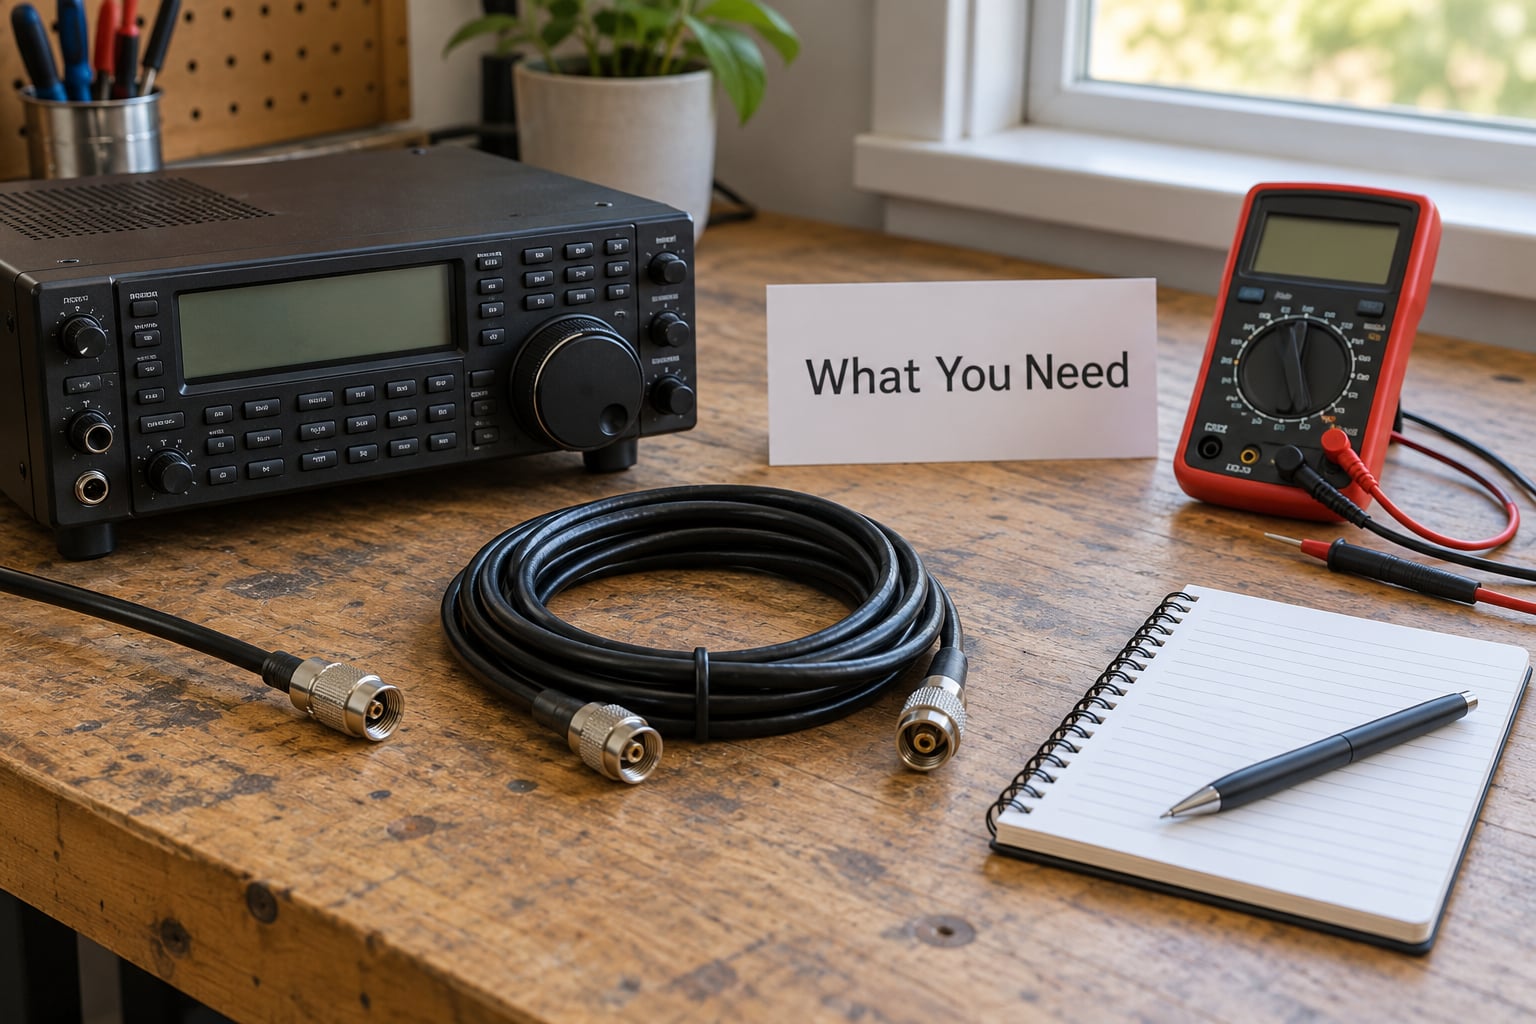
Gather these before you start, because the hunt goes faster when nothing is missing.
- An HF receiver or transceiver with a usable S-meter. A cheap handheld works fine for most of this procedure.
- A second portable receiver for walking and driving. A handheld with its internal ferrite antenna is enough for finding noise close to a building.
- A 12V battery and a jumper lead so you can kill household power without unplugging the rig.
- Coaxial cable and a 50-ohm terminator or dummy load for isolating the antenna path.
- A notebook or phone voice recorder to log frequency, time, S-meter reading and which breaker you just opened.
- Optional: ferrite beads, a common-mode coax choke, a broadband or bandpass filter, and an SDR receiver if you want a waterfall view.
Step-by-Step: How to Find the Source of Electrical Noise on HF
Run these six steps in order. Each one narrows where the noise can possibly be, so the whole job comes down to ruling out entire sections of your setup and then tracking down whatever is left.
Step 1: Establish a baseline noise level
Record what normal looks like before you change anything. Pick an unused frequency on 20 metres, set the bandwidth to about 2.5 kHz, and write down the S-meter reading with the antenna connected. Then disconnect the antenna, replace it with the terminator, and record again.
Now repeat on 40 and 80 metres. Those two bands are naturally noisier than 10 or 15 metres, so a higher reading there is not automatically a fault. Log the time of day as well, because evening LED lighting, overnight appliance cycling and weekend appliance use all change the picture.
Success signal: you have a number you can compare against later, and you know which band is worst. If the floor is S3 on 20 metres at night in the suburbs, that is unremarkable. If it is pegged at S9 on 20 metres, something is wrong.
Step 2: Check the receiver and audio path
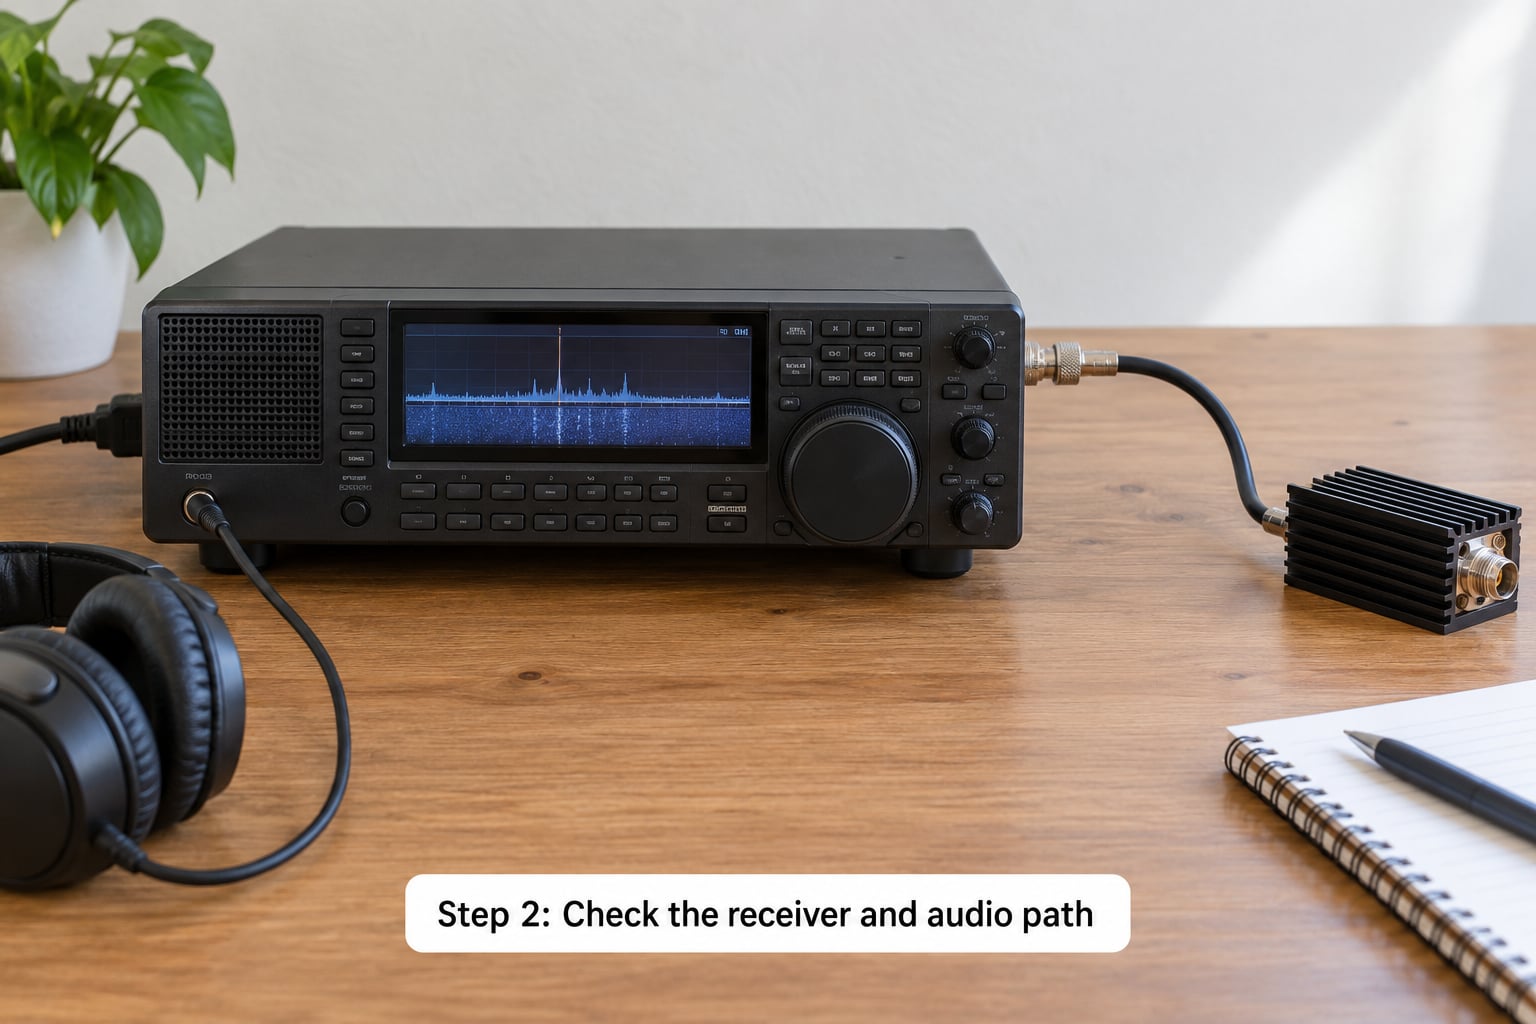
Feed the receiver a 50-ohm terminator and turn the noise down the way an S-meter reading deserves: RF gain at maximum, attenuator and preamp off, AGC on fast, digital noise reduction off, noise blanker off. Whatever the S-meter shows with the antenna replaced by a dead load is your receiver’s own contribution plus whatever the coax is picking up.
If the noise is still there with a terminator fitted, the receiver is not innocent. Unplug every accessory one at a time: audio interface, USB cable, computer speakers, external display, dummy antenna controller. Disconnect the speaker and listen on headphones, which removes one whole class of audio hum from the equation.
Then sweep the controls. Noise that changes with bandwidth points to the receiver’s own front end. Noise that stays flat while you change RF gain suggests common-mode current arriving on the feedline rather than a genuine signal. Success signal: the noise drops markedly, or you have proven it is not internal.
Step 3: Disconnect and compare antenna systems
Swap the installed antenna for a known-good alternative or a short temporary whip on a different feedline. If the noise follows the antenna rather than the receiver, the noise is arriving through the antenna system.
Inspect the coax while you are at it. A loose BNC, a split shield, or coax running parallel to a power cable will bring in noise that has nothing to do with your radio. Push the connectors home with a proper wrench and check that the shield braid is visible at both ends of every joint.
Common-mode current is the other suspect here. Current flowing on the outside of the coax shield radiates straight into the antenna. Fit a ferrite coax choke a few feet back from the feedpoint, wind the cable through it a few turns, and watch the S-meter while you tighten the ferrite. Success signal: the choke alone knocks several S-units off the floor, which tells you the noise is riding the feedline.
Step 4: Turn off household and station noise sources
Now the main event. Power the rig from the 12V battery so your own house cannot supply the noise, then open the main breaker and close it back one branch at a time, listening on your worst band after each close. The branch where the noise appears is your list of candidates.
Most of the time the culprit is one of these, and the sound gives it away:
- Switch-mode power supply, computer or charger. A steady buzz or buzzsaw that rises and falls with load. Replace it with a linear supply, or run the station on battery power.
- LED bulb, fixture or dimmer. Buzz in the passband, often only at certain dim levels. Swap the bulb, run dimmers at full output, or ferrite the fixture.
- Refrigerator, freezer or air conditioner. A repeating click or pulse on a regular interval, which is a motor contactor cycling. Have the device serviced.
- Electric fence or irrigation controller. A sharp periodic pulse, sometimes every few seconds. An RFI-rated fence supply, or moving the antenna away, fixes it.
- Router, smart TV, HDMI or USB cable. Broadband hiss, crackle or warble. Shorten or shield the cable and add ferrite beads.
- Pole hardware, insulator or loose connection. A raspy buzz, often worse in wet weather. This one goes to the utility with a logged evidence trail.
Once you have a suspect, confirm it the simple way: unplug it for five minutes and watch the S-meter. Touch the on switch with bare fingers while listening if you want the noise to reappear instantly. Success signal: the S-meter drops several units, or more, when one device goes off.
Step 5: Test by time of day and location
Take the portable receiver and walk toward the noise. Start outside the house, move ten paces at a time, and note the S-meter. The reading rises as you close in and peaks at the source. A weak whip or the handheld’s internal ferrite antenna is sensitive enough for a switch-mode supply a few rooms away, and a small loop on a stick works well outdoors when the noise is further away.
An AM broadcast receiver is a cheap second detector. Tune it to an unused frequency above the local broadcast band, where the carrier is silent, and the same interference usually shows up as audible buzz. It is not calibrated and it will not give you a signal strength, but it tells you instantly which direction the energy is coming from.
Watch the clock as well. Noise that appears when the dimmer in the next room is turned on points straight at that dimmer. Noise that follows a predictable daily schedule, such as the same minute each evening, is usually utility or commercial equipment. Success signal: the noise peaks within a few metres of one device, room, or pole.
Step 6: Confirm the source and choose a fix
Do a controlled confirmation: leave the antenna disconnected and the rig on battery, power only the suspect device from the mains, and listen. If the noise reappears at your recorded level, you have your source. Switch it off again and the noise should vanish. Anything less conclusive means you still have more than one source.
Then pick the fix that matches the fault. Noise riding the feedline calls for a coax choke or a balun. Noise from a power supply calls for a replacement or ferrites on the input cable. Noise from a dimmer calls for full-brightness operation or an RFI-rated lamp. Noise arriving through the coax from a utility pole cannot be fixed at your end, so log it and report it.
A noise blanker and DSP noise reduction will suppress pulse noise and make the S-meter look better, but neither removes the interference. They mask it. Only finding the source lowers the floor for good.
Common Mistakes
Judging everything by the S-meter. Many S-meters are AGC-derived and under-report noise, sometimes by two S-units. Compare before and after readings on the same rig and the same setting, and treat the number as relative rather than absolute.
Changing several things at once. Turning off the computer, moving the antenna and opening a breaker together tells you nothing about which one mattered. One change per test, then log it.
Ignoring connectors. A hand-tightened BNC or a coax jacket stripped too far back is a surprisingly common source of hash. Re-seat and torque every connector before blaming the neighbourhood.
Assuming every click is interference. Regular clicks can be a refrigerator or a printer, which are electrical. Irregular fast crackle that rises with atmospheric conditions is usually lightning static, and it will not respond to any filter you own.
Forgetting your own station. Your transmitter, amplifier, and any unshielded digital equipment can desense or radiate. Do not transmit during the test window if you suspect your own rig.
Adding a high-gain preamp before hunting. A booster amplifies everything, including the noise, and can make a workable antenna unusable.
Frequently Asked Questions
How can I tell if HF noise is coming from my receiver?
Replace the antenna with a 50-ohm terminator and set RF gain to maximum, preamp and attenuator off, AGC on fast, noise reduction off. Whatever the S-meter shows with a dead load is your receiver’s own noise plus anything the coax is picking up. Then unplug accessories one at a time and listen on headphones. If the reading stays high, the noise is not coming through the antenna and the receiver, its power supply, or the feedline is responsible.
Why does electrical noise appear on some HF bands but not others?
Electrical noise is broadband, so it shows up on every band, but its strength relative to natural noise changes a lot. 80 and 40 metres sit at high atmospheric noise levels, so a moderate amount of man-made noise disappears into it. On 20, 15 and 10 metres the natural floor is much lower, so the same interference stands out. Harmonics of mains-frequency switching equipment also land differently across the spectrum, which is why the pattern is rarely flat.
Does a noise blanker remove electrical interference or just mask it?
It masks it. A noise blanker and DSP noise reduction sample the noise and subtract or gate a copy of it, which works best on repetitive pulse noise such as electric fences and dimmer buzz. Broadband hiss from a switch-mode supply is not removed, and the noise floor itself is unchanged. Your receiver’s sensitivity is exactly as good or as bad as before, so treat these controls as listening aids while you hunt the actual source.
What common household devices cause buzzing or clicking noise on HF?
The usual offenders are switch-mode power supplies in computers, monitors, chargers and LED lamps, plus light dimmers set below full output. Refrigerators and freezers produce a repeating click as their compressor or contactor cycles, and routers, smart TVs and HDMI cables add broadband hash. Electric fence chargers and irrigation controllers produce sharp periodic pulses. Any of them can be confirmed by unplugging it for five minutes and watching whether the S-meter drops.
Should I report persistent electrical interference to my utility company?
Yes, once you have ruled out your own house and gathered evidence. Log the frequency, the date and time, the S-meter reading, the weather, and whether switching your own breakers changed anything. Record the pole or transformer number if you can identify it, since that speeds up the response. Utilities can repair leaking insulators, loose hardware and failing transformers, though they generally will not act on a report with no measurements behind it.
How do I distinguish electrical noise from lightning or atmospheric static?
Electrical noise has a repeating signature that you can time: a click every few seconds from a compressor, a buzz that swells with a dimmer setting, a pulse locked to a fence charger cycle. Atmospheric static is irregular and follows the weather, getting worse during and after local thunderstorms, and it sounds like random crackle rather than a rhythm. Turning your own household circuits off changes electrical noise and does nothing at all to static.
Conclusion
Start with the simplest test that gives a real answer: power the rig from a 12V battery, open the main breaker, and close it back one branch at a time while watching the S-meter. That single sequence tells you whether the noise is inside your house, in your own gear, or out in the street.
Once you know which side of the fence it is on, walk toward it with a portable receiver and note the reading every ten paces. The climb tells you where to look. Write down the frequency, the time, what the noise sounded like, and which test moved the S-meter, because that log is what turns a frustrating evening into a fix, and what makes a utility complaint worth acting on. That is the whole method behind how to find the source of electrical noise on HF, and it costs nothing but patience.