To set up a ham radio station for beginners, you need six working pieces: a licensed transceiver, an antenna matched to where you live, 50-ohm coaxial feedline, a stable power supply, a microphone with headphones or a speaker, and a proper bond to ground. Most first stations come together in a single weekend, and the antenna matters far more than the radio. Budget for the parts, ignore the accessories until the station is on the air, and the rest is patience.
Plenty of guides start at the wrong end. They open with a list of shiny transceivers, when what you actually own at the start is a rubber-duck antenna and a handheld. The station is a system, not a box: radio, feedline, antenna, ground, power, and a chair to sit in. Get those six things right and a modest setup will out-perform an expensive radio in a bad location.
I have built first stations with people who had never held a soldering iron, and the ones that worked followed the same order every time. License first, gear second, antenna third, ground fourth. Skipping to gear is how people end up with a rig in a closet and a mystery cable running nowhere.
Table of Contents
- 1What You Need
- 2How to Set Up a Ham Radio Station for Beginners
- 3Choose a radio and antenna that work together
- 4Set up a safe power and grounding arrangement
- 5Connect the microphone, antenna, and accessories
- 6Program frequencies and check the radio
- 7Install and align the antenna
- 8Find local activity and make a first contact
- 9Other Questions New Operators Ask
- 10Is ham radio hard to learn?
- 11What is the 3-3-3 rule in amateur radio?
- 12What is the golden rule of amateur radio?
- 13Common Mistakes
- 14Frequently Asked Questions
- 15How much does it cost to set up a ham radio station?
- 16Do I need a license to set up a ham radio station?
- 17Can you use a coax cable for an FM antenna?
- 18Can I put a vertical wire antenna right against my house?
- 19What is one disadvantage of a random wire antenna?
- 20Do I need an antenna tuner as a beginner?
- 21Conclusion
What You Need
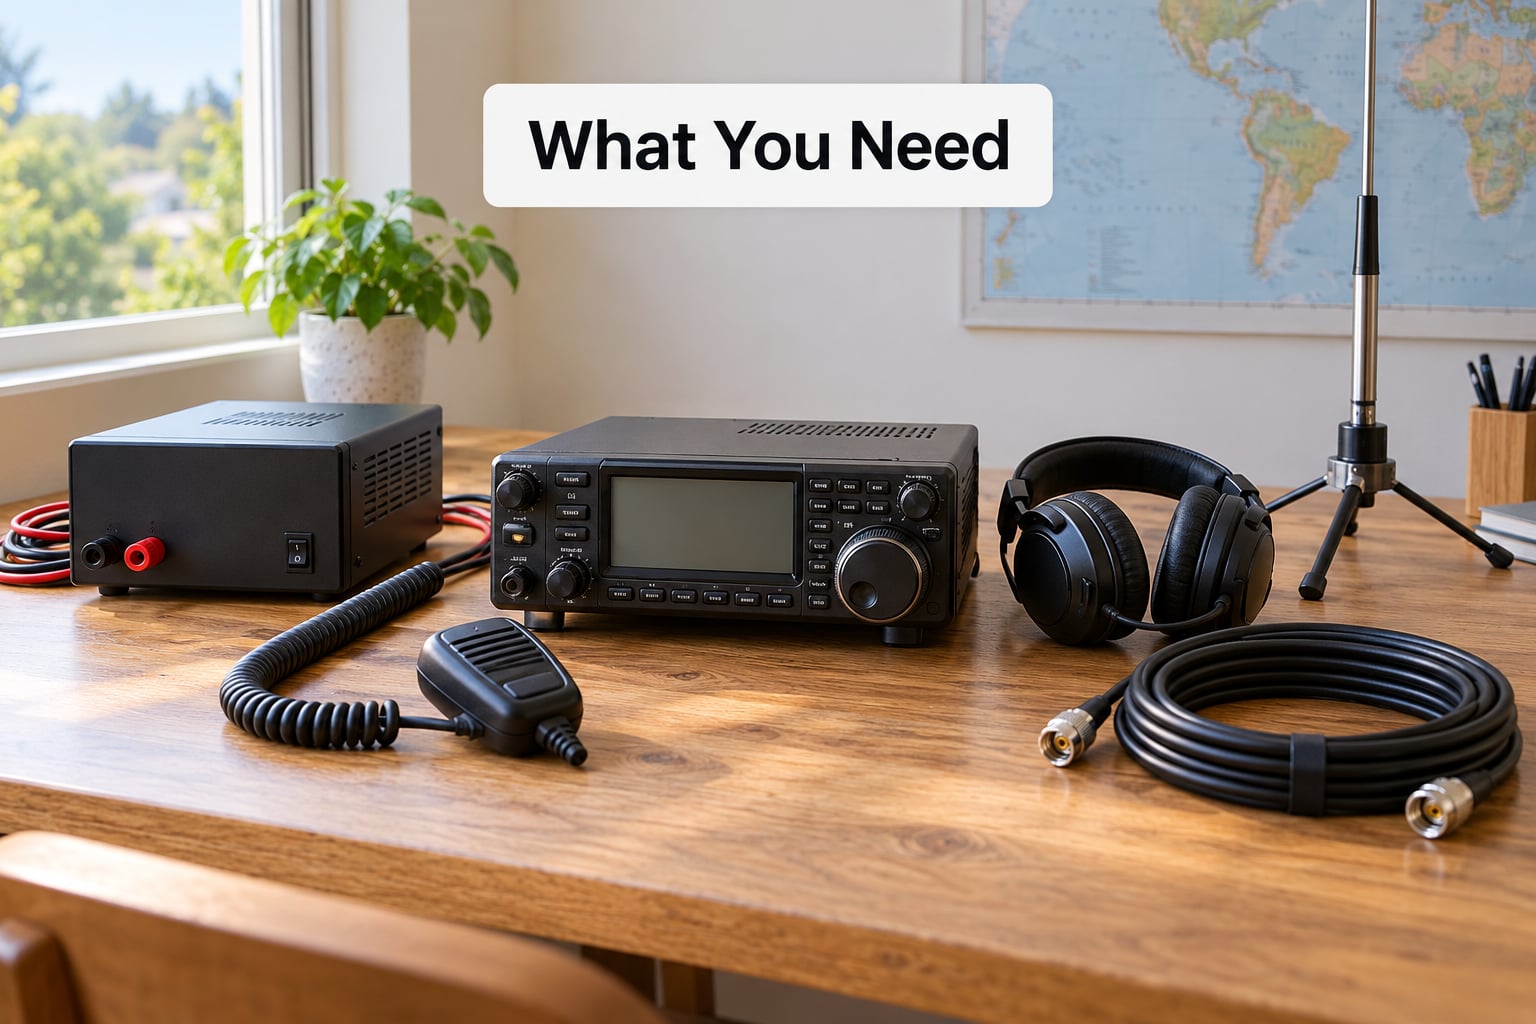
A working first station needs six things, and only the first five require a purchase decision. The sixth is the one beginners skip, and it is usually why their station hums or howls when they transmit.
- A licensed transceiver. A Technician-class license is the entry point in the US, and it opens the 2 m and 70 cm repeater bands plus most of the HF bands on your first day. Study free, take the exam, and register your call sign with the FCC before you transmit anything.
- An antenna matched to where you live. A homebuilt dipole is the standard first choice because it costs almost nothing and performs well. In an apartment, a magnetically mounted whip or a hidden wire dipole works instead.
- 50-ohm coaxial feedline. RG-213 for long runs, RG-8X or RG-58 for short ones. The length matters only in that a longer run loses more signal, so buy the minimum that reaches your antenna.
- A 13.8 V DC power supply with enough current headroom for your radio’s transmit draw, plus a correctly rated fuse in the positive lead.
- A microphone, and headphones or an external speaker. Headphones cut station noise almost completely and are worth more to a new operator than any gadget.
- Bonding: a ground rod, heavy ground braid, and one common connection point for the radio chassis, power supply, and feedline shield. This is the item that separates a station that works from one that misbehaves.
Match the parts to each other and skip the rest. A transceiver, an antenna cut for the band you want to operate, and a good bond will carry you a long way; amplifiers, rotators, and signal processors can wait a year. Veterans put it plainly: the best radio is the one you can afford and will actually use.
How to Set Up a Ham Radio Station for Beginners
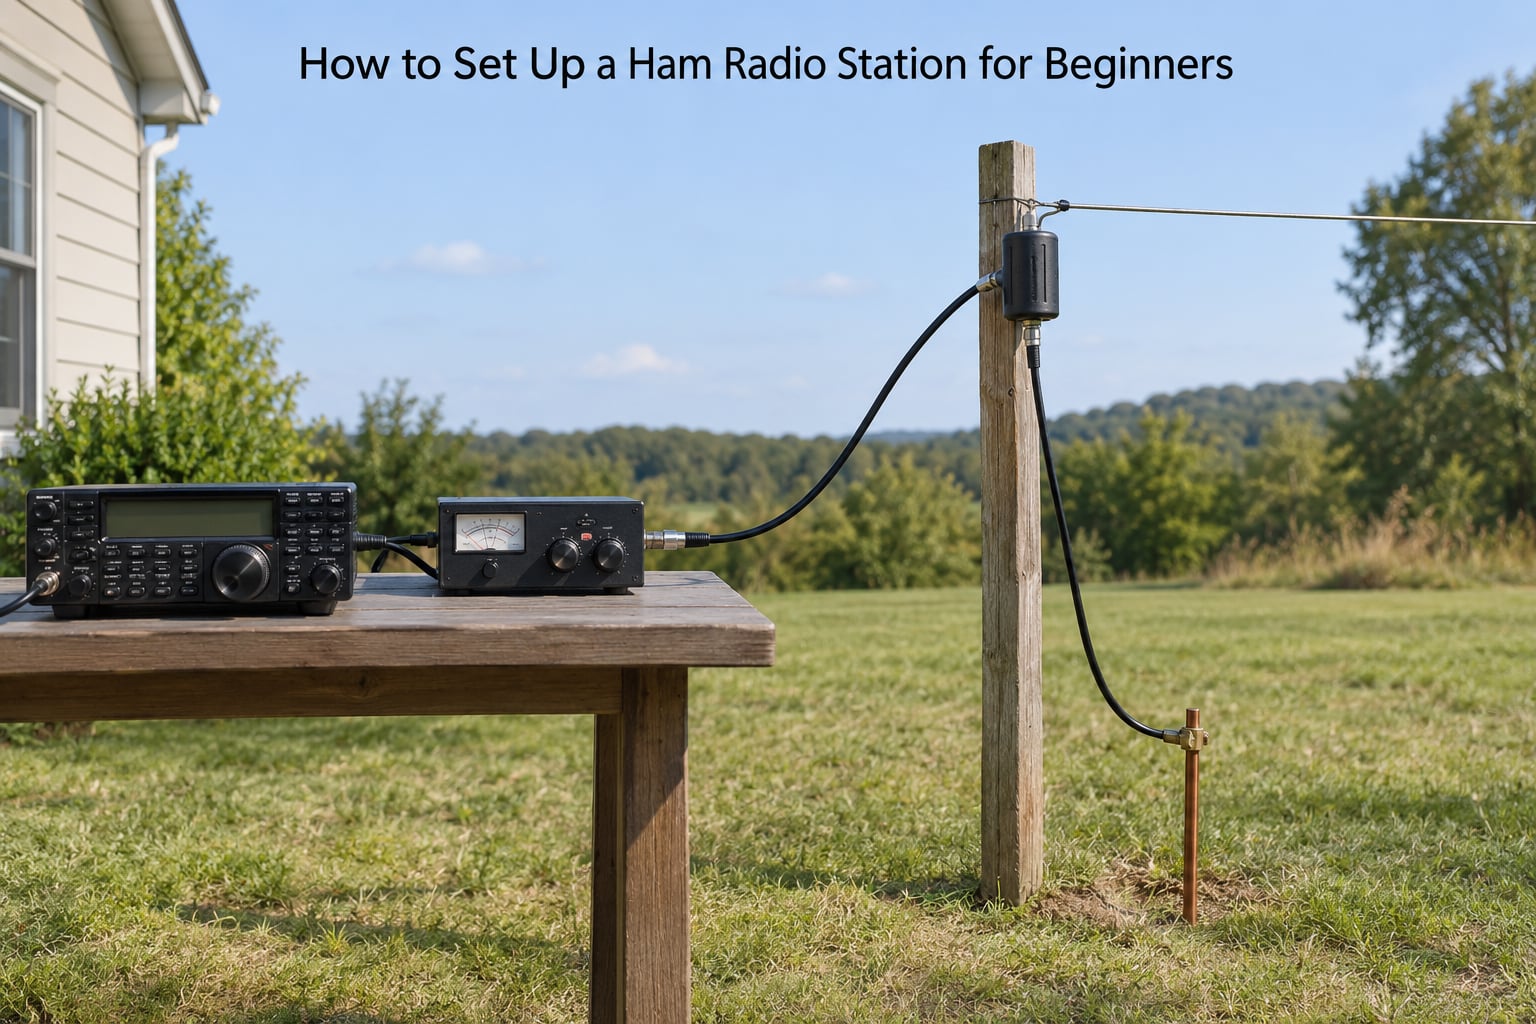
The order below is the order that works. Work through it once and you will have a station that transmits cleanly, receives quietly, and can be adjusted with an SWR meter and a screwdriver.
The signal chain runs like this: microphone into the transceiver, transceiver through the antenna tuner, tuner into the coax, coax into the 1:1 balun, balun into the antenna wire, and the coax shield bonded to ground at the station end. Everything downstream of the microphone is one path, and a break anywhere along it shows up as a high SWR reading.
Choose a radio and antenna that work together
Pick the radio first, then cut the antenna for the bands it covers. Most modern transceivers have a built-in antenna tuner that handles modest mismatch, but it cannot rescue a badly placed antenna, and it does nothing for a receiver-only radio with no tuner at all.
Decide what you want to do on the air before you buy. Local repeater work on 2 m and 70 cm means a handheld or a VHF/UHF mobile radio. Talking across continents means HF, which means a base station transceiver and a wire antenna you can get clear of the building.
Think about space next. A dipole needs two supports about 40 feet apart at minimum, plus height. A vertical needs a place to mount a mast and a ground plane of radial wires. A random wire can hang from anything, but it is the least predictable antenna you can own, and it puts high common-mode current on the feedline where it can stress your radio’s output stage.
| Antenna | Space needed | Direction | Difficulty |
|---|---|---|---|
| Half-wave dipole | Two supports, 40 ft or more apart | Bidirectional | Easy, few parts |
| Inverted V | One tall support, apex at 30 ft or more | Broadside | Easy |
| End-fed wire | One support, 40 ft or higher | Broadside | Easy but needs a tuner |
| Vertical | Mast plus radials | Omnidirectional | Moderate |
| Random wire | Anything you can tie to | Unpredictable | Easy, unpredictable results |
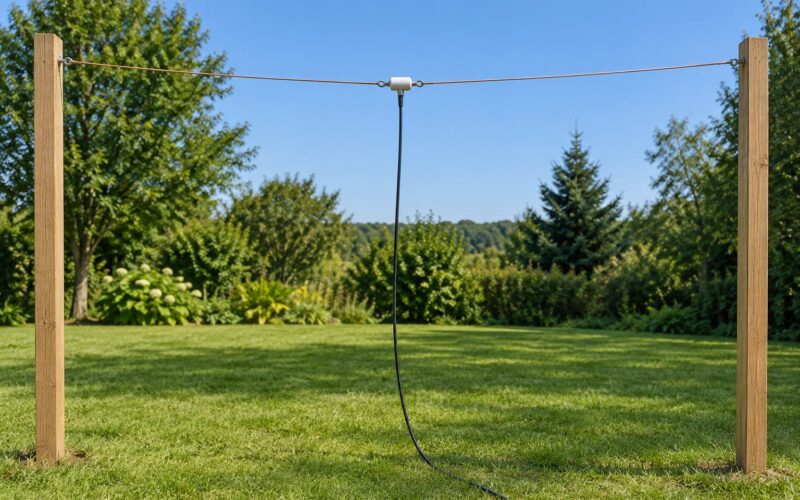
Cutting a dipole to length is the one bit of math worth learning. The formula is 468 divided by the frequency in megahertz, and that gives you the full wire before you cut it into two halves.
| Band | Frequency | Total wire | Each leg |
|---|---|---|---|
| 40 m | 7.15 MHz | 65 ft 5 in | 32 ft 8 in |
| 30 m | 10.15 MHz | 46 ft 1 in | 23 ft 1 in |
| 20 m | 14.20 MHz | 32 ft 11 in | 16 ft 6 in |
| 17 m | 18.12 MHz | 25 ft 10 in | 12 ft 11 in |
| 15 m | 21.25 MHz | 22 ft 1 in | 11 ft 1 in |
| 12 m | 24.95 MHz | 18 ft 9 in | 9 ft 5 in |
| 10 m | 28.40 MHz | 16 ft 5 in | 8 ft 3 in |
Cut the wire a few inches long, trim to length, and shorten a leg an inch or two at a time while watching SWR. Many people cut exactly to formula and are disappointed, because nearby objects shift resonance and the wire sags when it is hung.
Set up a safe power and grounding arrangement
Put the power supply on a solid surface with airflow, keep it off the floor, and run a fused positive lead to the radio. The negative side goes straight back to the supply terminal unless your manual calls for something different, and you follow the manual when it does.
Grounding and bonding are two different things and beginners mix them up. Grounding means connecting to earth for safety and lightning current. Bonding means connecting everything to a single common point so stray RF has one short path instead of finding your equipment.
Install a ground rod following local electrical code, bond every piece of metal in the station to it with copper braid, and bond the feedline shield to the same point at the radio end. A widely cited rule of thumb is an 8-foot rod, but the better advice from antenna references is to drive the longest rod your soil and local code allow and treat it as one link in a bonding system, not a cure-all.
Here is the honest part: a ground rod does not fix common-mode noise on its own. If your coax shield is picking up RF because it runs alongside your microphone cable, fix the cable routing. Move the mic lead away from the coax, add an RF choke on the feedline at the radio, and your transmit hum usually disappears.
Do not modify household wiring, install lightning protection, or mount anything structural on your own. Grounding touches your home’s electrical system, and a licensed electrician is the right call for the bond to your service panel and for any mast work above your roofline.
Connect the microphone, antenna, and accessories
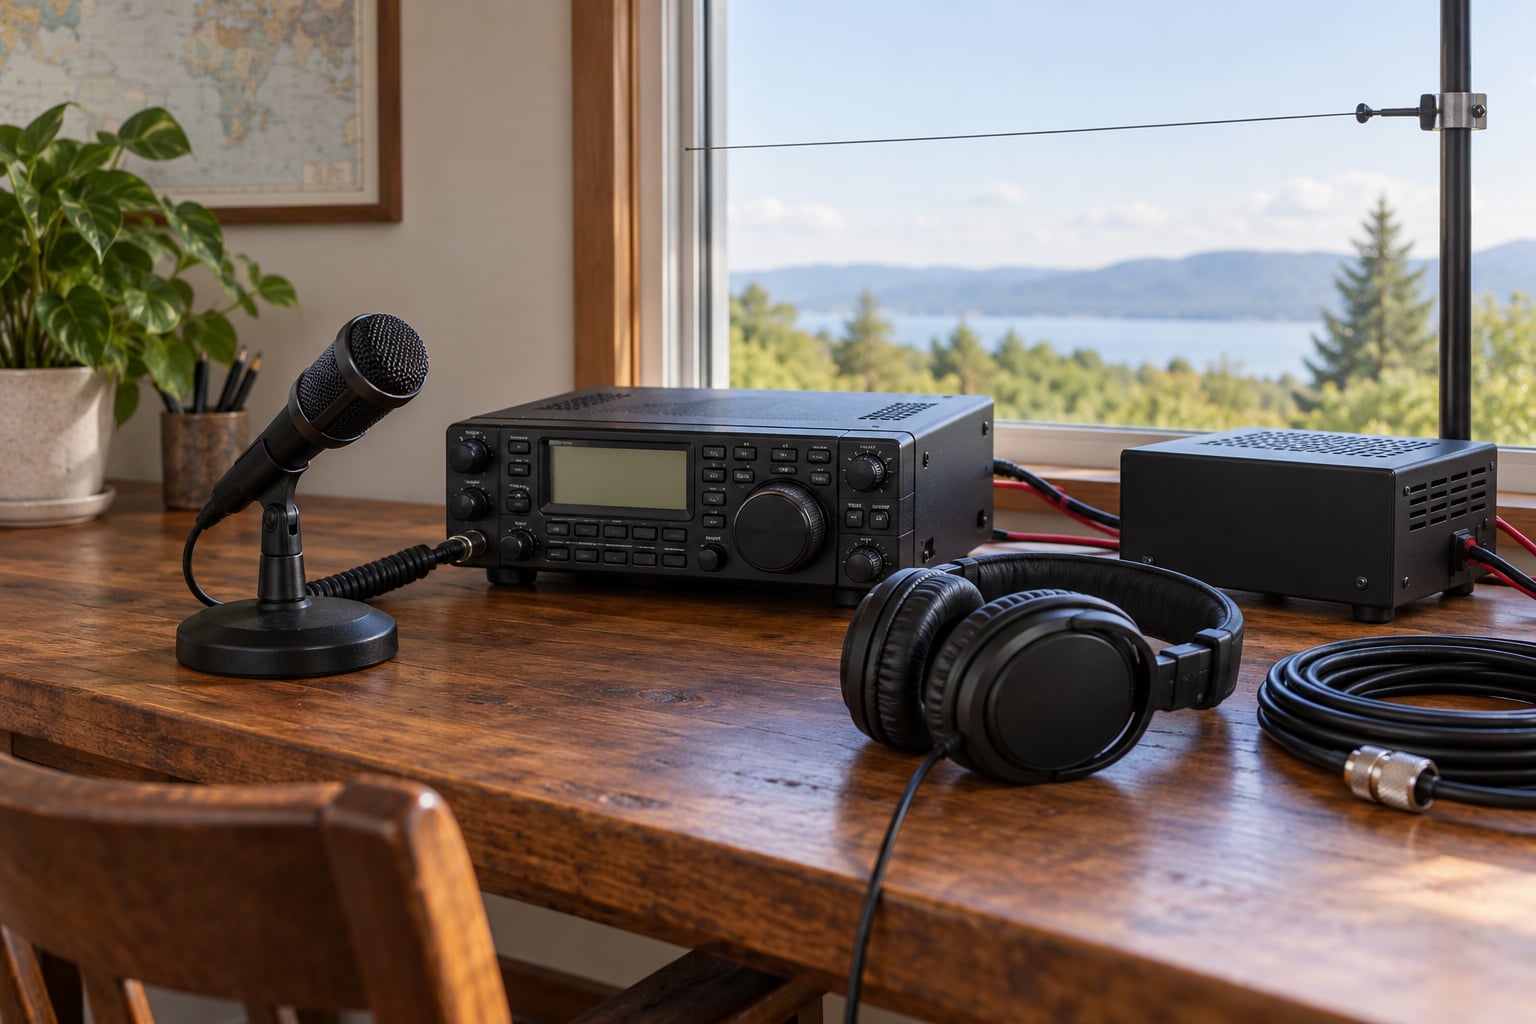
Work from the radio outward and keep the supply switched off until every connector is finger-tight. Microphone into the mic jack, headphones into the headphone jack, speaker into the external speaker jack if you use one, and coax into the antenna connector on the back.
Coax connectors come in two common types: SO-239, the threaded female socket that screws onto the back of most transceivers, and PL-259, the threaded male plug you screw onto it. Tighten them with your fingers plus a quarter turn of a wrench. Too loose gives you high SWR; too tight cracks the center pin and gives you an intermittent fault instead.
For a homebuilt dipole, connect the wire to the feedpoint like this: cut the wire, strip about an inch of insulation from each leg, and run each leg through the center hole of an SO-239 to form a mechanical bond, then solder the bare wire to the terminal. Fit a 1:1 current balun, weatherproof the joint with self-amalgamating tape or heat-shrink, add strain relief so the wire cannot pull on the terminal, and run the coax down to the station.
Skip the balun and your coax becomes part of the antenna, which detunes the dipole and pushes RF current back into the radio. It costs very little and it is the difference between a clean feedpoint and a mess.
Program frequencies and check the radio
Power the supply on first, then the radio. Confirm the display shows the expected voltage, set the band and mode, and watch the signal-strength meter as you tune across a busy frequency to find a peak reading. That peak is a station, and it is the easiest way to confirm your receiver works.
Set the microphone gain so your normal speaking voice just reaches full scale and does not peg it, then back it off. Open the squelch until background noise disappears but quiet signals still get through. Set the time-out timer if the radio has one, so a stuck key cannot transmit indefinitely.
Test transmit into a dummy load or into a properly terminated antenna, never into an unknown open line. A low power test into a high-SWR antenna is how beginners burn out amplifier transistors, and the fix afterward is not cheap.
Install and align the antenna
Mount the antenna as high and as clear of other structures as you can, because height beats everything else. A dipole at 30 feet in the open outperforms the same dipole at 15 feet beside a chimney, and beginners on r/HamRadio hear that advice more often than any other.
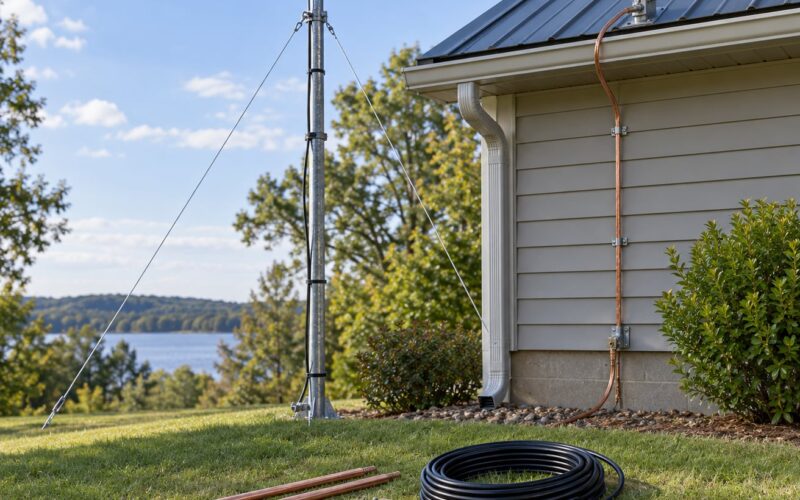
Secure every support, use rope or UV-rated line rather than twine, and keep the antenna well clear of power lines, metal roofs, and anything people can reach. A vertical mounted hard against the house technically works, but the wall detunes it, the low ground reference hurts, and you still have to keep it clear of windows and roof edges.
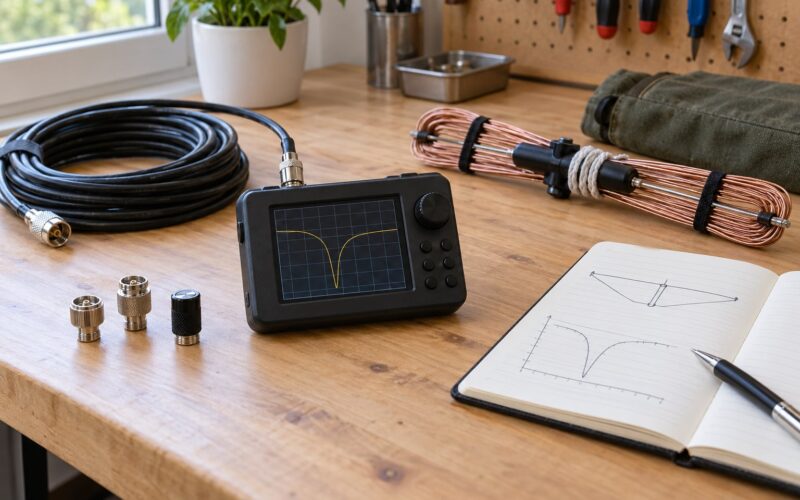
Check feedpoint behavior with an SWR meter or the radio’s built-in meter. Under 1.5:1 on your chosen band is good, under 2:1 is workable, and anything above that means fix the installation rather than transmit into it.
If you need to trim, shorten the leg that reads higher on the meter side, or lengthen both legs by the same small amount, and recheck. On a fan dipole, move the coupling loop and leave the elements alone. An antenna tuner can smooth out the mismatch, but it does not move a bad antenna to a good location.
Find local activity and make a first contact
Before you transmit, listen. Pick a frequency where you hear regular activity, note the call signs and what people say, and you will learn more in twenty minutes of listening than in an hour of reading.
For a beginner ham radio station, the repeater is the friendliest door in. A handheld on a repeater a few miles away talks to a much larger area, because the repeater receives on one frequency and transmits on another at higher power from a good antenna site. That is why a cheap handheld feels like a real station.
Then make a first contact. Listen, pick a clear frequency, key up, and say your call sign first, followed by the other station’s, then your location and radio. Something as plain as “This is a new operator, my call is W9XYZ, running a handheld from an apartment in Ohio” works every time.
Log the contact. Record the date, both call signs, the frequency and mode, and a short note about what you heard. Paper is fine; most logging apps are free. The log is how you prove the station is working, and it is the habit that turns fiddling into operating.
Other Questions New Operators Ask
Is ham radio hard to learn?
It is easy to start and rewarding to keep learning. The license exam is a memorization exercise, and studying for it teaches you the bands, call signs, and basic electricity you need for the rest of the hobby. The operating side, reading the signal meter, understanding propagation, and working a pileup, takes years, and nobody expects that from a beginner.
What is the 3-3-3 rule in amateur radio?
It is a personal milestone many operators set instead of a formal award: three years of operating experience, three contacts on three different continents, and three different radio bands. It has no official status. It works well as a first-year goal because it pushes you toward HF bands and away from staying on one local repeater.
What is the golden rule of amateur radio?
Different groups phrase it differently, but the version cited most often is simple: do not transmit without identifying your station, and never key up on a frequency where people are already talking. Listening before transmitting is the second half of the same rule, and it is the half that keeps new operators welcome.
Common Mistakes
Almost every first-station problem traces back to one of a handful of mistakes, and each has a straight fix. Work down this list before you go shopping for a new accessory.
| Symptom | Likely cause | Fix |
|---|---|---|
| High SWR on every band | Bad coax connector or wrong cable type | Re-seat and retighten, check for shield damage |
| Radio hums on transmit | Coax shield carrying common-mode current | Add an RF choke and separate mic from coax |
| Noisy reception on 20 m after dark | Common household electronics | Move the antenna away from LED lighting, routers, and switch-mode supplies |
| Signal weak, antenna looks fine | Antenna too low or too close to metal | Raise it and increase clearance |
| Transmitter gets hot or protects itself | High SWR from a mismatched or broken antenna | Fix the feedline before transmitting again |
| Repeater works but simplex does not | Programming or wrong offset | Recheck the offset and programmed channels |
Five mistakes come up over and over. The first is a mismatched antenna, which the fix above handles: cut for the band, mount it clear, and check SWR before transmitting. The second is a loose or wrong connector, cheap to fix and the single most common cause of a mystery high SWR reading.
The third is excessive transmit power. A transceiver rated at 100 watts connected to a marginal antenna is asking for trouble, so run low power while you learn. The fourth is assuming a ground rod fixes interference, when the real cause is usually cable routing or a noisy device in the house.
The fifth is transmitting without identifying your station, which is both against the rules and the fastest way to make a bad reputation on a local repeater. If you are not sure whether a frequency is open, listen through a full round of conversation first.
One last tip: before you blame the radio, check the ends. Most faults live in a connector, a crimp, or a connector that was cross-threaded. Undo, inspect, and refit before you open the radio case, and you will avoid a repair bill you did not need.
Frequently Asked Questions
How much does it cost to set up a ham radio station?
A minimal station starts with a handheld transceiver, a spare antenna, a short coax run, and a small power supply. A VHF/UHF setup with a commercial antenna adds more but stays modest. A full HF station with a base transceiver, tuner, antenna, and a good station supply is the largest step, and it is the one worth saving for once you know which bands you want to work.
Do I need a license to set up a ham radio station?
You can build and test equipment before you are licensed, but you cannot transmit. In the US you need an FCC amateur radio license, and the Technician class exam is the standard entry point. It is open to anyone, there is no minimum age beyond the FCC rules, and you register your call sign with the FCC once you pass.
Can you use a coax cable for an FM antenna?
Yes, coaxial cable is the standard feedline for FM and VHF amateur antennas as well as HF. Consumer FM receivers use 75-ohm coax, while amateur transceivers are built for 50 ohms, so use 50-ohm cable such as RG-58 or RG-213 for amateur work and match the connector type to the radio.
Can I put a vertical wire antenna right against my house?
It will transmit, but the wall detunes the antenna and you lose your ground reference, so performance suffers. Clearance also matters for safety around windows, roof edges, and siding. Mount the vertical away from the building, keep it well clear of power lines, and treat any roof or mast work as a job for someone qualified.
What is one disadvantage of a random wire antenna?
Its resonance is unpredictable. A random length of wire will be badly mismatched on most bands without a tuner, showing a very high SWR, and it puts heavy common-mode current onto the coax shield and into the radio. It works well for casual listening but is a poor first transmitting antenna.
Do I need an antenna tuner as a beginner?
Not if your antenna is cut to the band and mounted well. Many transceivers include a built-in tuner that handles modest mismatch, but a tuner cannot fix a badly placed or damaged antenna, and it does nothing to stop RF from reaching your radio through the coax. Get the installation right first, then add a tuner if you need multi-band flexibility.
Conclusion
Three things first. Choose a radio and an antenna that actually match the bands you want to work and the space you have. Assemble the station safely with a fused power supply, correct connectors, and one common bond point for the radio, supply, and feedline shield. Then listen to local activity before you transmit, so your first transmission is a conversation instead of noise into an open channel.
Give yourself one careful setup session, then make contacts and log them. Every adjustment you make after that will be an informed one, and you will spend your money on the station instead of on the accessory pile.