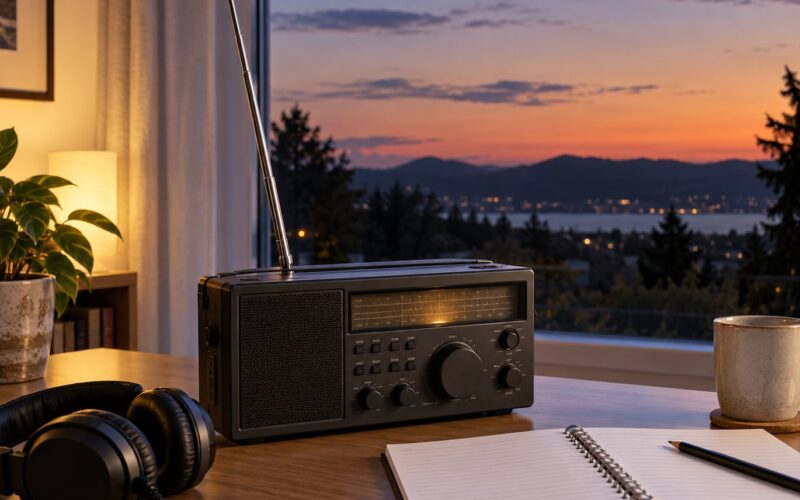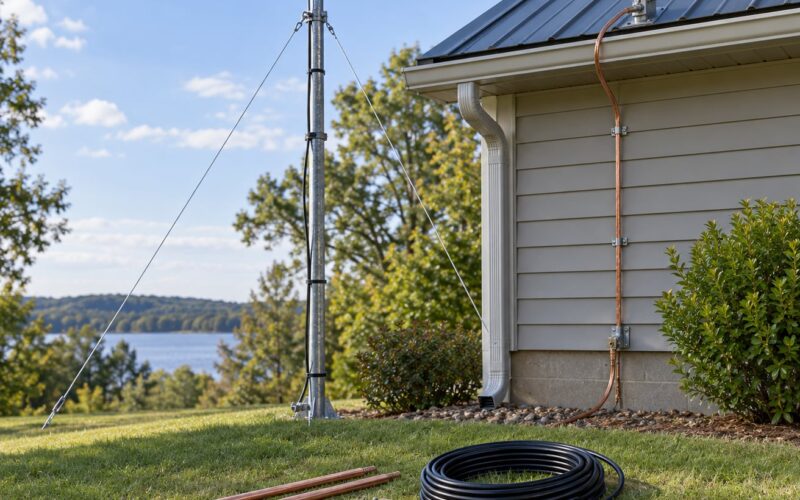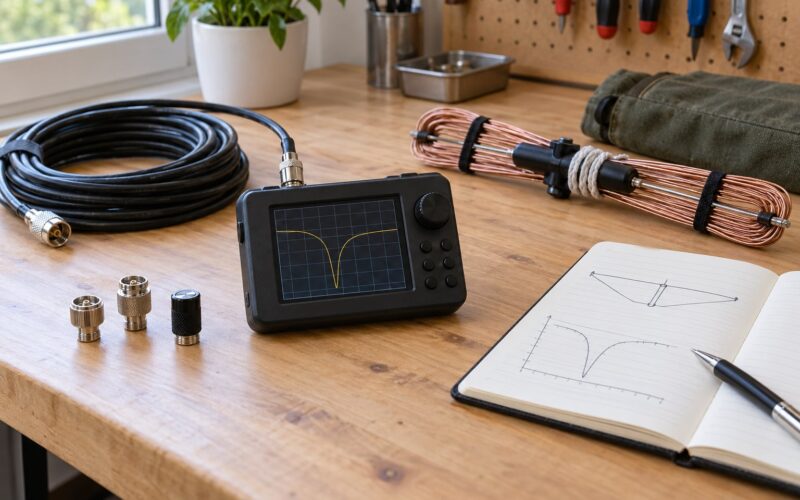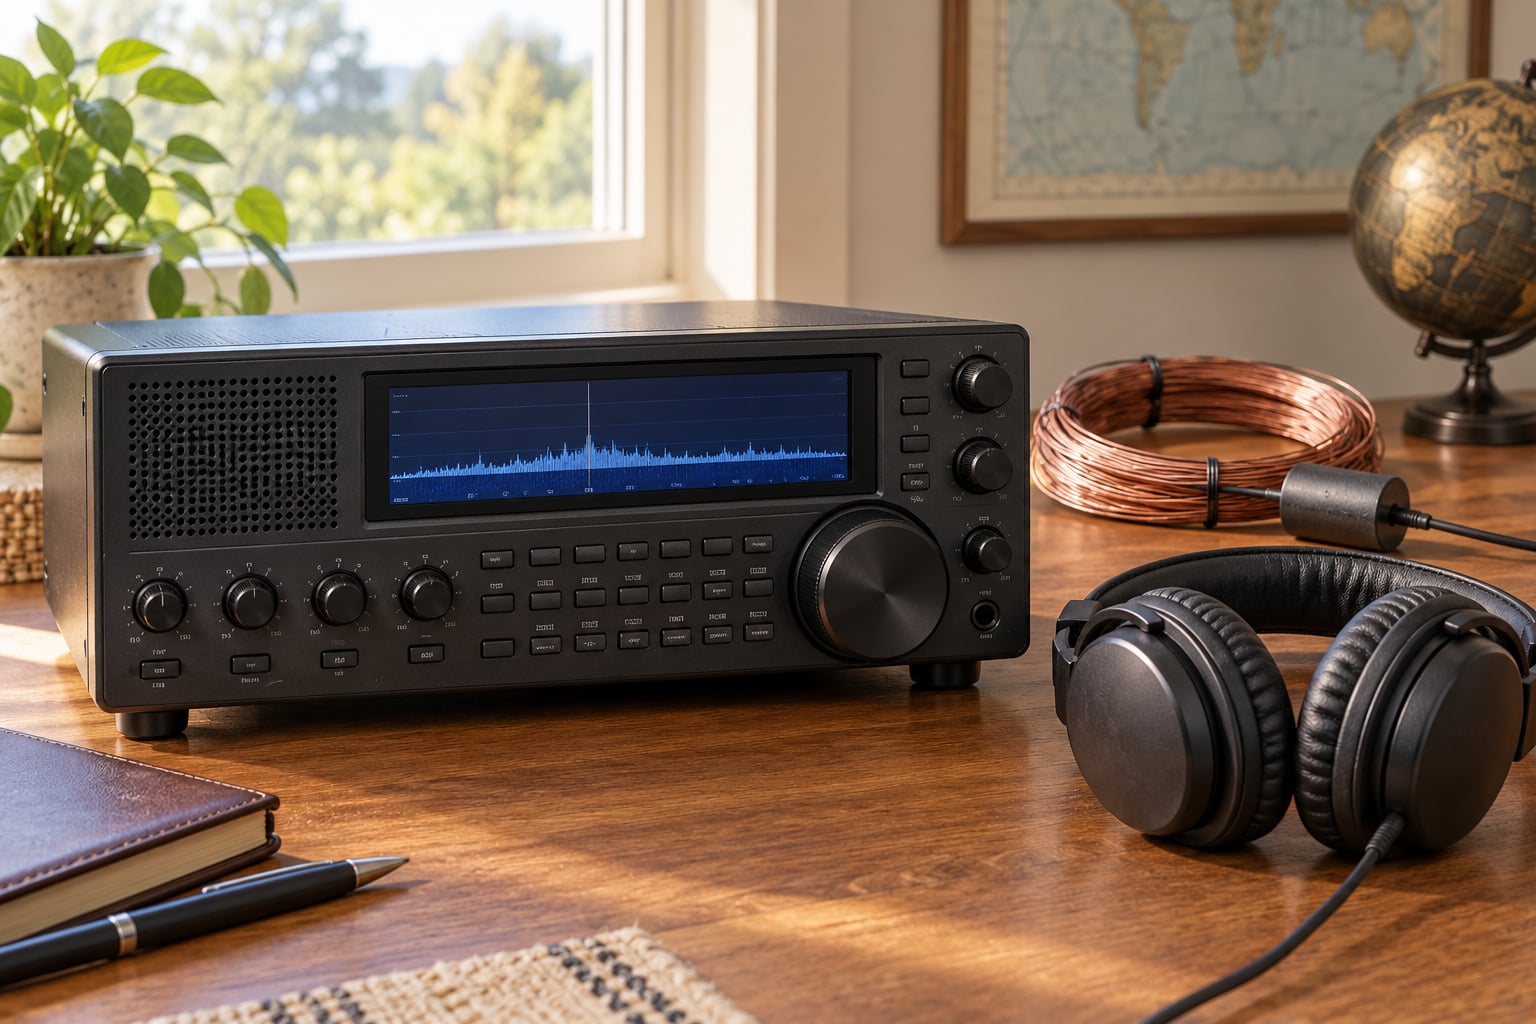
To start shortwave listening you need five things: a receiver that covers the HF bands, an antenna that works outside the radio, headphones, a run of coaxial cable with the right connectors, and somewhere to keep notes. That is the whole list. Everything else people tell you to buy first can wait a few months.
The hobby looks intimidating from outside because the forums are full of talk about impedance matching and propagation forecasts. Underneath, it is a radio, an aerial, and patience. If you want to hear what is happening before you spend anything, an online software-defined receiver will let you tune real shortwave stations from a browser tab tonight.
Table of Contents
- 1What You Need to Get Started in Shortwave Listening
- 2What you need to get started in shortwave listening, item by item
- 3How Shortwave Listening Works
- 4Choosing a Shortwave Receiver
- 5Portable shortwave radios
- 6Communications receivers
- 7Software-defined radios
- 8What specifications actually matter
- 9Choosing the Right Antenna
- 10Whip and telescoping antennas
- 11Longwire and random wire
- 12Dipoles and inverted-V antennas
- 13End-fed half-wave antennas
- 14Magnetic loop antennas
- 15Where to put it
- 16Essential Accessories and Optional Upgrades
- 17Buy these first
- 18Save these for later
- 19How to Set Up Your First Shortwave Station
- 20How to Find Stations and Frequencies
- 21Simple Ways to Improve Reception
- 22Frequently Asked Questions
- 23Can I listen to shortwave with a regular AM/FM radio?
- 24Do I need a ham radio licence to listen to shortwave stations?
- 25What is the cheapest useful shortwave listening setup?
- 26Do I need a long antenna to receive shortwave stations?
- 27Why does the same shortwave station disappear at night?
- 28Conclusion
What You Need to Get Started in Shortwave Listening
Here is the short version, in the order you will actually use it:
- A shortwave receiver that tunes roughly 3 MHz to 30 MHz, ideally with single sideband.
- An antenna outside the radio — 20 metres or more of wire, or the telescopic whip it came with.
- Headphones, because half of shortwave is faint and easily lost to room noise.
- Coaxial cable and adapters to connect an outdoor antenna to whatever connector your radio uses.
- A logbook, even if it starts as a notebook, so you know what you heard and where.
No licence is needed to listen. Receiving shortwave signals is legal in the United States and most other countries for anyone, anywhere, with no examination and no registration.
What you need to get started in shortwave listening, item by item
The receiver does the listening, and the antenna decides how much gets to it. That is the single most useful thing to understand before buying anything, because it explains why a modest radio with a good aerial beats an expensive radio with a stubby whip indoors.
Headphones are the item people skip and then regret. A station sitting at the edge of your noise floor in a quiet room can disappear under a refrigerator hum the moment you cut the volume on the speaker. Closed-back headphones keep room noise out of the signal chain.
The coax only matters when the antenna is outside the building. Twenty metres of cheap RG-58 from the shack to a receiver in the next room loses very little, and no cable will rescue a badly placed antenna.
The logbook sounds fussy, so start with a notebook: date, time in UTC, frequency, mode, and a note about what you heard. After a few evenings you will want to know why a station that was loud on Tuesday was gone on Wednesday.
How Shortwave Listening Works
Shortwave is the part of the radio spectrum between about 3 MHz and 30 MHz. Transmitters at these frequencies send signals up and out, and those signals bounce off layers in the ionosphere before arriving thousands of kilometres away. That bounce is called skip, and it is why a station in Asia can be as loud as one in your own country.
Skip distance depends on frequency. The ionosphere reflects lower frequencies such as 3 to 10 MHz much better at night, when the electrons recombine and the layer thins. During the day those same bands are usually best for shorter distances, and higher bands such as 15 to 22 MHz come alive after local sunset.
This is why the same radio, the same antenna, and the same frequency produce different results at breakfast and at ten at night. Nothing is broken. You are watching the ionosphere change.
Season matters too, because the sun’s position and the length of the day reshape the layers that do the reflecting. The upshot for a beginner is simple: have more than one band available, listen at different times, and stop expecting the day and the night to sound alike.
Distance also plays a role in a way that surprises people. A signal travelling by ground wave at low frequencies can fade out only a few hundred kilometres from the transmitter, while the same station at a higher frequency may skip past you entirely. Listening on several bands solves this.
Choosing a Shortwave Receiver
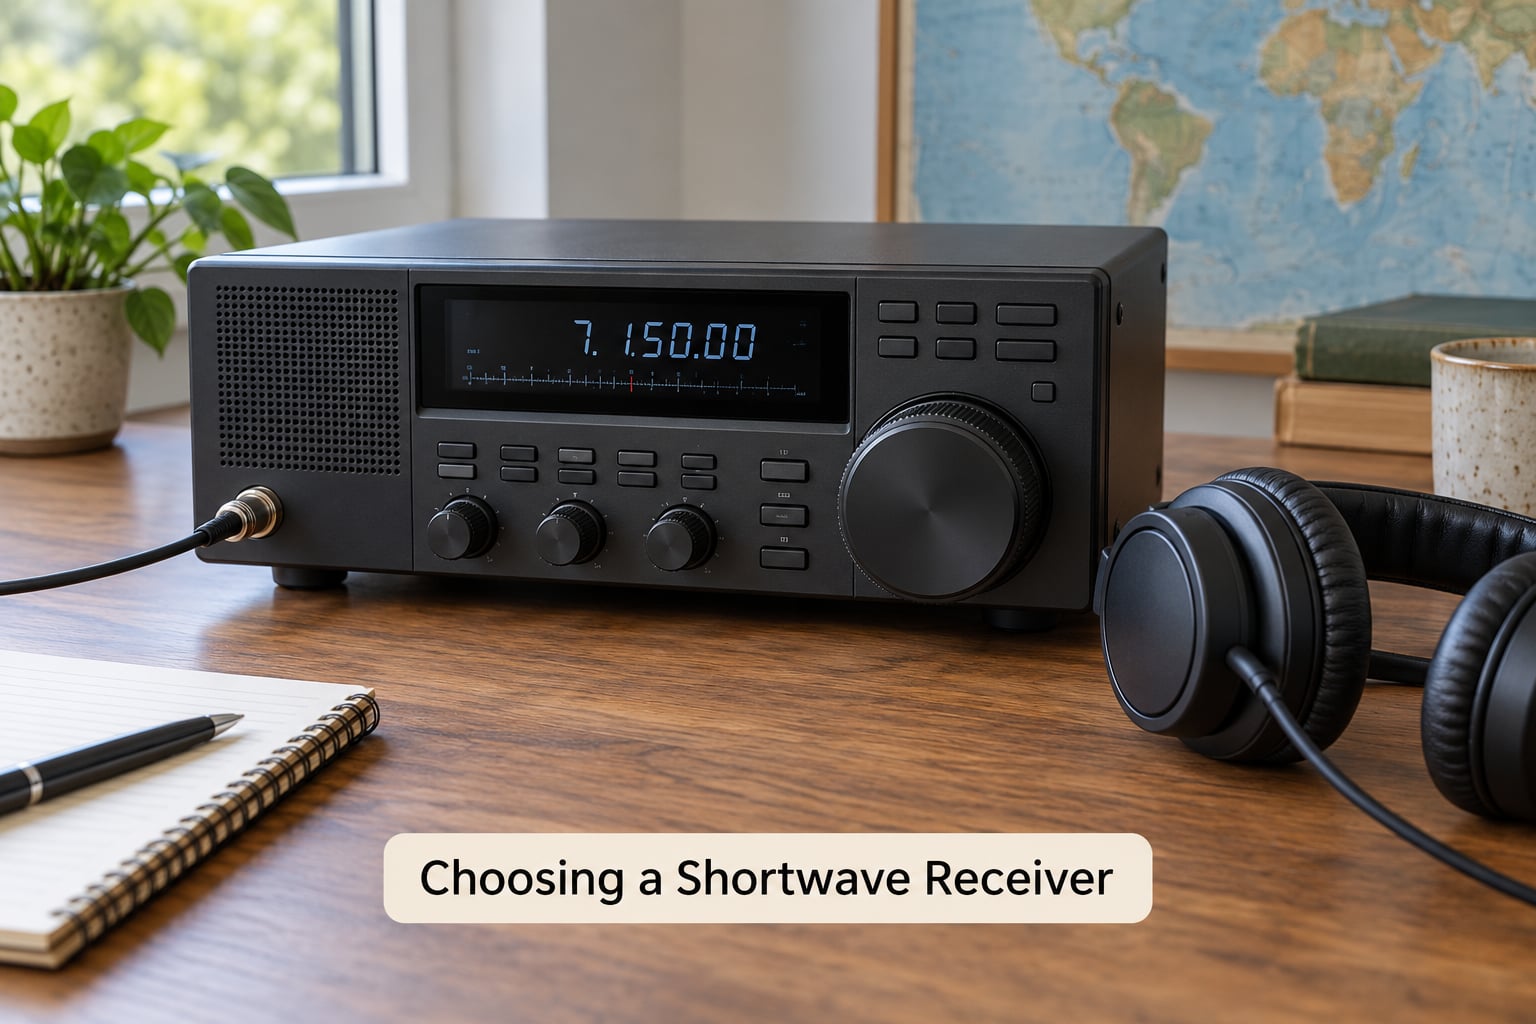
There are three classes of receiver and any of them will start you off. The right choice depends less on budget than on where you plan to listen.
Portable shortwave radios
A portable is a self-contained battery-powered set with a telescopic whip, a headphone jack, and usually AM, FM and a few SWB bands. Their reception is good enough to hear time signals, tropical-band broadcasters and utility stations within a few thousand kilometres.
The tradeoff is tuning resolution and filters. Analog portables drift as they warm up, and their narrow filters are not as good at separating two stations sitting close together. For a first purchase, though, they win on portability and on not being able to break anything.
Communications receivers
A communications receiver — often called a desktop set — is a stationary radio designed for one job. They typically cover a wider range with gaps, offer better single sideband performance, have finer tuning steps, and take an external antenna through a proper connector.
Regulars on shortwave forums usually recommend against making one of these your very first purchase. The extras you get, like narrow filters, memories and an attenuator, mean nothing until you know which stations you actually want to work.
Software-defined radios
An SDR uses a dongle or a receiver front end and does the decoding on a computer, so you get a wide frequency range and a real waterfall display showing every signal in a slice of spectrum. SDRs are the weakest option as a first purchase, because you trade an easy-to-use dial for software setup.
They are the strongest option once you want to see what is on the air. Watch the waterfall while tuning and you will spot stations that a conventional radio steps straight over.
What specifications actually matter
| Specification | Why it matters | Beginner priority |
|---|---|---|
| Frequency coverage | Look for continuous coverage across the HF range rather than a handful of narrow bands | High |
| Single sideband | Upper and lower sideband are where utility, maritime and amateur stations live; AM-only sets miss most of them | High |
| Tuning resolution | Finer steps let you sit on a signal instead of drifting past it | Medium |
| External antenna connector | Lets you leave the whip behind when you move outdoors | High |
| Headphone output | Necessary for weak signals; a speaker buries them | High |
| Battery or DC input | Battery for portable work, DC for a fixed shack | Medium |
| Narrow IF filters | Separates crowded bands, but you will not miss them for months | Low |
| Noise blanker and attenuator | Helpful in noisy cities and during thunderstorms | Low |
| Frequency memories | Saves time once you have a list worth saving | Low |
Check for the antenna connector before anything else. Some budget sets use a proprietary screw-on fitting that will not accept standard adaptors, which quietly limits every antenna upgrade you might want later.
Choosing the Right Antenna
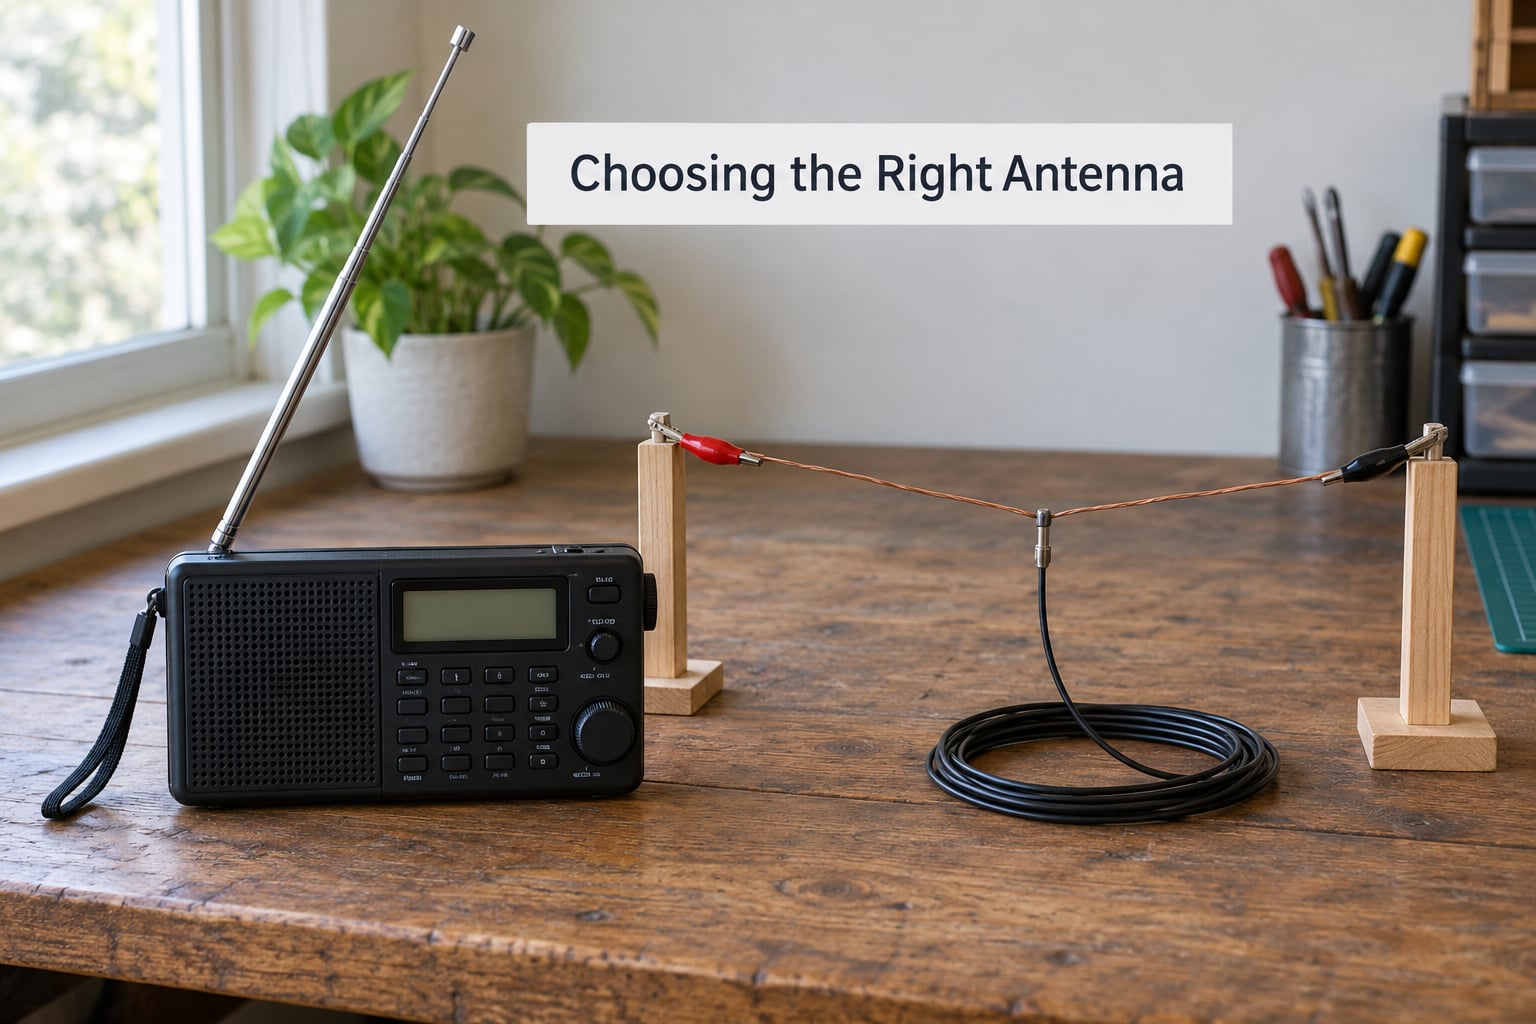
The antenna matters more than the receiver. A radio can only amplify what the aerial delivers, so a cheap set with 20 metres of wire outdoors will out-perform an expensive set with the whip crammed indoors.
Whip and telescoping antennas
The telescoping whip that ships with a portable is a genuine antenna and a fine way to start. Extend it fully, keep the radio away from computers and unshielded power supplies, and hold it upright near a window. Inside a reinforced concrete building in a city, expect modest results. Outside, it is a legitimate setup.
Whips are strongly directional at their working length, so pointing the tip toward the station usually helps. That is one of the cheapest improvements you can make.
Longwire and random wire
A longwire is a long wire run as a horizontal or sloping element. Contrary to what beginners hear in forums, you do not need 150 metres of it. Somewhere around 20 to 40 metres is enough to hear broadcasts from thousands of kilometres away, and a thin wire strung between a window frame and a tree or a fence line works surprisingly well.
End-fed wires need a matching device at the feed point, because a plain wire presents an impedance the receiver’s input does not expect. That is what a 9:1 unun does — it transforms the impedance so the receiver sees roughly what it wants.
Dipoles and inverted-V antennas
A dipole is a straight wire with a feed point in the middle, cut to about half the wavelength for the band you want. For 7 MHz, that is a little over 20 metres total. An inverted-V is the same wire with the centre pulled up to a support, which halves the space needed and broadens the bands it receives well.
A framed dipole is light, cheap and folds for travel. One made from wire on a plastic or wooden frame can be hung out of a window and taken in when the weather turns.
End-fed half-wave antennas
The EFHW covers 40, 20, 10 and 15 metres on one wire with the right coupler, which makes it a common first outdoor antenna for people who want one installation instead of four. The 40 and 80 metre versions need a lot of space, so check the length before you commit to a support point.
Magnetic loop antennas
A loop works entirely by the magnetic field around a wire loop, so it largely ignores local electrical noise. That makes it the standard answer for apartment and city listening, where a long wire is impossible and noise from the building is heavy.
Most commercial loops are tuned to a band or two. A broadband loop needs more wire and more support than beginners expect, so start with a tuned loop for the 20 or 40 metre band and move up later.
Where to put it
Outdoor, above as much of the building as you can, away from metal, and higher than the surrounding clutter. Avoid running a wire across a road, under power lines, or anywhere people can walk into it. If you go above roof level or attach anything to a chimney or mast, follow local rules and get a qualified installer to handle the structural part.
Indoors, a window-mounted framed dipole or a whip near a window is a sensible starting point. Measure whatever space you have, then multiply the length by two and a half to get the whole wire for that frequency band.
Essential Accessories and Optional Upgrades
Some accessories earn their cost on the first evening. Others will sit in a drawer until you have a station worth improving.
Buy these first
- Closed-back headphones with a comfortable long cord. The single most useful accessory in the hobby.
- A small external speaker if other people in the house need to hear what you are hearing.
- Coaxial cable in the length your installation needs, plus the adaptor that matches your receiver’s connector. RG-58 or RG-8X is fine for shortwave.
- Ferrite toroid chokes to clip on the coax where it enters the building. Cheap ones solve a surprising share of humming and buzzing.
- A clock showing UTC. Schedules and station identifications are given in Zulu time, and getting this wrong costs you a lot of listening.
- A notebook or logging software to record frequency, time, mode and signal quality.
- A power bank if your radio runs from USB, so long sessions do not end with a flat battery.
Save these for later
- An antenna tuner. Useful once you have several antennas and a fixed installation. One box does not rescue a badly placed antenna.
- Unun transformers, if you plan to feed end-fed wire through 50-ohm coax.
- Recording gear. A simple USB interface or a recorder with a line input lets you capture weak signals and sort out overlapping transmissions later, which matters more than any single upgrade once you are hooked.
- An SDR dongle, once you want to see the whole band at once instead of hearing it one frequency at a time.
- Second-hand receivers. The used market for older communications receivers is enormous and well priced. Check that the dial mechanism is smooth and that every band comes in.
One myth worth killing early: expensive coax is almost never your problem. RG-58 loses roughly 1.2 dB over 100 feet at 30 MHz. A badly matched antenna loses far more than that. Buy adequate cable, put the money into the aerial instead.
How to Set Up Your First Shortwave Station
Work through this in order on one evening. Total time is about an hour, including setup.
- Charge the battery or set up mains power. Success looks like a receiver that stays on the same frequency for fifteen minutes without drifting off it. That is a good first test of the radio itself.
- Connect headphones. Success looks like station noise at a comfortable level with the volume turned well down.
- Extend the antenna fully and place the radio near a window, away from computers, monitors and unshielded power bricks.
- Power on and tune to 10 MHz in AM. Success looks like a steady carrier hiss rather than pure silence. If you hear nothing at all, work through the antenna and antenna-switch settings first.
- Tune up and down slowly across the band. Stop when a voice appears and hold there. This is your first station.
- Write it down. Frequency, time in UTC, mode, and what you heard. Success looks like a list you can come back to.
- Extend the wire. Attach 20 metres or more of wire to an external connector and re-tune. Success looks like several new stations appearing on frequencies that were empty minutes before.
- Verify with the time signals on 10 MHz and 15 MHz. Success looks like a steady tone that ticks once a second on the minute. Nothing proves your setup is working faster.
Put the receiver where you can reach it with headphones on. Most listening is done sitting down, and a station that requires you to stand beside the radio is a station you will stop hearing.
How to Find Stations and Frequencies
Scanning sounds like tuning randomly, but it works better with a plan. Know the mode, know the band, and know roughly what time of day suits it.
Start in AM on the 49 and 60 metre bands, where a large number of international broadcasters live. Switch to single sideband when you move to utility frequencies, where stations often have no call sign, no music and no schedule you can find easily. Numbers stations, maritime weather and aviation traffic all sit in these bands.
| Frequency | What you will hear | Best time |
|---|---|---|
| 2.5 MHz | Time signals from North America and the Pacific | Night |
| 5 MHz | Time signals and some utility stations | Day and night |
| 10 MHz | Time signals, plus short-path opportunities in daylight | Daytime |
| 15 MHz | Time signals and strong daytime broadcast traffic | Daytime |
| 20 MHz | International broadcasters, strongest after sunset | Day and night |
| 49 and 60 metre AM bands | Tropical and regional broadcasters, many in other languages | Night |
| Air band near 118 to 137 MHz | Aircraft and tower chatter, very active | Daytime |
| Amateur bands | Two-way ham radio conversations and contest pile-ups | Day and night |
Telling a real station from noise takes a few evenings of practice. A real signal holds steady, carries words you can pick out, and often has a slow fade you can wait out. Static does not have consonants.
Utility signals are recognisable once you know them: the steady repeating tone of a numbers station, a woman reading a weather bulletin in a shipping forecast, or a machine-like tone used as a navigation beacon. Numbers stations are unlisted by design, which is part of their appeal for listeners.
Write everything in UTC. Station schedules are published in Zulu time, so a broadcast that starts at 0400 UTC may not appear until your evening or your early morning depending on where you sit.
Schedules and station lists change constantly, as do the bands themselves. Treat any frequency list you find, including this one, as a starting point rather than a schedule.
Simple Ways to Improve Reception
These are the adjustments that produce real gains, roughly in the order they are worth trying.
Move the antenna. One metre often changes more than any component you can buy. Higher, further from metal, and away from household wiring.
Add wire. Going from a 0.5 metre whip to a 20 metre wire is the upgrade that changes what you hear. Length and height beat thickness and brand.
Find the noise source. Humming that pulses in step with a dimmer or a switch-mode supply usually means common-mode current on the antenna or coax. Unplug devices one at a time to find it, then run the coax through a ferrite choke.
Try a different time. Bands that are dead at noon often come alive after local sunset. This one is free.
Pick the band for the distance. Lower bands reach further at night; higher bands are better during the day. Match the band to the station you want.
Ground the shack. A short ground connection to a proper radio earth can reduce noise in some setups, but it must follow local electrical code and be done by someone qualified where the code requires it. Skip it entirely if you are unsure.
Record weak signals. Some transmissions you cannot copy live come back clearly on a recording, because you can replay the same second several times.
No accessory guarantees stronger reception. Anyone who promises that with a single product is selling you something.
Frequently Asked Questions
Can I listen to shortwave with a regular AM/FM radio?
Not by itself. A standard AM/FM set covers the medium-wave and FM broadcast bands, which are different frequencies from the shortwave bands used for international broadcasting, utility traffic and time signals. What you can do is add an inexpensive converter or SDR dongle that shifts shortwave down into a range your existing receiver can hear. Many beginners do this first because it costs little and teaches them what shortwave sounds like before they commit to a dedicated set.
Do I need a ham radio licence to listen to shortwave stations?
No. In the United States, UK, EU and most other countries you may receive shortwave signals without any licence, registration or examination. Licences and rules apply to transmitting, not receiving. A small number of countries restrict reception of certain broadcasts, and the content carried on shortwave varies by country, so check local rules if you plan to rebroadcast or publish recordings.
What is the cheapest useful shortwave listening setup?
The cheapest genuine setup is a browser and a network receiver, which costs nothing and hears real shortwave stations worldwide. The cheapest hardware setup is a used portable shortwave radio, a pair of closed-back headphones and 20 metres of thin wire for an indoor antenna. Skip the coax, the tuner and the unun at this stage. Spend real money only when you know which bands you want and how much room you have to work with.
Do I need a long antenna to receive shortwave stations?
No. The idea that you need 50 to 500 metres of wire before you hear anything is the single most common myth in the hobby. A telescopic whip inside a house will receive time signals and nearby broadcasters immediately. Twenty to forty metres of thin wire outdoors reaches much further, but you can start tonight with what is in the box and add antenna later as your interest grows.
Why does the same shortwave station disappear at night?
Shortwave signals travel by ground wave and by reflection from the ionosphere. Those two paths interfere with each other, and at sunset the changeover is often abrupt: a fade-out is followed minutes later by a fade-in as the signal arrives by a different route. Lower bands such as 3 to 10 MHz fade out but come back after dark, while higher bands weaken. This is normal ionospheric behaviour, not a fault in your equipment.
Conclusion
Start with a portable or communications receiver that covers the HF range, a pair of headphones, and the antenna it comes with. Confirm the whole setup by hearing the time signals on 10 MHz, then hang 20 metres of wire outdoors and see how many more stations appear.
Everything past that — coax, a tuner, an unun, a dedicated loop, software-defined radio — should wait until you have a station you listen to regularly and a specific problem that one of those solves.