You can install an antenna in an apartment, and most people do it without touching the building at all. The whole job is four decisions: where you put the antenna, what you bolt or strap it to, how you route the coax, and whether anyone with authority over the space has to say yes first. Budget an afternoon for a no-drill indoor or balcony setup, and a couple of hours on a weekend if a permit turns out to be involved.
There is a legal layer here too. FCC rules on over-the-air reception devices, written up at 47 C.F.R. Section 1.4000, give you real protection in some situations and none at all in others, and knowing which situation you are in before you buy hardware saves a lot of argument later. Start by reading the step on permissions, then pick your location, then mount.
If your building already has a shared coax system, there is a chance you can piggyback on it instead of running new cable. Worth checking before you plan a run through a window frame.
Table of Contents
- 1What You Need
- 2Step-by-Step Installation
- 3Step 1: Check the Lease, Building Rules, and RF Limits
- 4Step 2: Choose the Best Apartment Antenna Location
- 5Step 3: Assemble the Antenna and Mount It Securely
- 6Step 4: Route the Coax Safely
- 7Step 5: Ground and Protect Against Lightning
- 8Step 6: Connect the Radio and Test the Installation
- 9Step 7: Adjust, Document, and Maintain the Setup
- 10Common Mistakes
- 11Frequently Asked Questions
- 12Can I install an antenna on my apartment balcony?
- 13Do I need my landlord’s permission for an apartment antenna?
- 14What is the best indoor antenna for apartment ham radio?
- 15How can I install an antenna without drilling into the building?
- 16How do I reduce RF exposure from an apartment antenna?
- 17Why does my apartment antenna have high SWR?
- 18Conclusion
What You Need
The list is short, and most of it you can buy in one order. The pieces that trip people up are the feed line, the connectors, and the mount, not the antenna.
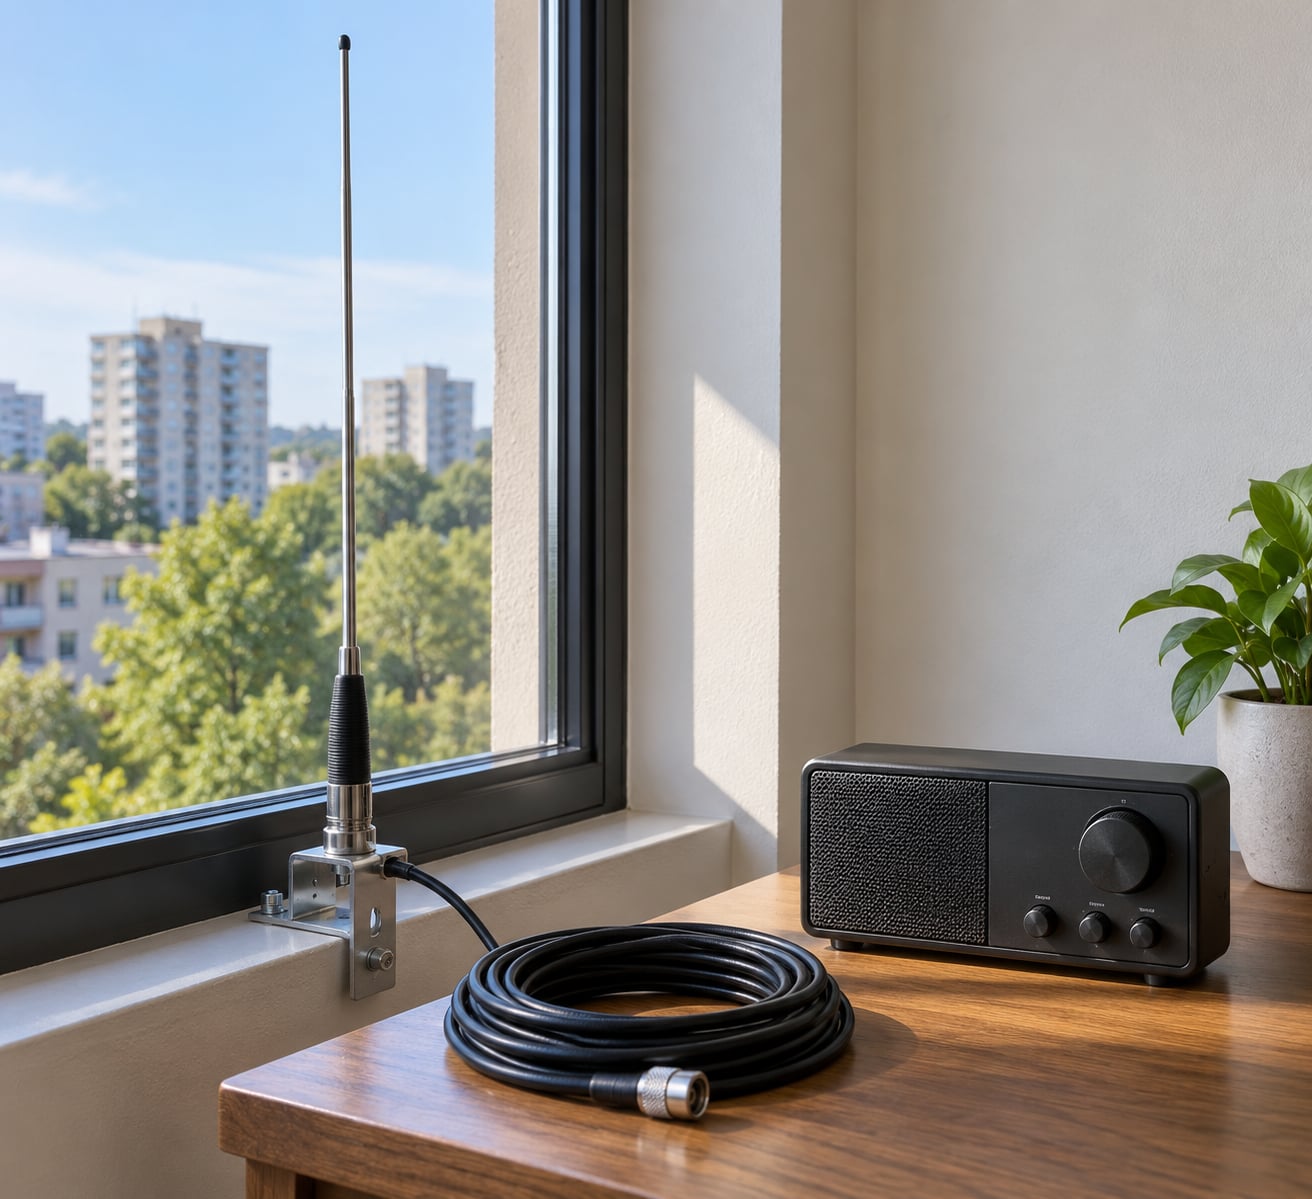
- The antenna itself. For VHF and UHF reception, an omnidirectional whip or a small multi-element array covers most apartment situations. For HF ham work, you want something you can feed with low-loss coax rather than a wire taped to a window.
- Feed line matched to the antenna. RG6 quad-shield is the standard for VHF and UHF. A lower-loss cable such as RG-8 or RG-213 makes a real difference on the HF bands where a balcony run can be 20 to 40 feet.
- Connectors. Type F for broadband TV, SO-239 or N-type for radio equipment. Budget a couple of spares because compression fittings strip easily when you retry them.
- Mounting hardware. Railing clamps, a weighted tripod, bungee cord, a suction-cup window mount, or a nonconductive mast section. Anything that grips rather than drills is the apartment default.
- Grounding and lightning-protection equipment. A ground block, outdoor-rated strap, and 10 AWG copper for the run down to a grounding point, plus a coaxial lightning arrestor if the antenna sits outside.
- Measurement gear. An RF power meter or field-strength meter for RF work, and for TV a tuner with a signal quality readout is enough to compare positions.
- Hand tools. Cable crimper, compression connector tool, screwdriver set, wrench, and a stud finder if you ever do mount to a stud.
- Paperwork. Your lease, the building or HOA rules, a written permission request, and any local permit form.
Match the feed line to the antenna before anything else. An antenna designed for a short factory pigtail loses several dB if you hang twenty feet of thin cable off it, and no amount of adjusting the antenna fixes that later.
Step-by-Step Installation
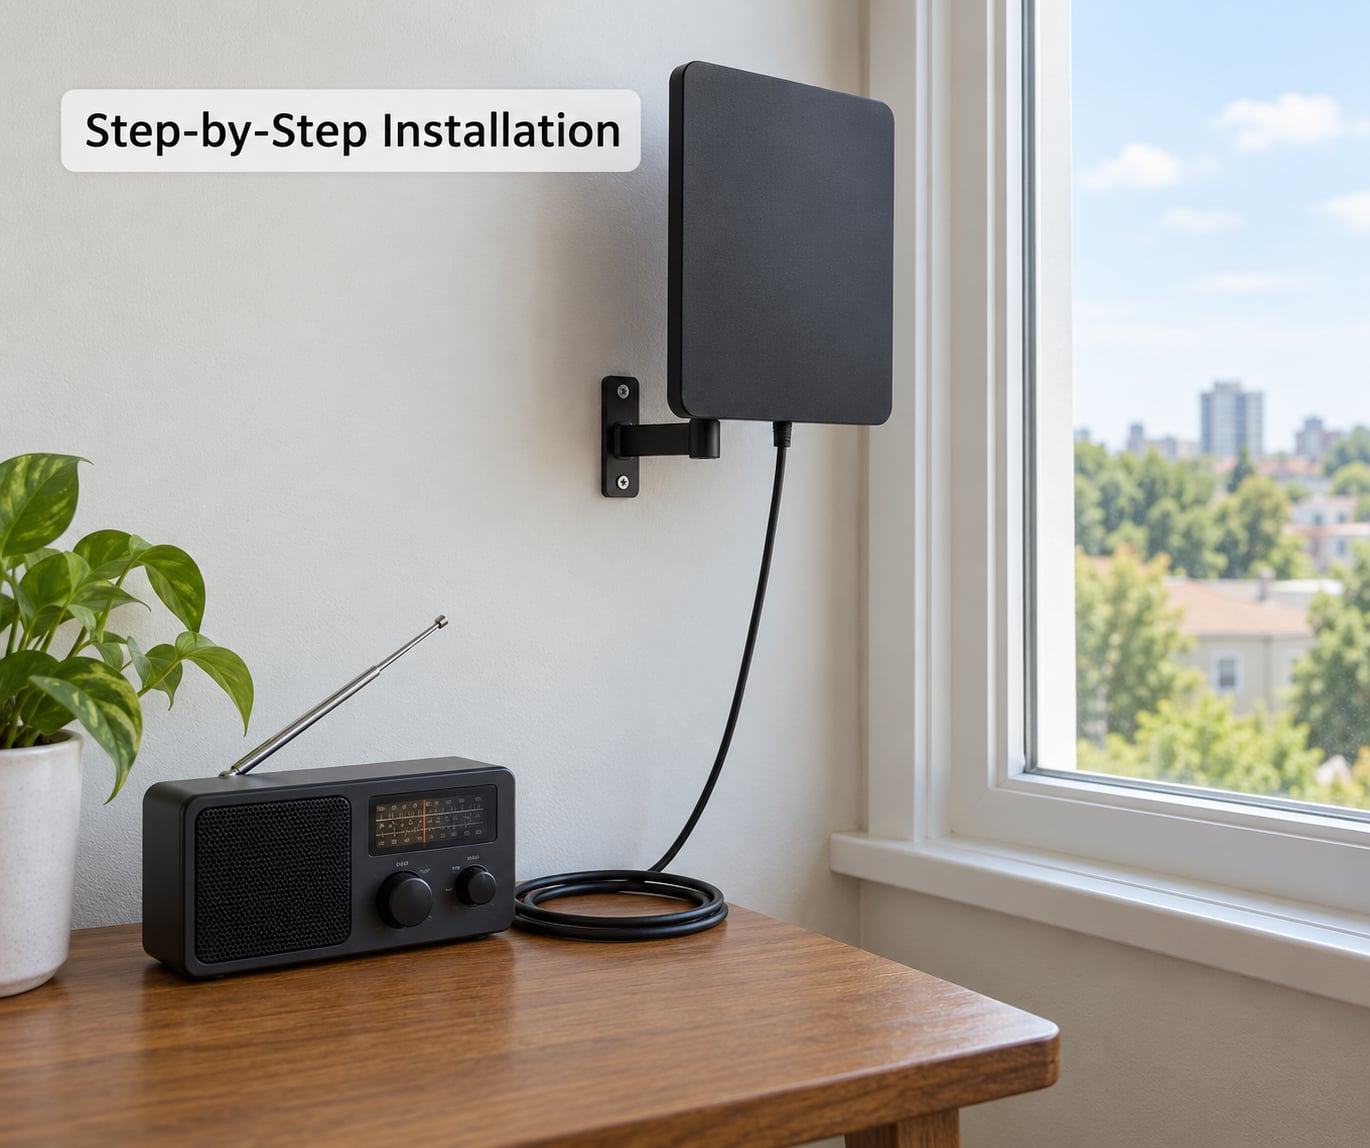
Step 1: Check the Lease, Building Rules, and RF Limits
Read the lease and the building rules first, before you buy anything. Look for clauses on alterations, exterior modifications, balcony use, and anything that names antennas specifically, then get your answer in writing rather than verbally from someone in the leasing office.
The regulation that matters is the FCC’s Over-the-Air Reception Devices rule at 47 C.F.R. Section 1.4000. It protects your ability to install and use a covered antenna on property you control, and it limits how a rule can restrict that: unreasonably delaying or preventing installation, unreasonably raising its cost, or preventing reception of a signal of acceptable quality are all fair-game targets for a challenge. The dimensional limit that shows up most often is 39 inches in every direction. An antenna that stays under that size and sits on your own exclusive-use area is in a much stronger position than a 20-foot mast on a shared roof.
Exclusive-use is the phrase that decides most apartment cases. A private balcony, patio, terrace, or deck is generally yours alone. A common roof, hallway, walkway, shared exterior wall, or the building’s mast is not, and that is where your protection thins considerably.
You verify this step by holding a copy of the written permission in your hand, with the specific location and mounting method named in it. If management says no verbally, ask for the reason in writing and the rule that supports it. The burden of showing a restriction is lawful sits with the property owner or association, not with you.
One more check while you are in the lease: RF exposure limits. Any antenna transmitting needs to stay clear of where people spend time, and a balcony railing or shared walkway is a poor spot for a live HF radiator.
Step 2: Choose the Best Apartment Antenna Location
Height helps, but the highest available point is rarely the easiest or the safest choice. Work down this list and stop at the first option that is both permitted and clear of obstacles.
- Top floor, private balcony or roof deck you own: the best case. Clear horizon in most directions, and the mount can be a weighted tripod or a railing clamp.
- Mid-floor balcony: the workhorse. Mount above the railing line on a clamp or strap, keep the coax jumper short, and check that you are not below a neighboring deck that blocks your view.
- Ground floor with a patio: workable if you have a post, pillar, or fence line tall enough to clear the tree canopy. A strapped mount to a solid pillar is a common solution.
- No balcony at all: indoor only. A window, an interior wall, or a whip mounted on a small tripod near the corner of the room with the best view.
You verify the location by checking which direction your towers sit and whether a neighboring building, an elevator shaft, or a rooftop mechanical unit blocks that line. Point the antenna toward the transmitter cluster, not toward the prettiest view.
Step 3: Assemble the Antenna and Mount It Securely
Assemble the antenna on the floor or a table first. Extend telescoping whips fully and lock each section, and on a wire or dipole-style antenna attach the feed point with the strain relief on before you raise it. Anything that goes up, you want to bring down without a ladder.
Mounting rules for apartments are simple. Use approved brackets, nonconductive supports, and grips that hold without piercing the surface. Add a drip loop at every entry point so water runs off the cable instead of into the connector, and leave strain relief at both ends so a tug on the coax never reaches the antenna or the radio.
You verify the mount by pushing and pulling the antenna in every direction. If it moves, creaks, or leans, or if the balcony railing flexes under the load, it is not ready. A railing that bows is a load you do not want on a lease.
Step 4: Route the Coax Safely
Keep the run short and keep it away from trouble. Parallel runs with power cables pick up interference, so cross them at a right angle instead of alongside them. Stay clear of metal HVAC equipment, sharp edges, and any shared walkway where a cable would be a trip hazard for people who are not you.
Use weatherproof connectors outdoors and seal any penetration you make. A door or window sweep with a flat section of RG6 is the standard trick for getting cable inside a window that still closes, and it is removable at move-out. Indoors, secure the cable with cable clips along the baseboard and keep it behind furniture rather than across walking lanes.
You verify the run by walking the length of it and checking that nothing pinches, kinks tighter than a gentle bend, or crosses a doorway. Then tug firmly at the coax where it enters the building. If the connector moves at all, tighten it before you go further.
Step 5: Ground and Protect Against Lightning
When an antenna sits outside, it needs a proper ground and a lightning-protection path. Follow the equipment manufacturer’s instructions, and follow the local electrical code, which generally calls for a ground block near the point of entry bonded to an approved grounding point with 10 AWG copper or heavier.
A ground is not the same thing as surge protection, and neither replaces the other. Where a coax run enters from outside, a coaxial surge protector between the antenna and the grounding point gives the surge a controlled path instead of letting it arrive at your radio. The rule about professional help is simple: any work on your building’s grounding electrode, any roof penetration, and anything close to power lines goes to a licensed electrician or a qualified installer.
You verify this step by confirming the ground connection is tight, the run is the shortest practical path to the grounding point, and the protector is inline in the correct direction. If your building has no accessible grounding point, that is a question for building management or an electrician, not something to improvise.
Step 6: Connect the Radio and Test the Installation
Connect at the radio end with the correct adapter, or through a tuner if your setup calls for one. On ham equipment, check SWR on a suitable dummy load or at low power before you transmit at full strength. A high reading on the first attempt usually means a bad connector, a coax that is not actually 50-ohm rated, or an antenna that is too close to a metal object.
Compare performance rather than guessing. On a receiver, note the signal strength reading in the same position before and after each change. An RF meter gives you a relative field reading that makes antenna placement an actual measurement instead of an opinion.
You verify the test by getting a low SWR reading and a repeatable signal measurement. If the reading jumps around as you move a single cable, stop and find the loose connection first.
Step 7: Adjust, Document, and Maintain the Setup
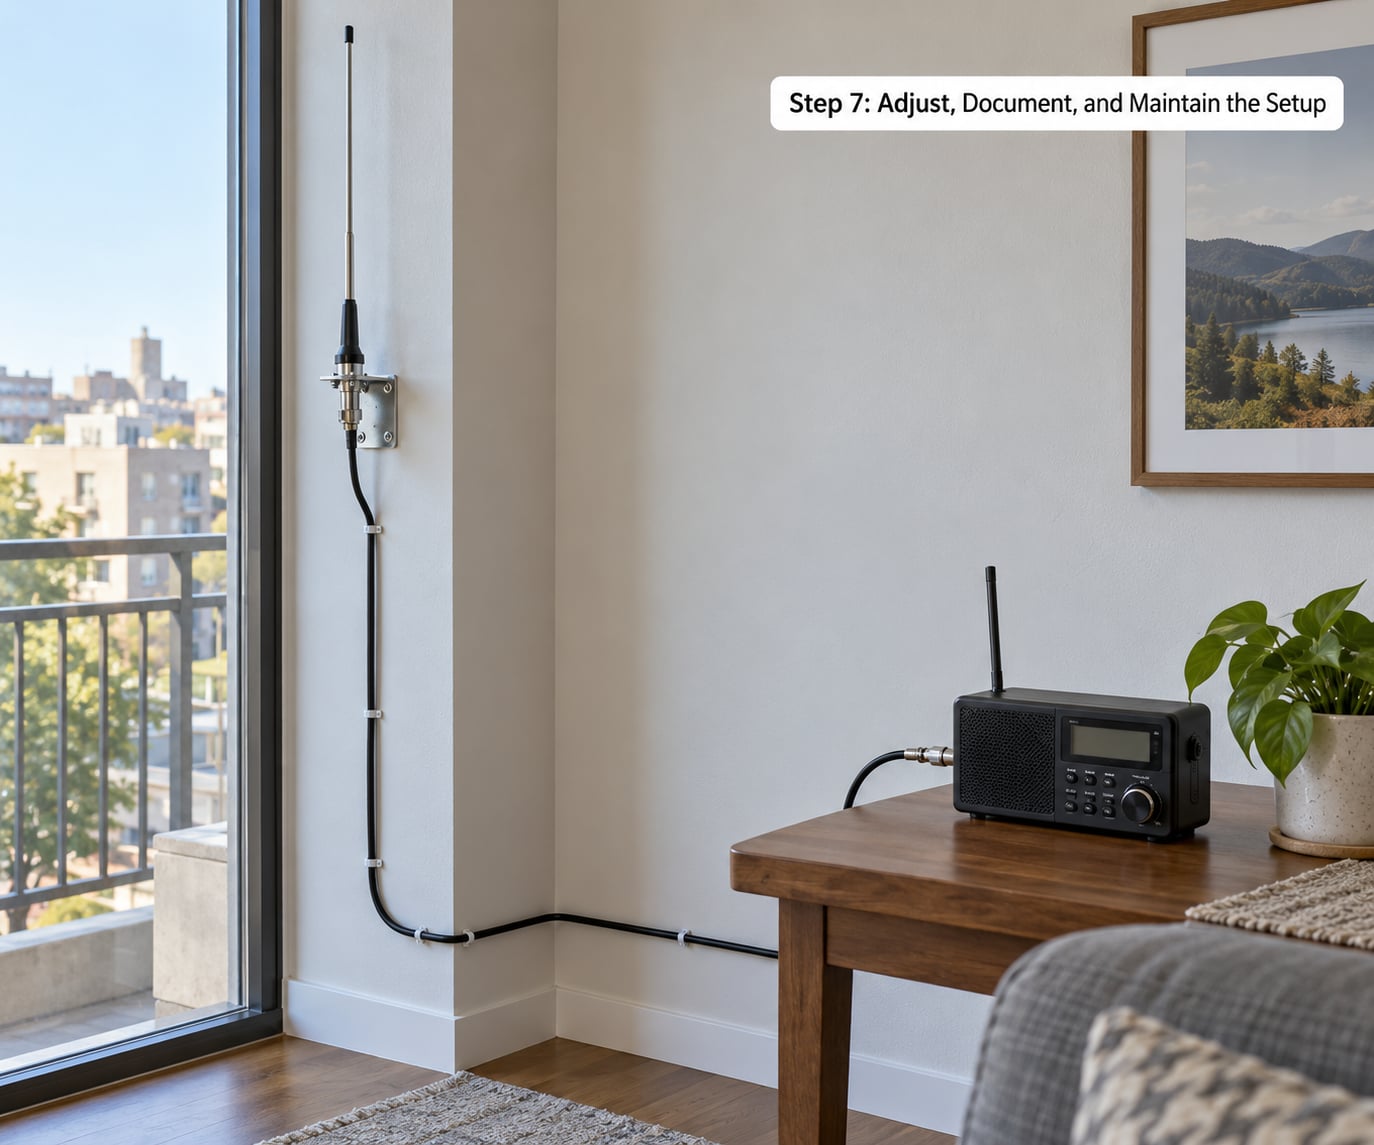
Most of the improvement in an apartment install comes from small adjustments. Shorten a whip, move the antenna up 30 centimeters, rotate it a few degrees off the railing to clear the metal, and retest each time. Change one variable at a time or you will not know what worked.
Write down what you did. A photo of the mount, a note of the coax length, the date, and the SWR or signal reading give you a baseline to return to when something changes in the spring or a neighbor moves.
Ongoing maintenance is quick. Inspect the seals and hardware twice a year, re-tighten compression connectors that weather has loosened, and look for corrosion at any outdoor connection. Plan for removal too: if the building rules change, if your lease ends, or if RF conditions around the shared areas change, take the whole setup down the way you put it up.
Common Mistakes
These are the errors that come up again and again in apartment threads, and each one has a straightforward fix.
- Mounting without written permission. Get the request and the approval in email, naming the location and the method. It protects you at move-out.
- Treating a metal railing as a ground. A railing is a conductor, not a grounding point. Bond to the building’s grounding system through a ground block.
- Pinch the coax in a window frame or under a door. Use a flat cable section, a foam gasket, or a proper entry point. A crushed connector is a future fault.
- Ignoring building penetrations. If you must pass through a wall or roof, get it approved and sealed. Unapproved penetrations are the classic move-out deduction.
- Mounting where people sit or walk. Reradiating antennas near a shared walkway or patio table put RF exposure on people who never agreed to it. Move the antenna or lower the power.
- Assuming an indoor antenna matches an outdoor one. Walls, rebar, window screens, and ductwork cost a lot of signal. Compare real readings rather than trusting a printed range.
- Not retesting after an adjustment. Every change invalidates the last measurement. Retest before you decide the new position is better.
Frequently Asked Questions
Can I install an antenna on my apartment balcony?
Usually yes, if the balcony is your exclusive-use area and the antenna stays under 39 inches in every direction. Those two conditions sit inside the FCC rule at 47 C.F.R. Section 1.4000. Shared roofs, walkways, and common exterior walls are treated differently, so a balcony you alone control is a much stronger position. Get written approval naming the balcony and your mounting method before you start.
Do I need my landlord’s permission for an apartment antenna?
Ask for it in writing even when the rules technically protect you. A short email that describes the location, the size, and that nothing will be drilled usually gets approved quickly and gives you something to show at move-out. If the answer is no, ask for the reason and the rule behind it in writing. The burden of showing a restriction is lawful sits with the property owner.
What is the best indoor antenna for apartment ham radio?
A telescoping whip mounted near a window and fed with low-loss coax, or a small loop-style indoor antenna if the whip will not fit. Interior walls, rebar, and ducting eat HF signals, so placement matters more than antenna design. Start unamplified, put a ferrite choke on the feed line to keep your own transmissions out of the receiver, and check SWR at each position before you transmit.
How can I install an antenna without drilling into the building?
Use a mounting method that grips rather than pierces: a railing clamp, a suction-cup window mount, a bungee cord around a solid pillar, or a weighted tripod on a balcony. A folded section of RG6 in a window sweep gets the coax inside without a hole. Test the position first, then secure the mount, and check twice a year that nothing has loosened.
How do I reduce RF exposure from an apartment antenna?
Keep the radiating element as far as people as practical, mount it above head height or above a railing, and avoid shared walkways and seating areas entirely. Lower power helps more than most people expect. Measure with an RF field-strength meter if you are near a boundary, stay within the transmitter limits your license and the FCC rules require, and ground the installation properly.
Why does my apartment antenna have high SWR?
Three causes account for most cases: a loose or corroded connector, coax that is not rated for your band and length, and a nearby metal object like a railing or HVAC unit changing the antenna’s impedance. Re-seat every connector, check the cable’s impedance rating, and move the antenna at least a meter clear of metal. If SWR stays high at multiple positions, test with a known-good short cable before blaming the antenna.
Conclusion
Read your lease and the building rules before you buy a single part, then find the highest spot you are actually allowed to use. Most successful apartment installs are a clamp or a bungee cord on a balcony, or a whip in a window, with coax run through a sweep instead of a drilled hole.
Start low impact and reversible. An indoor or approved window setup needs no permit, no inspection, and no argument, and you can move it to the balcony later if reception turns out to be marginal. Keep your measurements, keep your approval email, and take the whole thing down the way you built it when you move.