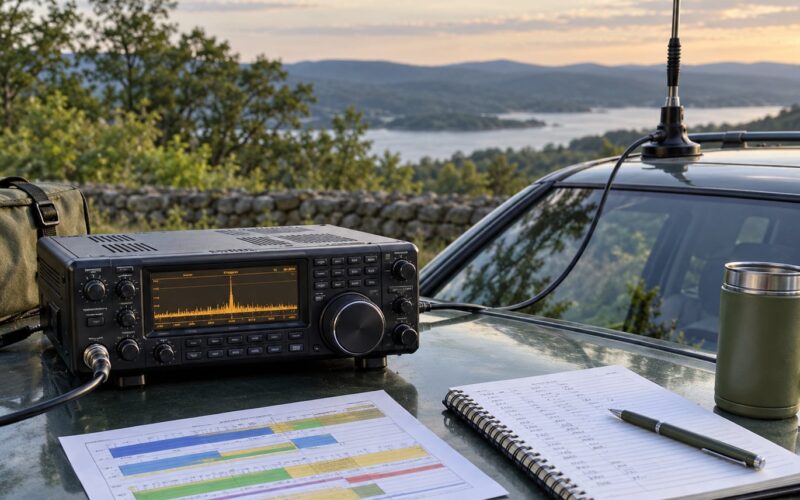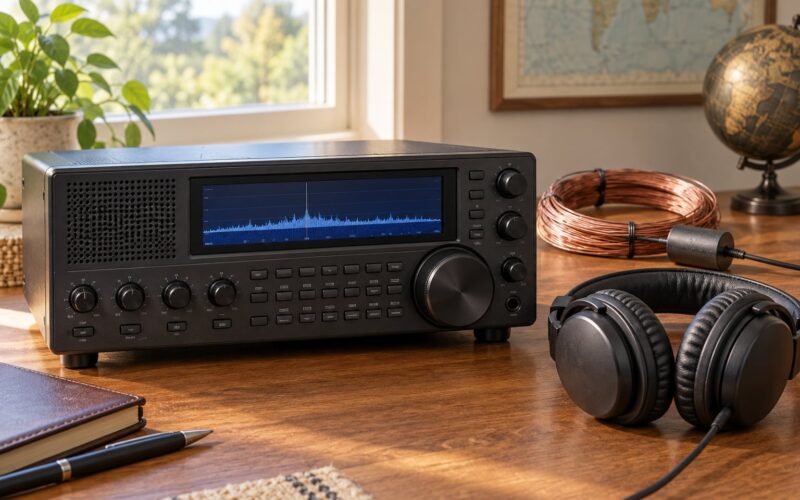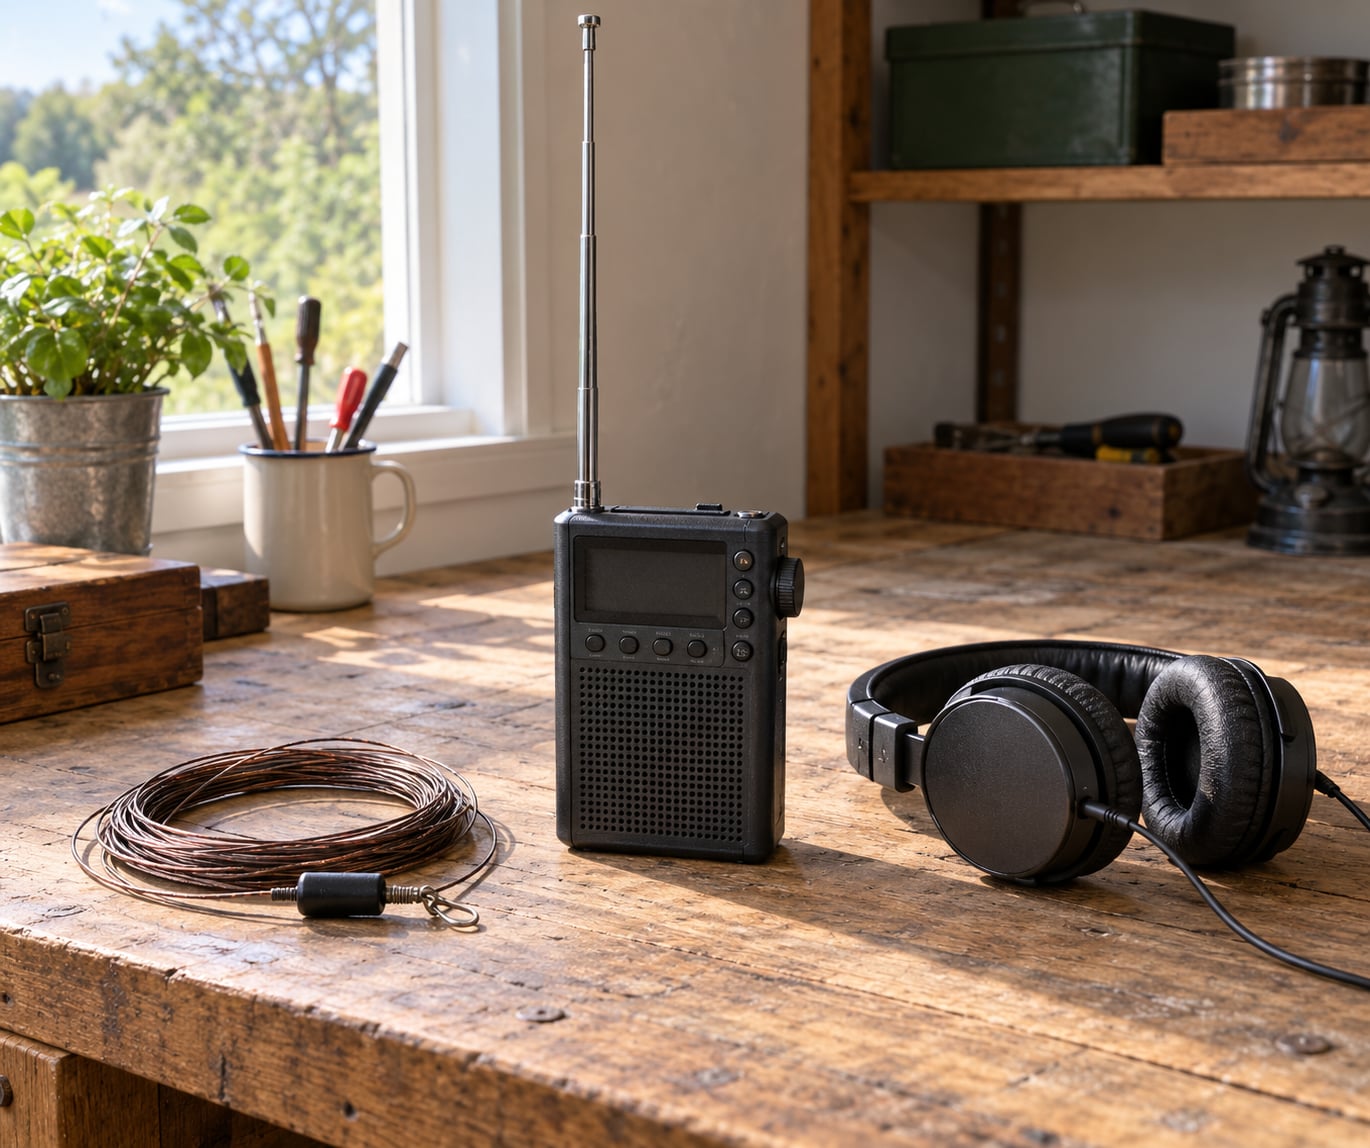
Most handheld scanners cannot hear HF at all. To hear HF signals on a handheld scanner you need three things: a receiver whose lower frequency limit actually sits below 30 MHz, an antenna built for those wavelengths, and the right mode selected for the kind of signal you want. Miss any one of those three and the radio hands you nothing but hiss.
A handheld scanner is a portable radio that steps through a range of frequencies automatically, mostly for public safety and airband traffic. Many of them also carry a wideband receive section, but that section starts somewhere between 108 MHz and 400 MHz, which is far above the shortwave bands. HF means high frequency, and shortwave is the part of it from roughly 3 to 30 MHz. Stations there bounce off the ionosphere and cross oceans, which is why you can hear a broadcaster from another country from a pocket radio. Here is how to hear HF signals on a handheld scanner, starting with the compatibility check that decides whether the rest is worth doing.
Table of Contents
- 1What You Need
- 2How to Hear HF Signals on a Handheld Scanner: Step by Step
- 31. Confirm That the Scanner Can Receive HF
- 42. Choose a Suitable Antenna and Connection
- 53. Set the Receiver Mode and Frequency
- 64. Tune to Hear HF Signals on a Handheld Scanner
- 75. Improve Weak or Noisy Reception
- 86. Test the Setup Outdoors and Save Useful Settings
- 9A Few Bands Worth Trying First
- 10Common Mistakes
- 11Frequently Asked Questions
- 12Can any handheld scanner receive shortwave signals?
- 13Do I need an external antenna to receive HF on a scanner?
- 14Is AM or SSB better for listening to shortwave broadcasts?
- 15Why does my scanner sound better with the squelch turned down?
- 16What receiver features matter for portable HF listening?
- 17Start With Compatibility, Then Tune
What You Need
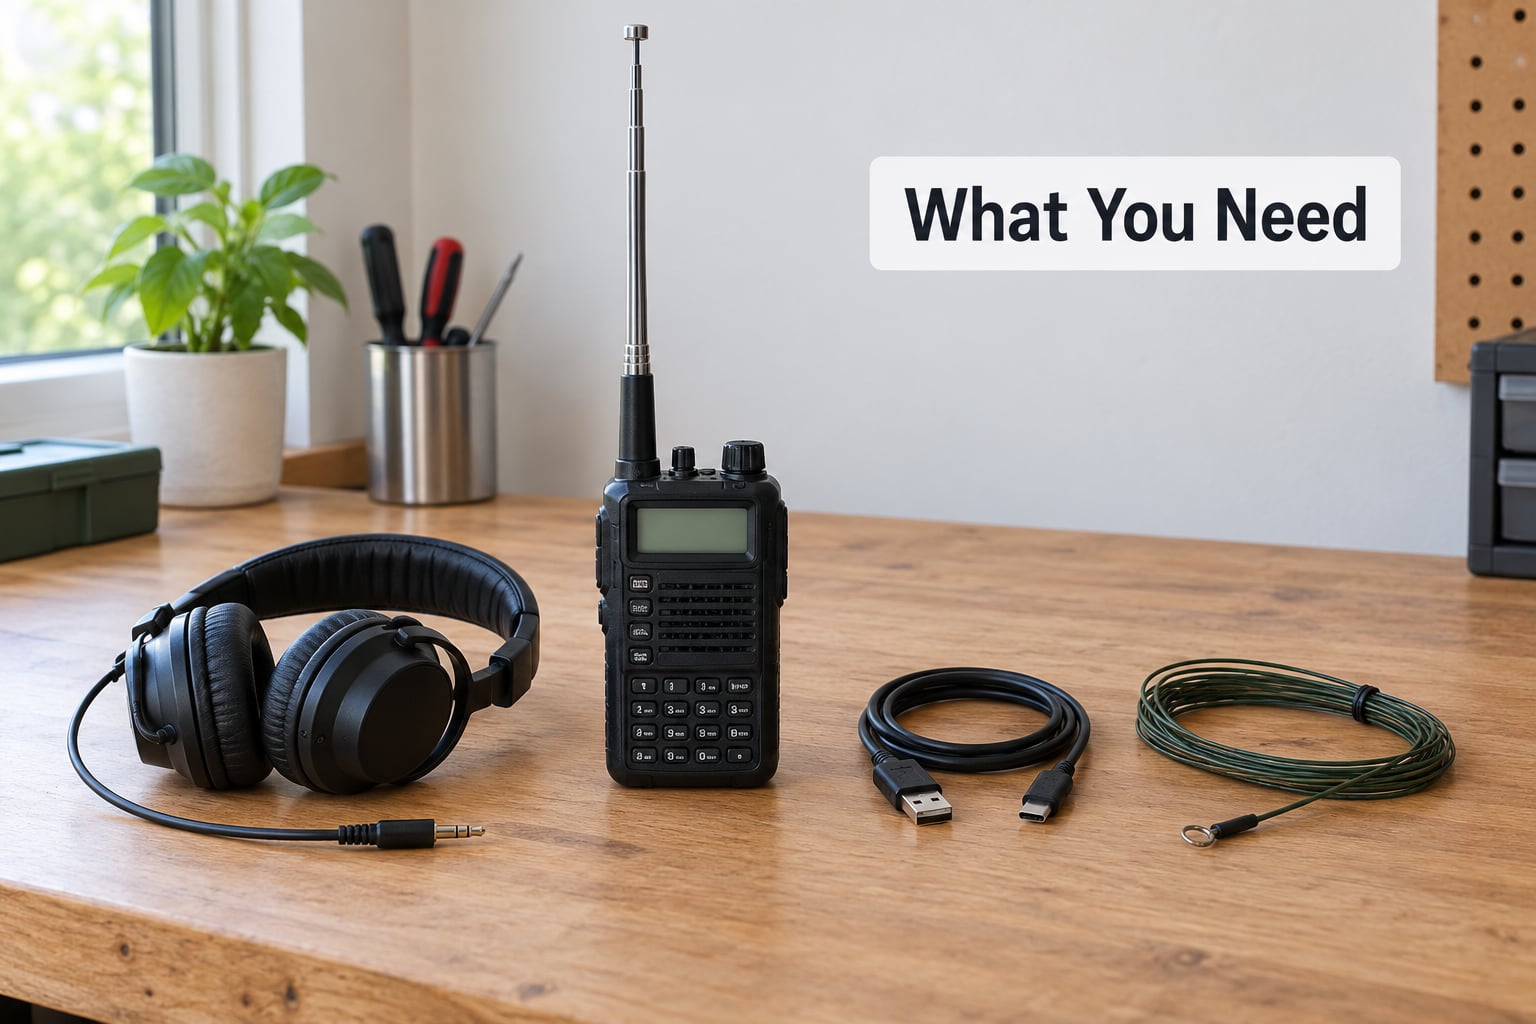
You need a receiver that covers below 30 MHz, an antenna resonant at those wavelengths, headphones, and a way to enter frequencies directly. Everything else is optional. Most conventional VHF/UHF handhelds sold for emergency use do not meet the first requirement, and no antenna will change that.
Start by reading the frequency coverage line in the specification sheet, not the marketing description. Words like wideband and all-band often cover VHF and UHF only. Look for a lower limit below 30 MHz, a mention of SSB or single sideband, a 50 ohm antenna specification, and an attenuator or ATT control. Write down the exact model number while you are there, because menu paths for the antenna port, bandwidth and attenuation differ between brands and you will need that number to find the right manual.
| Device type | Usual frequency coverage | Modes | Antenna connection | What it suits |
|---|---|---|---|---|
| HF-capable handheld receiver | About 150 kHz to 1300 MHz on many current models | AM, FM, SSB, CW on some | SMA or proprietary connector, sometimes two ports | Portable shortwave listening alongside VHF/UHF monitoring |
| Ordinary VHF/UHF handheld scanner | About 400 MHz to 470 MHz on the cheapest models | FM and narrowband digital | Fixed rubber duck | Local public safety traffic only, no HF at all |
| Handheld transceiver with HF | Varies, often 30 MHz upward | FM, AM, SSB, CW, digital | SMA, dual port on some | HF listening plus the option to transmit where you are licensed |
| Software-defined radio dongle with a headset or tablet | Wide, often down to 10 kHz with external hardware | Any, with decoding software | External antenna via cable | Best selectivity and the cheapest way to see a whole band at once |
| Dedicated shortwave receiver | Typically the shortwave bands only | AM, SSB, CW | External antenna via cable | Listening only, with far better filters than a handheld offers |
Read that table as a capability map, not a ranking. The handheld wins on portability and on having one box that covers airband, marine and shortwave. The software-defined radio and the dedicated receiver win on selectivity, which is the ability to separate two stations sitting a few kilohertz apart.
Two safety points before anything else. Most handheld scanners receive HF but cannot transmit there, and if your radio is a transceiver, transmitting on a broadcast band is unlawful and rude. Long wire antennas also need clearance from power lines, metal fences and other aerials. Check the distance in your local rules before you rig anything permanent.
How to Hear HF Signals on a Handheld Scanner: Step by Step
1. Confirm That the Scanner Can Receive HF
Check three things in the specification sheet: the lowest frequency the receiver covers, whether it demodulates SSB and CW, and what impedance its antenna port expects, which is usually 50 ohms. If the lowest figure is 25 MHz or higher, you have no shortwave at all. If it sits just under 25 MHz you get the 28 MHz amateur band and nothing below it. Coverage starting around 150 kHz or 100 kHz is what you want.
You will know it worked when you can select a frequency below 30 MHz and the receiver holds it instead of refusing the entry or snapping to the nearest band edge. Band limits vary by model, so look in the manual for the frequency range or band scope setting before you assume a limit exists.
2. Choose a Suitable Antenna and Connection
A stock rubber duck is short and tuned for the VHF and UHF bands, so on HF it is badly mismatched and mostly picks up noise. Three upgrades are worth trying, in rising order of effort: a longer telescoping whip extended to roughly a metre, a manufacturer-approved HF accessory antenna such as a small loop or doughnut model, and a length of thin wire or coax clipped to the antenna connector.
For receive-only work, wire is the cheap winner. Testing reported in shortwave listening circles found that somewhere between 5 and 10 feet of thin wire or coax was the sweet spot on a handheld, with longer runs adding little. The community view is blunt about it: the simplest HF antenna is a long wire, and on receive the exact length is not critical.
Run the wire away from the radio body rather than wrapping it around the case, and keep it clear of the vehicle roof, building walls, power lines and any transmitting antenna nearby. The goal is a clean signal path, not a clever installation. You will know the change worked when the noise floor drops noticeably and broadcast stations appear where you previously heard only hiss.
3. Set the Receiver Mode and Frequency
Set the mode before you judge the reception. AM suits broadcast stations and utility voice traffic, SSB is what amateur operators and most long-distance voice stations use, and CW is Morse code. Getting the sideband wrong is the single most common reason a live HF signal sounds like a garbled duck.
Menu names differ across brands, so use the manual for your model number. Look for the mode or modulation setting, the step size or tuning increment, the bandwidth or IF filter, and automatic gain control if your set has it.
| What you want to hear | Mode | Step size | Bandwidth | Notes |
|---|---|---|---|---|
| AM broadcast station | AM | 1 kHz | 6 kHz or wider | Tune for the clearest voice, then leave it alone |
| Amateur or utility voice | SSB, usually USB | 25 or 50 Hz | 2.4 or 3 kHz | Find the carrier then adjust the pitch slowly |
| Morse code | CW | 25 or 50 Hz | 250 to 500 Hz | Narrow bandwidth rejects most of the band noise |
| Local FM utility or airband | FM | 12.5 or 25 kHz | 12.5 or 15 kHz | Wider steps are fine here, unlike on shortwave |
On some models the step size is set separately from the tuning knob, so a big knob press may move 1 MHz while a small press moves your selected increment. If frequencies seem to jump in odd sizes, check the increment setting first. Success here is simple: you select a frequency, the mode holds, and the display shows a signal meter that moves when a station is present.
4. Tune to Hear HF Signals on a Handheld Scanner
Tune slowly, and give each frequency ten seconds before you move on. The WWV time signal broadcasts from 5.000, 10.000 and 15.000 MHz and is the standard first check that an HF setup is working, because it transmits continuously and you know exactly what it should sound like.
The sequence that works: set AM, choose the narrowest AM bandwidth your set offers, open the squelch fully, then step slowly across the band. When a carrier appears on the meter, stop and refine in small increments. For SSB, find the carrier first and then slowly raise or lower the pitch until the voice sounds natural, because the dial reading will not match the station’s assigned frequency.
Learn to tell four things apart. Steady hiss with no meter movement means no signal there. A meter that pins full scale and sounds like a swarm of local chatter means front-end overload. A weak unreadable whisper that rises as you move the radio toward the window means the antenna is picking up noise. A clean voice that fades over a few minutes is just propagation working as intended. Only the first of those is a fault.
5. Improve Weak or Noisy Reception
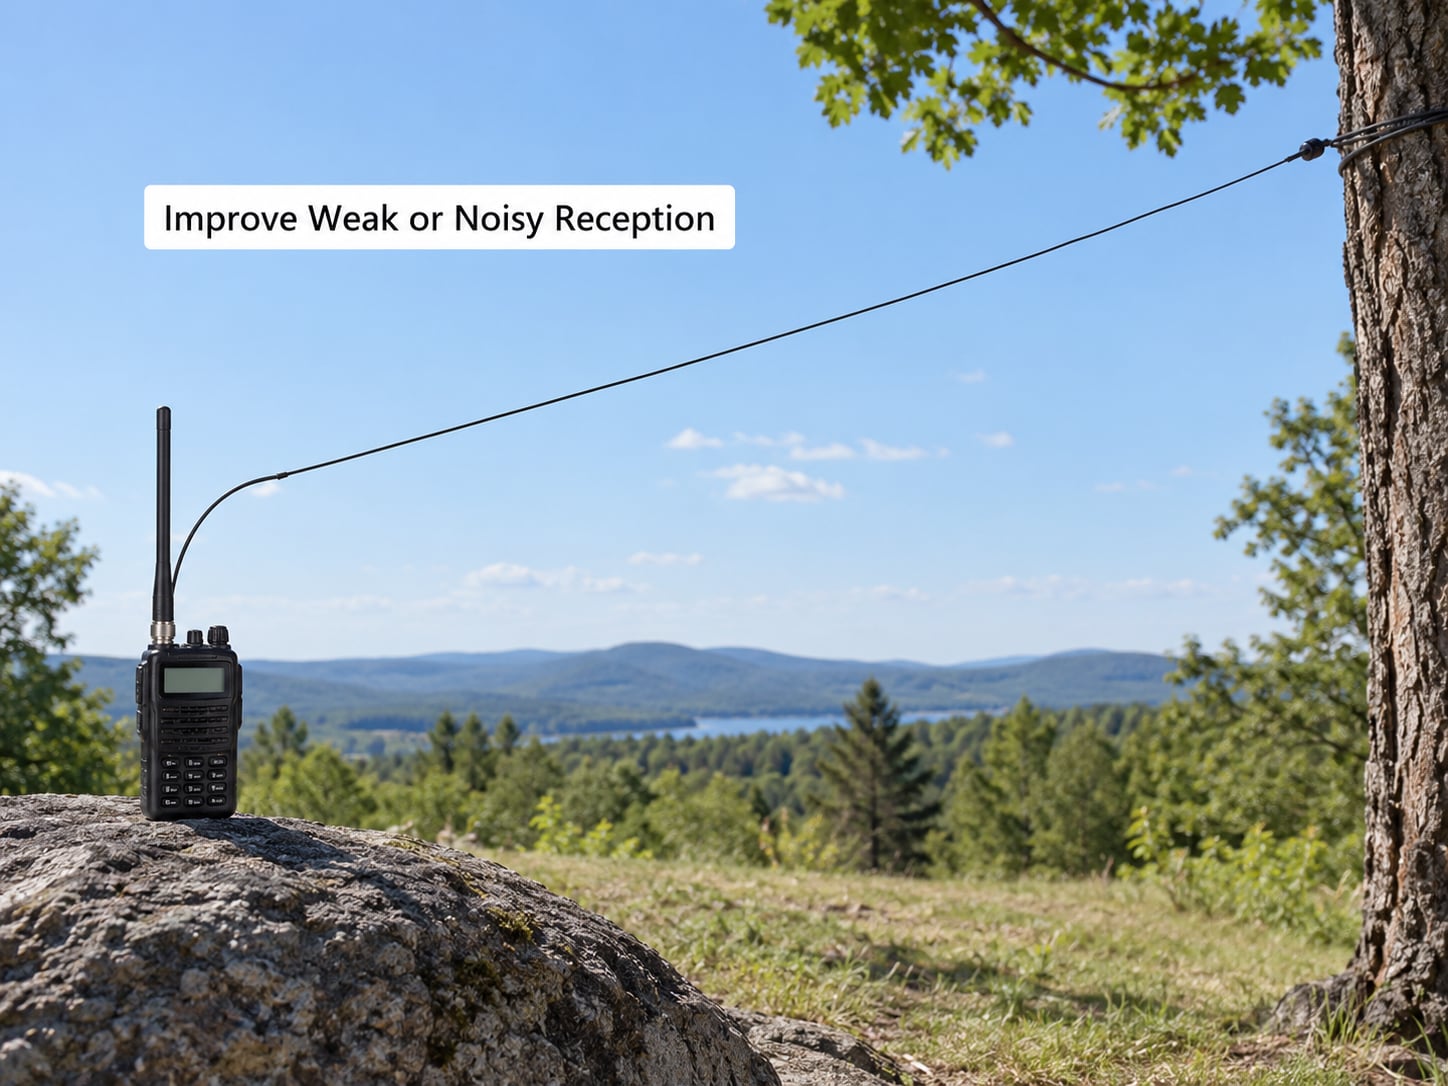
Change one thing at a time so you know what helped. Start with the antenna: extend the whip fully, rotate it, and try a different length of wire. Then move the radio away from computers, LED lighting, wall-wart power supplies and switch-mode chargers, all of which radiate noise that a mismatched HF antenna amplifies.
Reduce gain when the band is loud. Turning the volume or RF gain down in heavy local noise stops strong signals from pinning the receiver and lets weak ones surface. On sets with an attenuator, engage ATT when a strong local station appears. Note the difference: gain controls how loud and how far down the receiver listens, while RF sensitivity describes how weak a signal the radio can actually detect, and no control changes that second thing.
Headphones help more than people expect. They cut room noise, they let you work at lower volume, and a comfortable fit means you can sit still with the radio for an hour, which is when the interesting fading signals show up.
6. Test the Setup Outdoors and Save Useful Settings
Do a field check at a known frequency before you judge the setup. Tune WWV on 5, 10 or 15 MHz with the stock whip, then repeat it outdoors with your wire antenna and compare the two results. Write down the frequency, mode, step size, bandwidth and antenna you used, because you will not remember which combination worked.
If your set supports memory presets, store the settings that produced a stable signal rather than the settings that produced the loudest noise. Set your success test as a stable copy of an identifiable station with no overload, held for several minutes.
A Few Bands Worth Trying First
HF behaves differently by hour. Lower bands carry signals further at night because the ionosphere absorbs less after sunset, while daytime listeners get their best results on higher bands.
- Night: 49, 40 and 31 metre bands reach further after dark, with the most reliable long-distance paths.
- Day: 19, 16 and 13 metre bands open up when the sun is up, especially near the grey line around sunrise and sunset.
- Always worth checking: 60 and 49 metre for time signals and utility stations, and 31 and 25 metres for broadcast stations.
- Amateur bands: 28 MHz, 21 MHz, 18 MHz, 14 MHz and 7 MHz are active with voice and Morse, and most handhelds can hear all of them.
Common Mistakes
Almost every complaint about HF on a handheld traces back to one of a handful of fixable errors.
- Assuming any scanner receives HF. Fix: read the lowest frequency in the specification sheet before anything else. If it starts above 30 MHz, stop there.
- Leaving the rubber duck in place. Fix: extend the whip fully or attach a wire antenna, then re-test. This is the most common reason people hear nothing.
- Picking the wrong SSB sideband. Fix: switch between USB and LSB and adjust the pitch slowly. One side gives clean audio, the other gives noise.
- Tuning too fast. Fix: step slowly and pause ten seconds on every frequency, especially on SSB where signals sit between the displayed readings.
- Setting the squelch too high. Fix: open the squelch fully while listening to HF. A threshold tuned for VHF gates out weak HF signals entirely.
- Testing beside buildings and electronics. Fix: move outdoors, away from metal fences, vehicles, chargers and computers, then compare results.
- Expecting more power to help. Fix: transmit power does nothing for reception. Sensitivity comes from the antenna, the bandwidth setting and reducing interference.
Two field habits cover most of the rest. Keep the squelch open while hunting, and close it once you settle on a frequency. And record what you hear, because HF changes by the minute and the same station will be gone by morning.
Frequently Asked Questions
Can any handheld scanner receive shortwave signals?
No. Most handheld scanners sold for public safety and airband monitoring start above 108 MHz and never touch shortwave. Only models whose specification sheet shows a lower limit below 30 MHz will hear HF, and many of those only cover the 25 metre band. Check the frequency coverage line first, then confirm the set demodulates SSB and CW, since AM-only receivers will miss most amateur and utility traffic.
Do I need an external antenna to receive HF on a scanner?
You do not need one to start, but the stock rubber duck is close to useless below 30 MHz because it is short and tuned for VHF and UHF. Extending the whip fully helps. A 5 to 10 foot run of thin wire or coax attached to the antenna connector is the cheapest big upgrade, and for receive-only listening the exact length matters far less than keeping the wire away from buildings, vehicles and electronics.
Is AM or SSB better for listening to shortwave broadcasts?
AM wins for broadcast stations, because those stations transmit in AM and an AM receiver copies them cleanly with a wide bandwidth. SSB carries the amateur bands and most utility voice traffic, and it sounds far better once you tune it, because it rejects neighbouring signals and uses less bandwidth. Try both on the same frequency and keep whichever gives you clean audio, with SSB needing slow pitch adjustment before it sounds right.
Why does my scanner sound better with the squelch turned down?
Squelch mutes everything below a threshold you set, and a threshold tuned for VHF or UHF will sit well above the weakest HF signals. Turn it fully open while exploring the shortwave bands so you can hear everything, then close it once you settle on a frequency you want to follow. If the radio still sounds cluttered on an open squelch, the cause is interference or a poor antenna, not the squelch setting.
What receiver features matter for portable HF listening?
Four matter most. Coverage below 30 MHz decides whether you can listen at all. A fine tuning step of 25 or 50 Hz lets you land on SSB and CW signals. Narrow bandwidth options let you cut adjacent noise, which is where cheap handhelds disappoint. An attenuator helps when strong local signals overload the front end. Direct frequency entry and a spectrum or waterfall display make finding activity far faster than blind scanning.
Start With Compatibility, Then Tune
Confirm first that the receiver covers below 30 MHz and demodulates SSB, because everything else depends on that one line in the specification sheet. Then fit a real antenna for the band: a fully extended whip to start, and a 5 to 10 foot wire for a meaningful improvement. Tune slowly, starting on WWV at 5, 10 or 15 MHz, with the squelch open and the bandwidth narrowed. Test outdoors before you blame the radio, and only chase noise problems after the antenna is right. Get those four things right and hearing HF signals on a handheld scanner becomes an ordinary evening activity rather than a puzzle.