PSK31 is a keyboard-to-keyboard amateur radio digital mode that sends text by phase-shifting an audio tone, using 31-baud binary phase shift keying in a signal only about 31 Hz wide. That narrow signal copies through noise that buries voice and CW, and unlike FT8 there is no timed, machine-made exchange to wait through. You type, the other station types back.
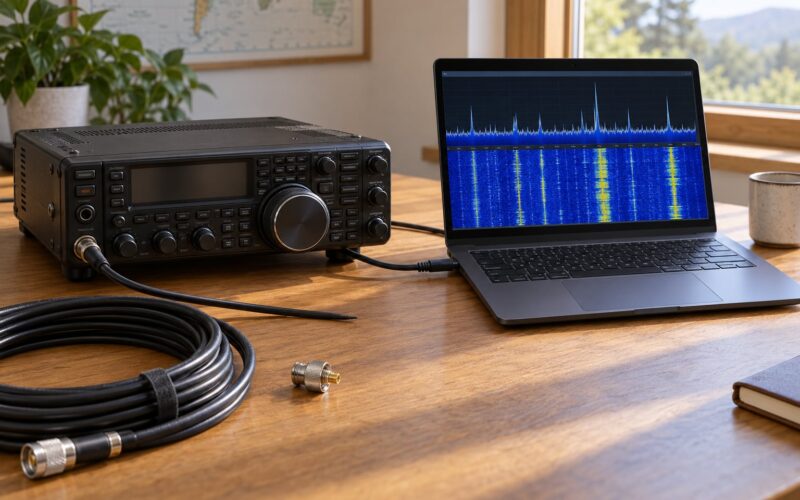
To get started with PSK31 you need four things: an SSB-capable HF transceiver, a computer with a sound card, an audio interface that carries signal in both directions and keys the transmitter, and free software such as FLdigi. A dipole and 50 watts is a complete station. Most beginners make their first contact the same evening they set the rig up.
The mode was designed by Peter Martinez, G3PLX, and the original design notes are still worth reading if you enjoy theory. But you can run PSK31 perfectly well without ever opening them, and the practical path runs straight through the steps below.
PSK stands for Phase Shift Keying. Instead of switching a carrier on and off the way RTTY does, PSK31 reverses the phase of a tone every time a bit changes. Data is encoded in those 180-degree reversals using Varicode, a variable-length character set, so text arrives at roughly the speed you can type it rather than in fixed-length blocks. On the receiving end, the software watches a narrow slice of the spectrum and converts the reversals back into letters on your screen.
Table of Contents
- 1What You Need
- 2Sound card interface options compared
- 3Software options compared
- 4Step-by-Step: How to Get Started with PSK31
- 5Step 1: Choose a Radio and Computer Setup
- 6Step 2: Install PSK31 Software
- 7Step 3: Configure Audio and Radio Control
- 8Step 4: Tune to a PSK31 Frequency
- 9Step 5: Decode Your First Stations
- 10Step 6: Send a Simple First Transmission
- 11Step 7: Log the Contact and Try Again
- 12Common Mistakes
- 13Frequently Asked Questions
- 14Do I need a sound card interface for PSK31?
- 15What frequency should I use for PSK31?
- 16Do I need CAT control to run PSK31?
- 17What is the best ham radio setup for a beginner?
- 18Why is my PSK31 decoding gibberish or nothing at all?
- 19How much power do I need for PSK31?
- 20Conclusion
What You Need
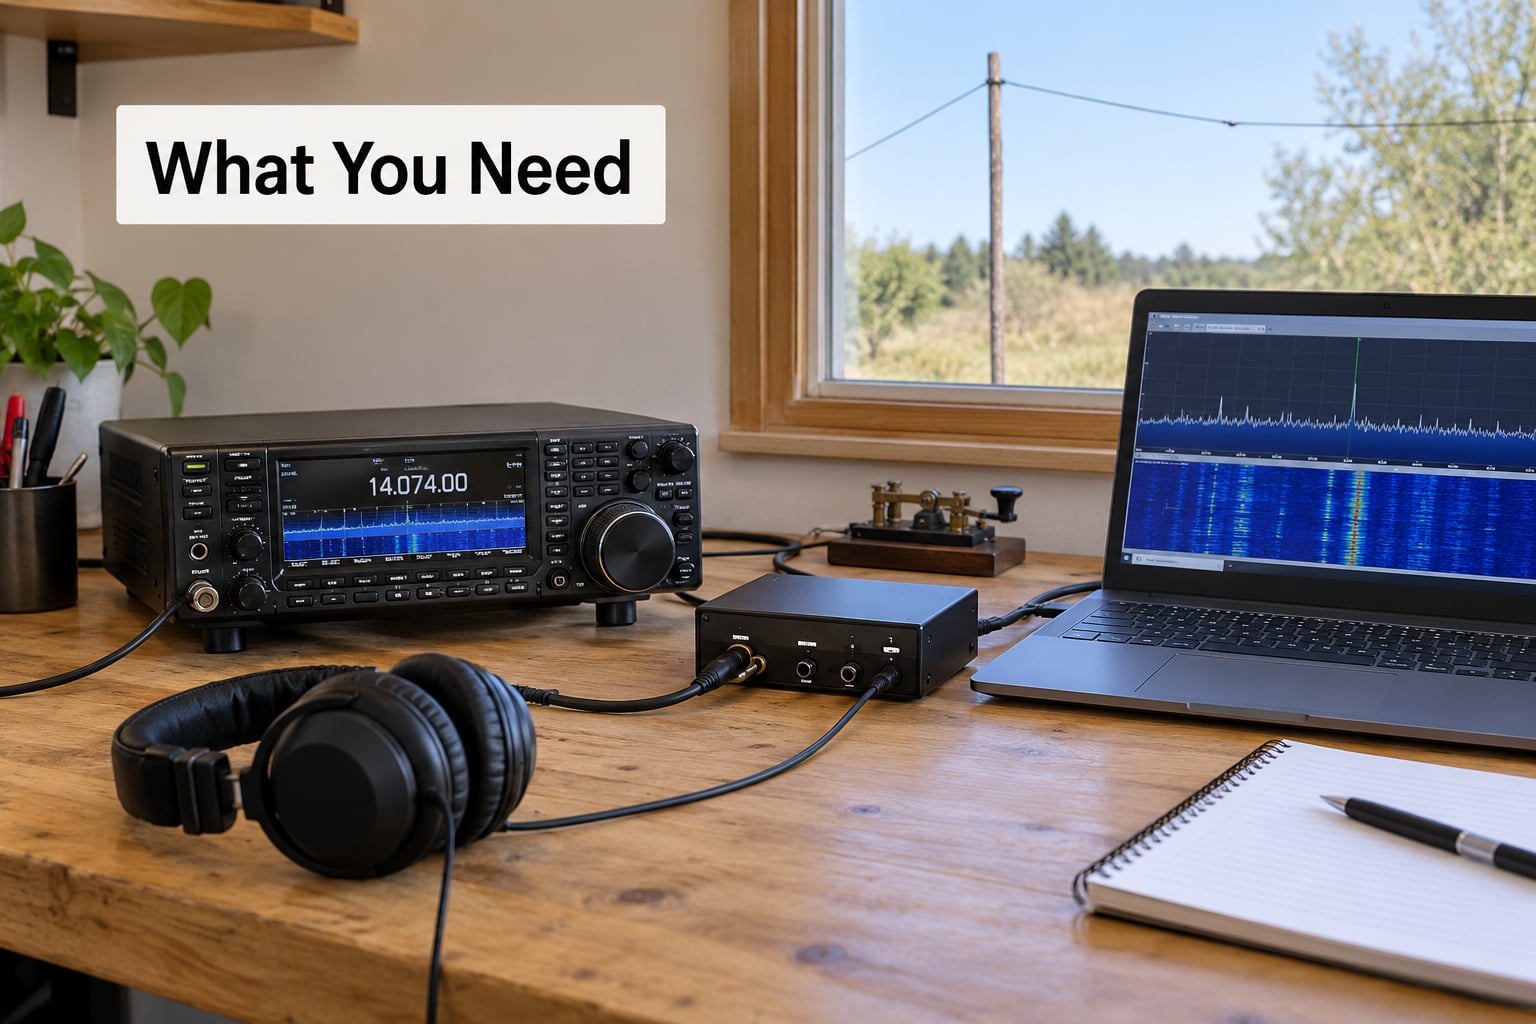
A working PSK31 station comes down to six items. Most beginners already own two or three of them, which is why this mode gets called the cheapest way to make real HF contacts.
- A transceiver that transmits SSB. Any HF rig with an SSB mode and a microphone connector works, and PSK31 signals are close enough to voice audio that no special filter is needed. A plain 100-watt HF transceiver from the last few decades is plenty. It does not need to be a modern digital rig.
- A computer. Windows, macOS or Linux. The audio path is standard, so almost any machine made in the last decade will run the software comfortably.
- A sound card interface. This is the piece beginners agonise over. It moves receive audio from the radio into a computer input, moves transmit audio from a computer output back into the radio at a sane level, and provides a clean way to key the transmitter. Isolation between the two sides matters more than price.
- An antenna. A simple dipole is enough to start. PSK31 needs far less from an antenna than you might expect, because you can hear a weak station well enough to decode it long before it can hear you.
- Digital mode software. Free options such as FLdigi, DigiPan and MultiPSK cover everything a beginner needs. Paid suites such as Ham Radio Deluxe with Digital Master 780 add logging and rig control in one program.
- Logging. Optional on day one, essential by the third contact if you want confirmations for awards. FLdigi logs directly, and HamLog or a text file works everywhere else.
You do not need CAT control, an amplifier, or a beam antenna. Skip all three until the mode stops being interesting.
Sound card interface options compared
| Option | What it is | Isolation | Verdict for beginners |
|---|---|---|---|
| Build it yourself | Audio transformer or a resistor divider from the radio to the sound card, plus a keying harness | Good with a transformer, marginal without | Cheap and satisfying, and the same box runs SSTV and MFSK. Slower if you have never soldered before. |
| SignaLink | Dedicated small interface with transformer isolation and PTT | Very good | The classic answer, widely praised by operators as money well spent. No soldering. |
| RigBlaster and RigExpert | Larger interfaces, some models with CAT control built in | Very good | Overkill for PSK31 alone, sensible if you plan to run several digital modes. |
| USB audio dongle | A class-compliant USB audio adapter used directly | Poor | Works for listening and often for low-power transmit. Expect level juggling and possible hum. |
If you are unsure, buy the interface rather than the cable. The gain is that audio stops being an argument.
Software options compared
| Software | Cost | Platforms | Learning curve | Beginner verdict |
|---|---|---|---|---|
| FLdigi | Free, open source | Windows, macOS, Linux | Moderate, deep menus | The most-recommended free choice by name across ham forums. Runs dozens of modes including PSK31, and keeps working on current Windows releases. |
| Ham Radio Deluxe with Digital Master 780 | Paid | Windows | Easy to moderate | Integrated rig control and logging. The gentlest way in if you would rather not manage a CAT cable. |
| DigiPan | Free | Windows, macOS | Steep | Powerful spectrum and pan-adapter view. Great later, distracting on day one. |
| MultiPSK | Free | Windows | Moderate | Solid all-rounder with solid signal handling, less community traffic now than FLdigi. |
One note that confuses beginners: WSJT-X is not PSK31 software. It runs FT8, JT65 and similar timed modes. If you see a walkthrough using it, you are looking at a different mode.
Step-by-Step: How to Get Started with PSK31
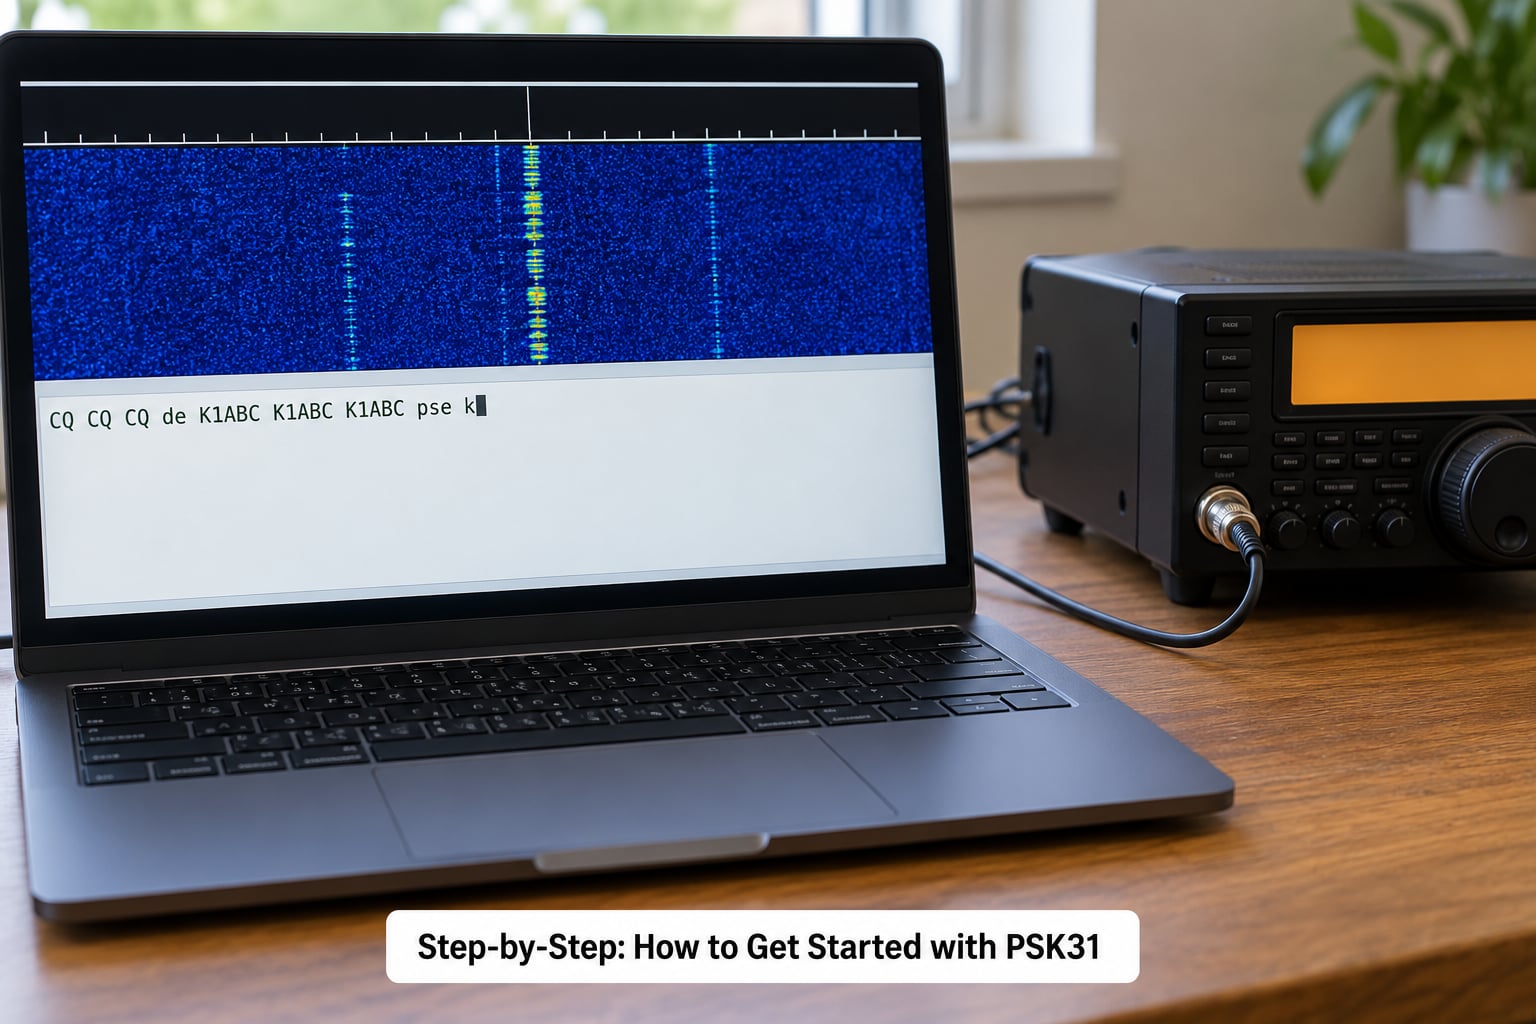
Seven steps take you from a radio sitting on the bench to a contact in your log. Do them in order, and do not skip step 3 because it is the boring one. Almost every “PSK31 does not work” complaint traces back to audio levels or keying.
Step 1: Choose a Radio and Computer Setup
Any SSB-capable HF transceiver with a microphone input works. Connect the radio’s audio output to the interface input, and the interface output to the radio’s microphone or line input. Most rigs put receive audio on a small 3.5 mm phone jack labelled SPKR, AF OUT or DATA, and the software expects a low-level signal there rather than a speaker-level one.
Keying is the second decision. VOX lets the radio key itself when it hears your transmitted audio, which needs no extra wire but requires careful audio balance so it does not trip on your receiver. A serial RTS or DTR line gives you a hard PTT that many operators find more predictable. CAT control, which is a control cable rather than a keying line, is a separate convenience and not needed now.
Step 2: Install PSK31 Software
Install FLdigi from the developer’s official site, or choose one of the alternatives in the table above. On Windows the installer is a standard wizard. On macOS, use the build published by the developer or the Homebrew package, since old advice pointing at builds that no longer compile is one of the most common dead ends for newcomers.
Set your callsign and location grid square during the first launch, because both end up in the log. Leave the rest of the defaults alone for now. Changing twenty settings before you understand any of them is the second most common way beginners get stuck.
Step 3: Configure Audio and Radio Control
Open the audio configuration and choose the correct device names for receive and transmit. Then watch the software’s signal meters while you tune stations. Receive audio should register clearly on the meter without pinning it at the top of the scale. Transmit audio should be adjusted until the rig’s ALC barely moves as you type.
That last part matters more than any other step in this guide. Push transmit audio too high and the transmitter splatters wide bands either side of your signal, which hurts everybody else on the frequency and makes your signal reports unreadable. Start with the transmit level very low and work up. You are aiming for the point where ALC just begins to flicker, not the point where it pins.
With the transmit level set, test keying into a dummy load if you have one, or at low power into a properly terminated antenna. Confirm that the software switches the radio between transmit and receive as you type and stops transmitting when you stop. Never test keying with the microphone gain wide open on a bare antenna.
Step 4: Tune to a PSK31 Frequency
PSK31 occupies a narrow slice on each HF band, sitting above the SSB passband and below RTTY. Find an active frequency first by scrolling, then set the radio’s dial exactly to the number your software shows. A mismatch of even a few hundred hertz is a common reason nothing decodes.
| Band | Approximate PSK31 dial frequency | Notes |
|---|---|---|
| 80 metres | 3.581 MHz | Quiet at night, excellent for long paths when it works |
| 40 metres | 7.030 to 7.035 MHz | Reliable daytime and nighttime band, a good first choice |
| 30 metres | 10.138 MHz | Regionally limited on parts of the HF bands |
| 20 metres | 14.070 MHz | The busiest PSK31 band and the easiest place to hear activity |
| 17 metres | 18.095 MHz | Seasonal, excellent when open |
| 15 metres | 21.070 MHz | Busy during daylight and openings |
| 10 metres | 28.070 MHz | Open only at certain times of year |
Verify these against the current ARRL or IARU band plan before you transmit. Regional band plans differ, and a signal outside the plan is not yours to send.
In the software, set the mode to PSK31, dial in the same frequency, and let the decoder run. On a busy band like 20 metres, decoded text will start appearing within a few seconds.
Step 5: Decode Your First Stations
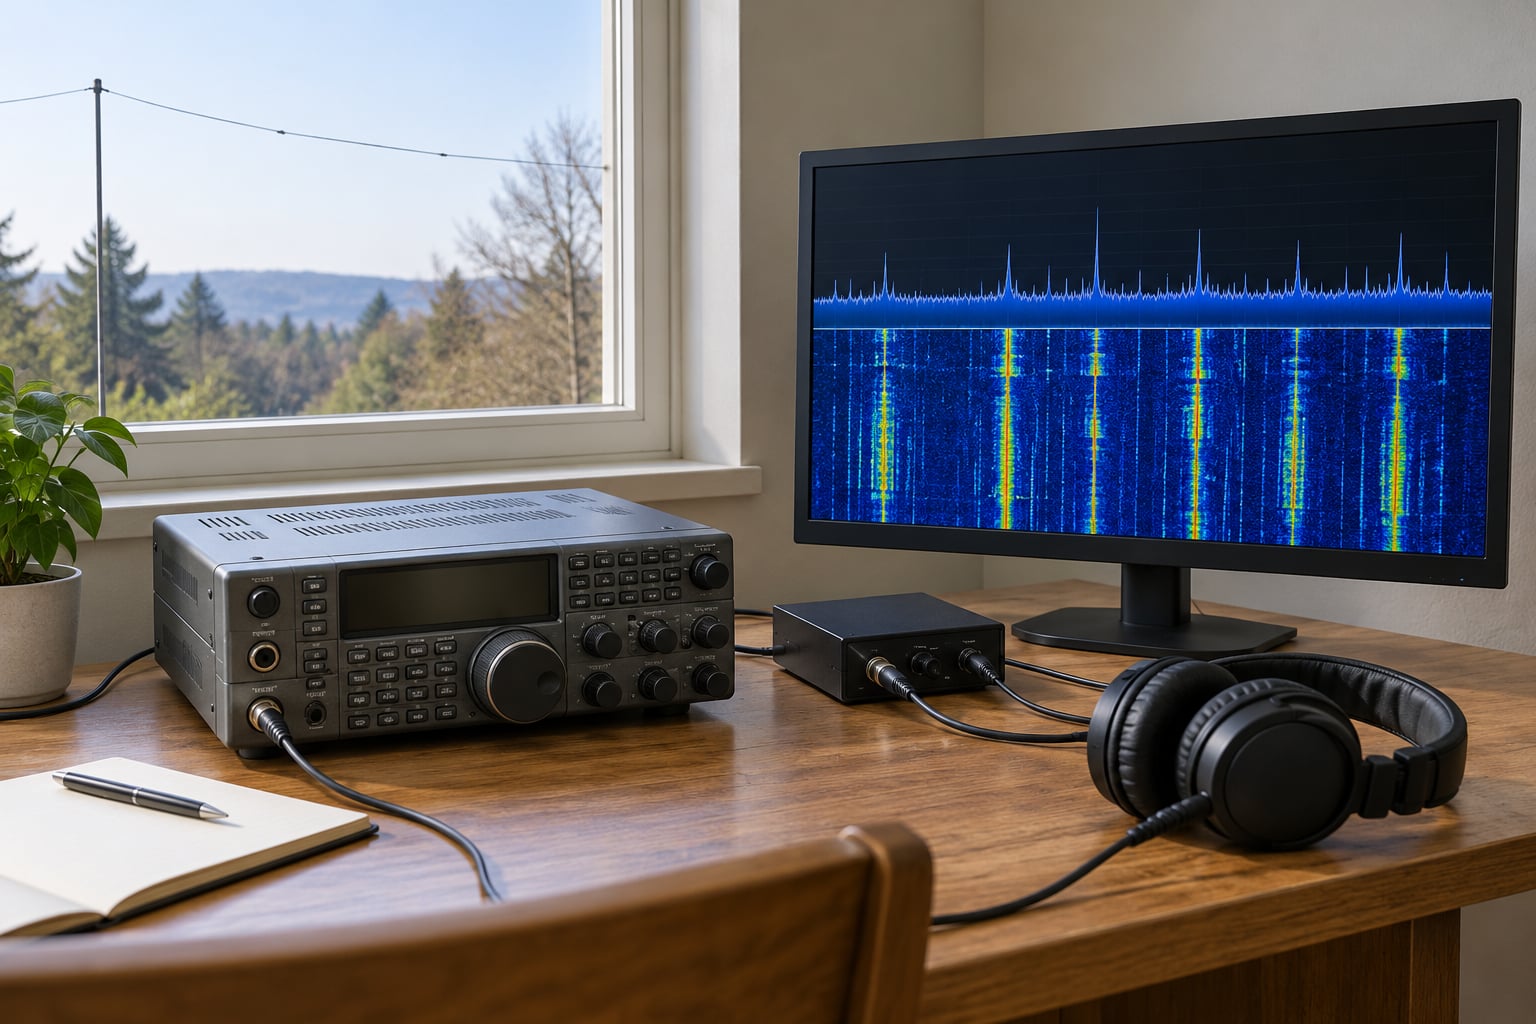
The waterfall is the scrolling display of received audio over time. Each PSK31 signal shows up as a narrow vertical stripe or a short stack of them, and a stripe only a couple of pixels wide means you have a decodable signal. The frequency scope above it shows the same activity as a moving line.
Decoding happens automatically in FLdigi and similar software, scanning the whole waterfall every second or two. When a station is decoded you see their callsign and a fragment of text. Watching it happen teaches you far more than any setup guide: a station calling CQ repeatedly with no answer means the frequency is quiet or your decode window is set wrong.
You have now proved reception works. That is the point to stop reading and start transmitting.
Step 6: Send a Simple First Transmission
Type a short introduction and press transmit. Something like this works well and nothing more elaborate is needed:
CQ CQ DE G0XYZ G0XYZ K
Answering someone is similar. If you see W1ABC calling CQ, send W1ABC DE G0XYZ K. Expect a reply in the form W1ABC DE G0XYZ K, then a signal report, then an exchange of names and locations, then 73 to end it.
Check your callsign in the software before you transmit. A wrong callsign sent repeatedly on a busy frequency is the one beginner error that annoys other operators fastest.
Macros save typing on the boilerplate parts, and a small set is enough: a CQ call, your callsign alone for answering, a signal report, your name and location, and 73. Set up a handful and leave them there. What experienced operators warn beginners about is not using macros at all, it is using nothing but macros and never typing a real sentence. The mode is best when you actually talk.
Step 7: Log the Contact and Try Again
Log the callsign, date and time in UTC, frequency, mode, the signal report you received and sent, and your name and location exchange. Every major program can export ADIF, which is the standard format for moving logs between programs and into Logbook of the World or QRZ.com for confirmation.
After a few contacts, upload your log to pskreporter.info. It maps every station you have worked or heard, which is a fast way to see where your signal is actually reaching and how your antenna compares to everyone else’s.
Then go again. The second contact is always easier, and after ten you will stop checking the instructions.
Common Mistakes
Almost every PSK31 problem a beginner hits is one of five things. Here they are with the fix that actually works.
| Symptom | Likely cause | Fix |
|---|---|---|
| Nothing decodes at all | Software frequency does not match the radio, or receive audio is on the wrong input | Set both to the same number, then pick the correct input device and confirm the meter moves when a station speaks |
| Only gibberish decodes | Audio level too low or too high, hum from a ground loop, or a dirty connection | Re-seat the cable, check the level sits mid-scale, and add isolation if hum persists |
| Radio will not transmit | Keying not configured, or audio level too low to trip VOX | Configure RTS or DTR keying, or raise transmit audio slightly while checking ALC |
| Waterfall shows splatter either side of your signal | Transmit audio overdriving the transmitter | Reduce transmit audio until ALC barely moves, then log a signal report to confirm |
| Signal reports are unreadable | Overdriving again, or an antenna that is not resonant | Same level fix, then check antenna length and feed line |
| Stations hear you but you cannot hear them | Antenna is too short, wrong band, or a poor feed point | Check the dipole is cut for the band and properly terminated |
| The radio transmits when you are not typing | VOX tripping on receiver audio or a noisy input | Switch to hard PTT keying rather than tuning VOX by ear |
Three habits prevent nearly all of the above. Check your transmit level before every session, keep a written note of the frequencies where you heard activity, and log as you go rather than afterwards.
Frequently Asked Questions
Do I need a sound card interface for PSK31?
Not strictly, but a proper interface makes the job far easier. You need two audio paths: receive audio from the radio into a computer input, and transmit audio from a computer output back into the radio. Direct cables to a sound card can work, but they invite ground loops and level mistakes. A small isolating interface removes both problems and adds clean PTT keying.
What frequency should I use for PSK31?
PSK31 sits in a narrow slice above the SSB passband and below RTTY on each amateur HF band. Around 14.070 MHz on 20 metres and 7.030 to 7.035 MHz on 40 metres are the two most reliable starting points. Check the current band plan before you transmit, because regional and international band plans differ.
Do I need CAT control to run PSK31?
No, not for a first contact. CAT control only changes the radio frequency and mode from the software, and it becomes genuinely convenient once you use it. For your first few QSOs, tune the radio by hand, set the software frequency to match exactly, and use VOX or a simple PTT line to key the transmitter.
What is the best ham radio setup for a beginner?
An SSB-capable HF transceiver, a dipole, a computer, an isolating sound card interface, and free software such as FLdigi will get you on the air. PSK31 asks far less of your antenna and far less power than many new operators expect, so an older radio with a modest wire antenna is a perfectly good starting station.
Why is my PSK31 decoding gibberish or nothing at all?
Almost always it is audio, not the software. Check that receive audio is going into the correct input, that the level registers clearly on the meter without clipping, and that no hum or noise rides on the line. A wrong input port, a badly set transmit or receive level, and a loose ground connection all produce exactly this symptom.
How much power do I need for PSK31?
Very little. PSK31 was designed to copy weak signals sitting in noise, so five watts and a small wire antenna can reach a continent on a good day. Most beginners run between 50 and 100 watts simply because that is what the radio already does. Keep your power modest so the waterfall stays clean for everyone else.
Conclusion
Start by installing FLdigi, connecting your radio’s receive audio to the computer, and setting your transmit level low enough that ALC barely moves. Listen on 14.070 MHz until decoded callsigns appear, then send a plain CQ and answer the first station that calls you back.
That is genuinely all that getting started with PSK31 requires. An older SSB transceiver, a dipole and modest power will make contacts, and the mode removes the pressure of live voice while you learn how a radio contact actually works. Listen for a few QSOs first, keep your power modest, log as you go, and type real sentences once you are comfortable.