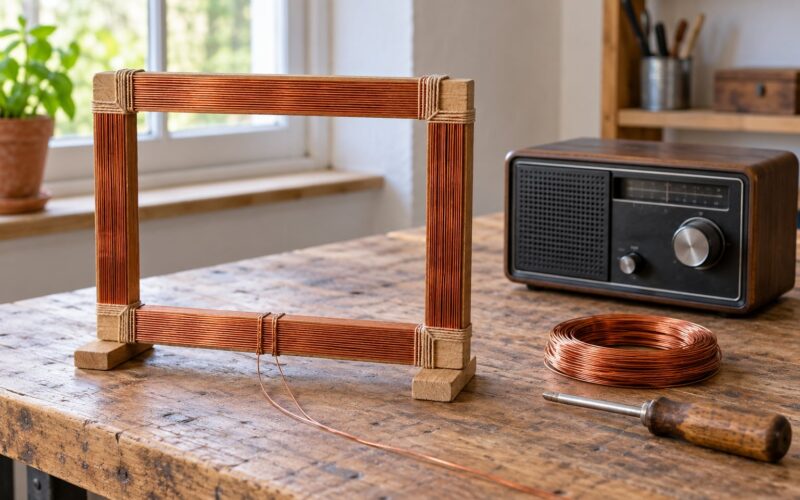
A ferrite rod antenna is a directional receiving antenna that you either plug into your receiver or hold near it, then rotate until the station peaks. Learning how to use a ferrite rod antenna for MW DX comes down to three things: put the rod as far from electronics as you can, connect it so the coil impedance is not wasted, and add amplification only after you have proven the passive setup needs it. A careful setup takes about an hour and no expensive gear.
Most of the gain comes from position rather than from the rod itself. Swap a cheap rod for an expensive one in the same spot and you will hear almost no difference. Move the rod two feet away from your computer and you might hear a station you never had before.
Table of Contents
- 1What You Need
- 2Step-by-Step
- 3Choose the Receiver and Frequency Range
- 4Position the Ferrite Rod
- 5Connect the Antenna Properly
- 6Add a Low-Noise Amplifier Only If Needed
- 7Ground for Stability and Noise Control
- 8Tune the Band and Compare Signals
- 9Reduce Common Sources of Noise
- 10Confirm That the Setup Is Working
- 11Common Mistakes
- 12Frequently Asked Questions
- 13How long should a ferrite rod be for MW DX?
- 14Do I need a special receiver to use a ferrite rod antenna?
- 15When should I add a preamplifier to a ferrite rod antenna?
- 16How do I orient a ferrite rod for best MW reception?
- 17Does a ferrite rod antenna need a ground?
- 18Will a ferrite rod antenna work indoors?
- 19What to Do First
What You Need
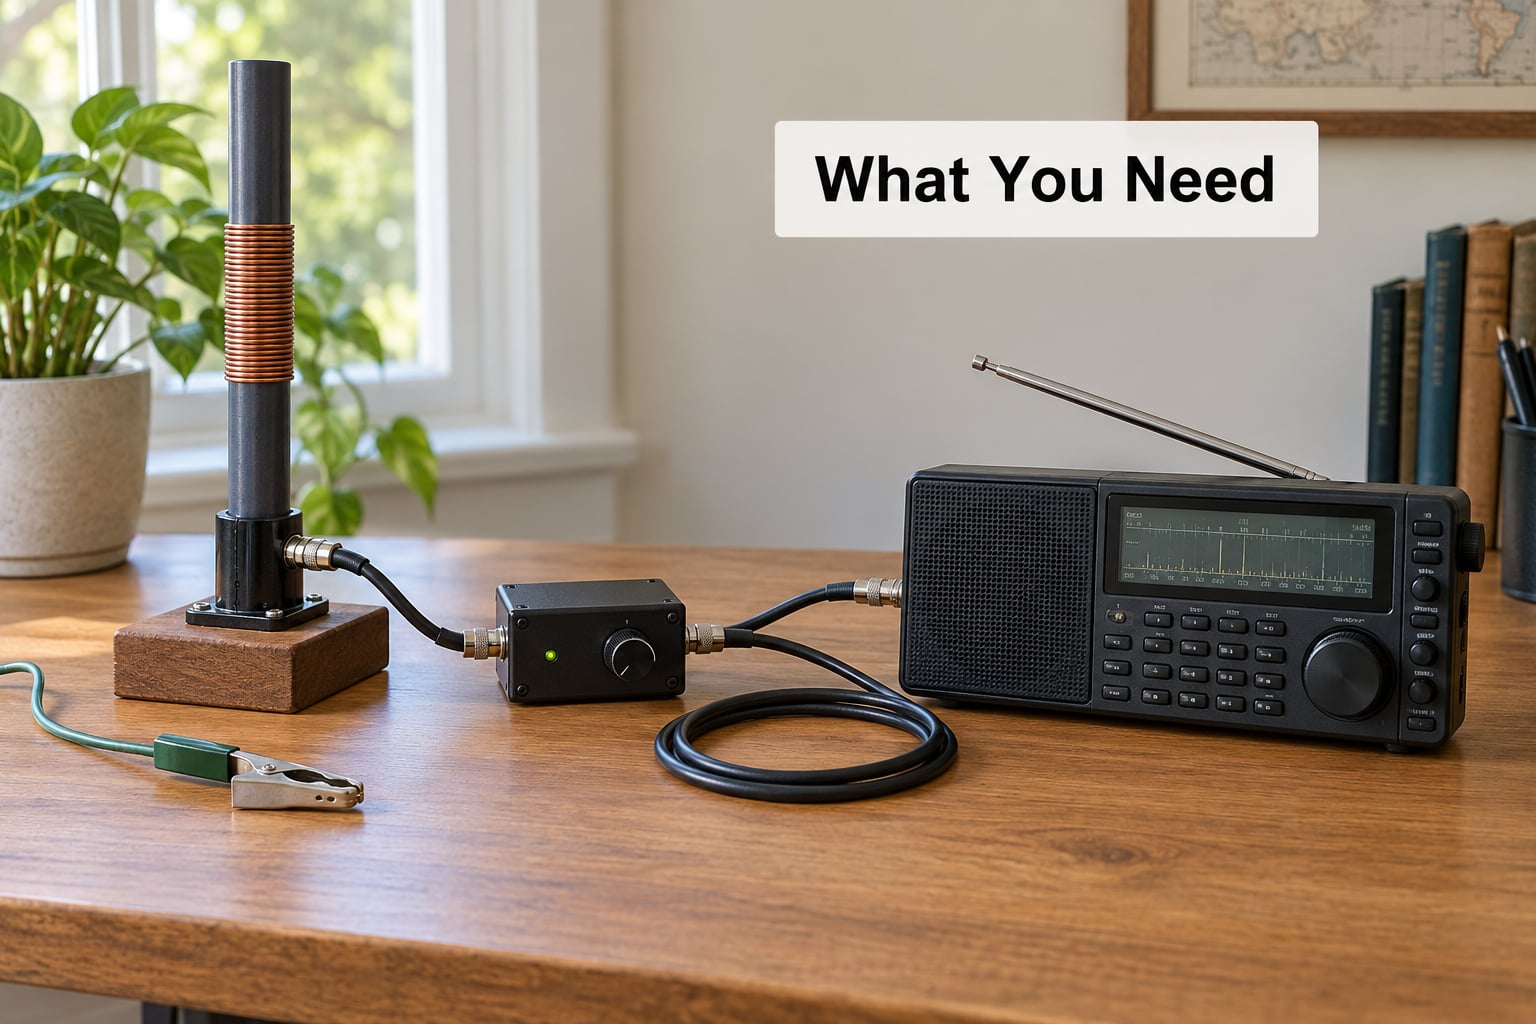
Four items are genuinely essential: a receiver that covers the medium wave band, the ferrite rod antenna with its coil, a nonconductive support to hold the rod, and some way to measure noise and signal strength. Everything else improves the setup rather than making it work.
A receiver with an external antenna input of some kind is the one thing to check before you buy anything else. That input might be a proper antenna terminal, a 3.5 mm jack marked for an external antenna, or nothing at all, in which case you will be coupling the rod inductively and holding it near the radio.
Adjustable RF gain and a usable signal-strength meter matter more than the number of features on the front panel. Without RF gain you cannot tune out overload, and without a meter you are guessing whether a change helped.
Optional gear, in the order it tends to matter: a short run of coax with a matching connector, a low-noise MW preamplifier, a ground lead and clip, and an attenuator if your radio overloads. Add one at a time.
Keep the coax short. On the medium wave band the difference between a one-metre lead and a five-metre lead is not dramatic, but the longer lead also acts as an antenna for whatever noise your neighbours switch on.
Step-by-Step
Choose the Receiver and Frequency Range
Pick a receiver that tunes the medium wave band you actually want to hear, roughly 520 to 1700 kHz, with an external antenna connection of some kind. Confirm the coverage before you build anything, because the loopstick you need for longwave reception is wound differently from one for medium wave.
Set the bandwidth to its widest position while you work. A narrow filter will make weak stations sound better but will hide whether your antenna change actually helped.
Position the Ferrite Rod
Keep the rod at least half a metre away from computers, monitors, power bricks, USB hubs, LED lamps, metal shelving, wiring bundles and unshielded mains leads. Ferrite rods are magnetic antennas, and they hear everything in their neighbourhood, including your own equipment.
Mount the rod vertically on a wooden or plastic support so you can rotate it by hand. Orientation usually matters more than the model of rod you picked, and being able to turn it quickly is worth more than a small improvement in ferrite mix.
Test to verify: move the rod around the room while listening to a known station. The strongest spot is usually near a wall but away from electronics, and you should hear a clear difference between the best and worst positions.
Connect the Antenna Properly
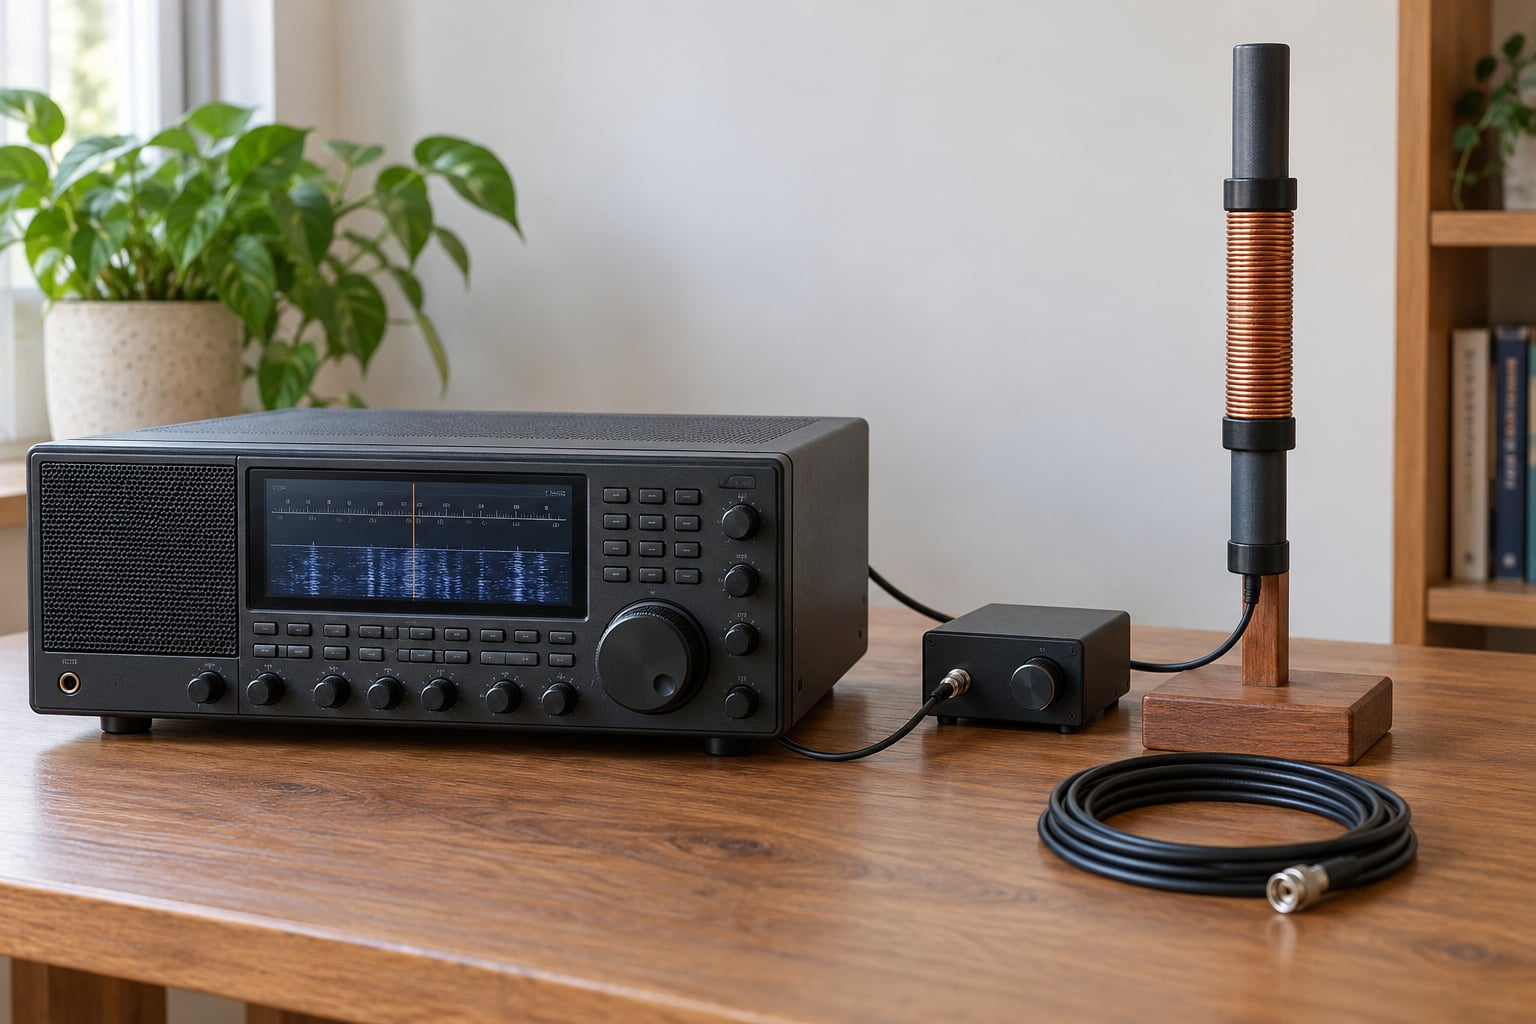
Connect the rod to the receiver through the shortest practical lead, and if you are using a preamplifier, feed the coil to the amplifier input rather than bridging it across the antenna terminal.
Inductive coupling works when you hold the receiver or its internal antenna near the coil without touching, and you adjust the distance in small steps. Too close and the receiver overloads on strong local stations. Too far and the coupling collapses.
Watch for a poor connection: a loose shield, a shield on one side only, or a lead that touches the coil wire. Those produce hum and hash rather than signal, and they are the reason some people think their rod is faulty.
Add a Low-Noise Amplifier Only If Needed
Add a low-noise MW preamplifier only when the passive setup receives the station but cannot hold audio above the noise, or when you want to drive a long cable run. Gain on a ferrite rod that already hears a strong local station only amplifies the problem.
Keep preamplifier gain low to start, around 10 dB, and raise it until you hear a difference rather than until the noise sounds impressive. A very high gain stage on a ferrite rod that sits near a switched-mode supply can create intermodulation products that sound like stations.
Verify by switching the amplifier out with the antenna in the same position. If weak stations improve and nothing new appeared on the frequencies where you know there are no broadcasters, the gain stage is working cleanly.
Ground for Stability and Noise Control
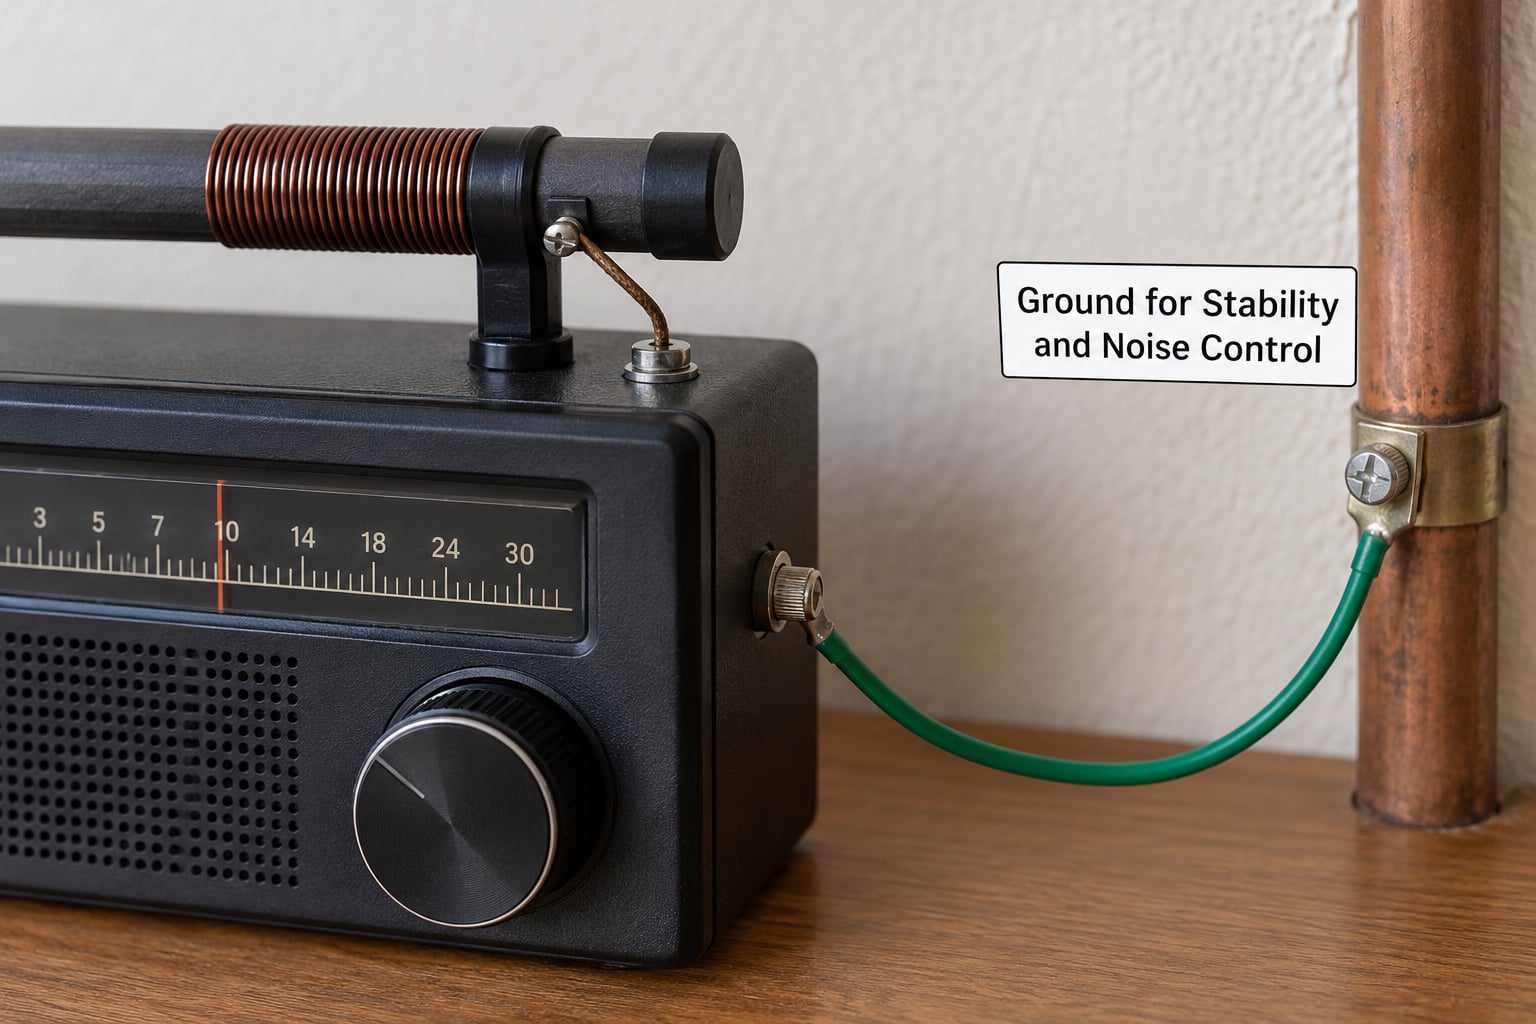
Ground the receiving system to reduce common-mode noise, but keep the ground lead short and never improvise with mains wiring or gas pipes. A useful RF ground for this kind of setup is a solid metal connection to an approved earth point, an outdoor ground rod, or a cold water pipe section that a qualified electrician has confirmed is suitable.
Short matters more than long. Every centimetre of ground wire adds inductance that stops doing the job you wanted. Follow your local electrical code and the manufacturer’s instructions, and ask a licensed electrician if you are unsure what counts as an approved point.
Test whether grounding helped by monitoring a station in a quiet channel with the signal strength meter. A modest, steady rise in signal reading with no change in pitch or hiss means the ground is doing its job. A new low hum means the ground picked up a loop and needs removing or relocating.
Tune the Band and Compare Signals
Sweep the medium wave band slowly with the antenna connected and record your baseline noise floor and the strength of two or three stations you can already hear. Change one thing at a time after that, then repeat the measurement.
Rotate the rod slowly and watch the meter. Some stations peak in one direction and others peak ninety degrees away, because the null pattern depends on where the transmitter sits relative to your location.
Adjust the RF gain to the point where the wanted station sits comfortably above the noise. Turn it up further only to see whether extra gain reveals anything.
Reduce Common Sources of Noise
Work through suspected noise sources one at a time by unplugging or switching off each device for a few minutes and listening. LED lighting, phone chargers, monitors, LED TVs, switched-mode power supplies, dimmer switches and poor connectors in the building are the usual suspects.
If switching off the suspect device changes the noise, you have found it, and you can decide whether to move the antenna, replace the supply, or simply accept the noise and null it. If nothing changes, move to the next device rather than bundling several switches into one test.
Check every ground and shield connection you touched, because a loose connector produces noise that mimics a whole room full of appliances.
Confirm That the Setup Is Working
You know the setup is working when the noise floor drops noticeably, weak stations hold audio for several minutes, and the result repeats after you reposition and reorient the rod. Those three signals together matter more than any single loud station.
Success should also be quiet. No new hum, no raspy distortion on strong local stations, and no phantom signals appearing on frequencies where no broadcaster exists.
Keep a short log of rod position, rotation angle, gain setting and station list for your best listening hours. MW DX conditions change with daylight, so a setup that failed in the afternoon can work well after dark.
Common Mistakes
Positioning the rod next to the receiver, the computer or a metal shelf is the most common error. The symptom is heavy electrical hash that changes when you touch the radio or move a mouse. Move the rod away and the noise drops.
The second mistake is too much amplification. Strong local stations turn raspy, splattery or distorted, and odd signals appear on empty frequencies, which usually means intermodulation rather than exotic DX. Back off the RF gain, pull the coupling closer, or add an attenuator between the antenna and the receiver.
Long, unbalanced or hand-wrapped leads are a third. Symptoms are hum, weak signals and results that change when you wiggle the wire. Re-terminate, shorten the run and use coax with a proper shield.
Grounding errors come in pairs. No ground at all leaves noise in place; a ground lead that loops near the antenna, or a cold water pipe chosen at random, adds hum. Remove it, test again, then consult a qualified electrician about a proper earth point.
Electronics near the rod cause their own failure mode. A coil mounted beside a monitor can be quiet at one desk and noisy at the other, which makes people doubt the antenna. Test at a different table before you rebuild anything.
The last mistake is blaming atmospheric conditions. During the day, local interference and a poor noise floor will defeat a perfectly good antenna. Compare readings after dark, when medium wave propagation improves, before concluding the hardware is at fault.
Frequently Asked Questions
How long should a ferrite rod be for MW DX?
A rod roughly 20 to 25 cm long works well for the medium wave band, and longer rods add sensitivity at the low end of the range. A stock loopstick from a portable receiver is a good test antenna. Length matters less than keeping the rod away from metal and electronics, so start with what you already own before buying anything.
Do I need a special receiver to use a ferrite rod antenna?
No dedicated receiver is required. Most portable receivers with an internal ferrite antenna will pick up an external coil through inductive coupling, which needs no modification at all. If you would rather connect directly, you need an external antenna input or a coupler that presents a high impedance to the radio.
When should I add a preamplifier to a ferrite rod antenna?
Add one when the passive setup receives a station but cannot hold it above the noise, or when you need to drive a long cable to the receiver. If strong local stations already overload the receiver, more gain makes it worse. Start near 10 dB and raise the gain only while weak stations keep improving.
How do I orient a ferrite rod for best MW reception?
Rotate the rod slowly while watching the signal strength meter and record which angle works for each station. Different transmitters peak at different angles, and a null off one side can reject a strong neighbour you do not want to hear. Keep the rod vertical and make sure it can be turned by hand quickly.
Does a ferrite rod antenna need a ground?
A ground is not required for reception, but a short lead to an approved earth point can reduce common-mode noise and stabilise readings on noisy apartment buildings. Never improvise with mains wiring, and check that adding a ground does not introduce hum before keeping it installed.
Will a ferrite rod antenna work indoors?
Indoors it usually works better than people expect, because it rejects much of the electrical noise that makes indoor listening frustrating. The limiting factor is how much of your own equipment sits near the rod. In a small flat, moving the antenna to another table can matter more than any hardware change.
What to Do First
Start by putting a rod you already own as far from your equipment as the room allows, and listen at night when medium wave conditions are best. Record the noise floor and two stations, then rotate the rod and write down the difference. Everything else in this guide, from grounding to a preamplifier, only makes sense once you have that baseline.