Tuning a shortwave radio means picking a frequency between roughly 3 and 30 MHz and then holding it there while the signal fades in and out. Unlike FM, which parks on a fixed channel, shortwave stations drift, and the receiver has to be corrected constantly. Get the setup right and you will hear stations from thousands of kilometres away within one evening.
The whole routine takes about 20 minutes once you know the order of operations. Most beginners fail at step one, which is the antenna and the noise around the radio, not at the tuning dial itself.
Table of Contents
- 1What You Need
- 2Step-by-Step
- 31. Set Up the Radio and Antenna
- 42. Choose the Best Shortwave Band
- 53. Set the Mode and Bandwidth Before You Tune a Shortwave Radio
- 64. Find the Station’s Peak Signal
- 75. Confirm the Station and Check Signal Reports
- 86. Preserve the Reception
- 97. Record What Works
- 10Common Mistakes That Stop You Tuning a Shortwave Radio
- 11Tuning Tips for Difficult Conditions
- 12Frequently Asked Questions
- 13Why does a shortwave station fade while I am tuning?
- 14Should I use AM, CW, or SSB for distant shortwave stations?
- 15What bandwidth should I use on a crowded shortwave band?
- 16Why does my radio sound better with the RF gain turned down?
- 17How do I know whether a weak signal is a station or interference?
- 18Does a longer antenna always help me hear distant shortwave stations?
- 19Your First Tuning Session
What You Need
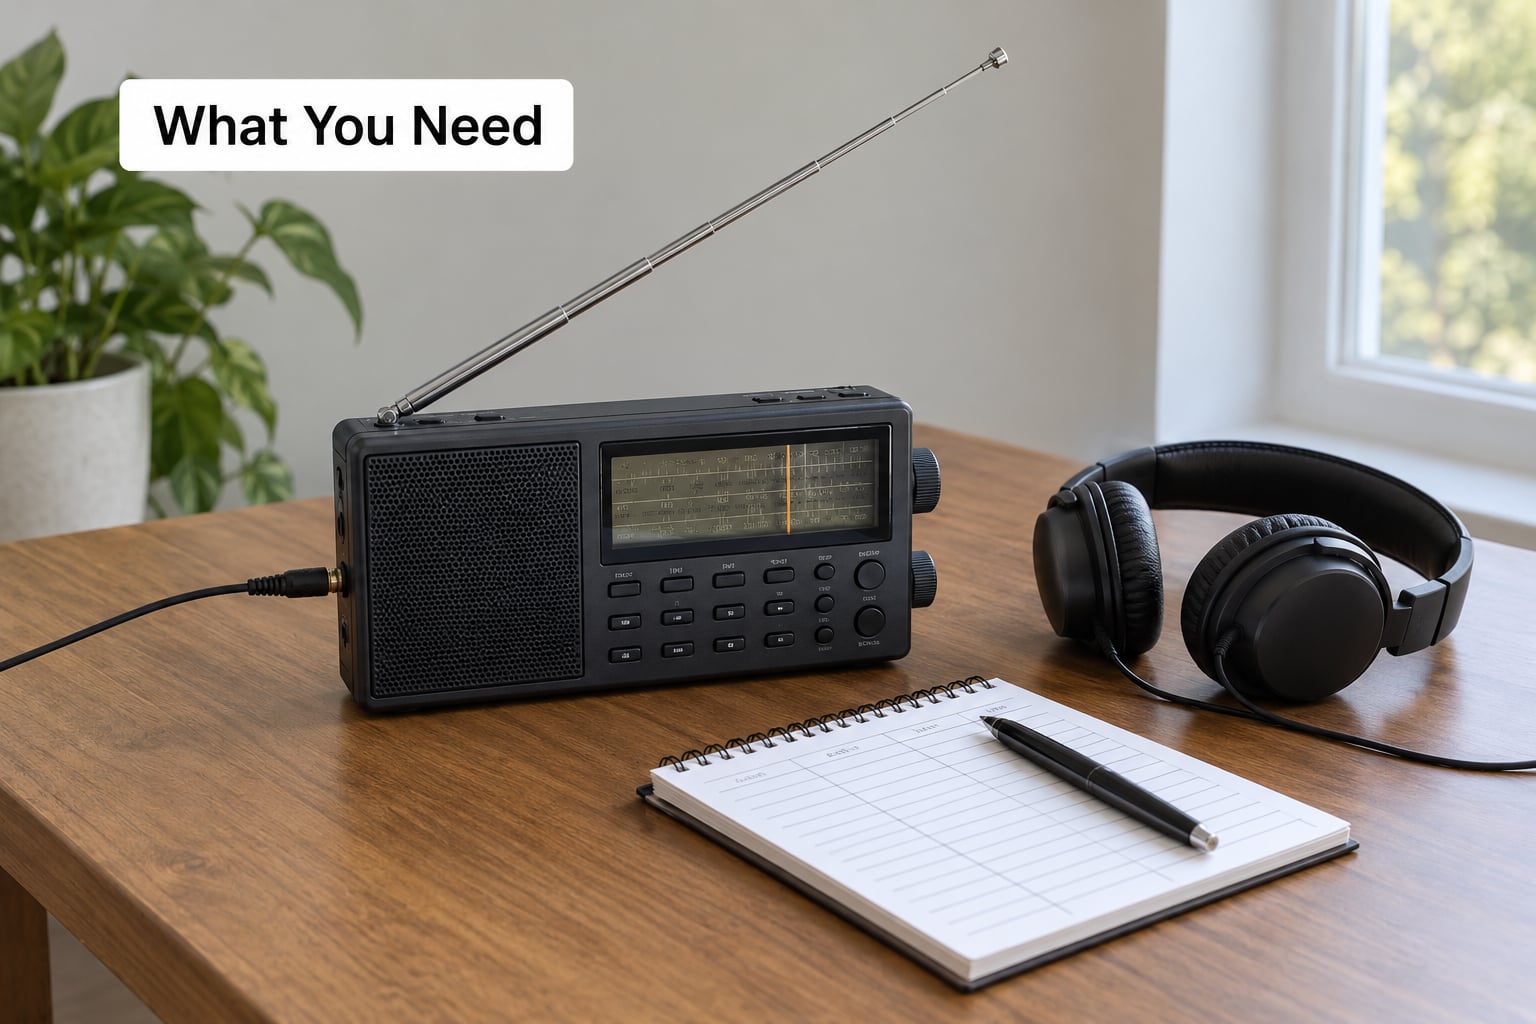
Six things, and only one of them is the radio. Everything else is cheap or free.
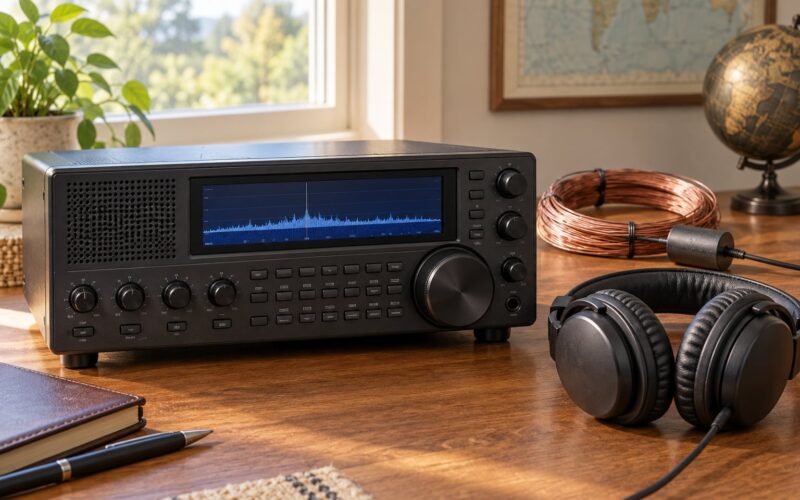
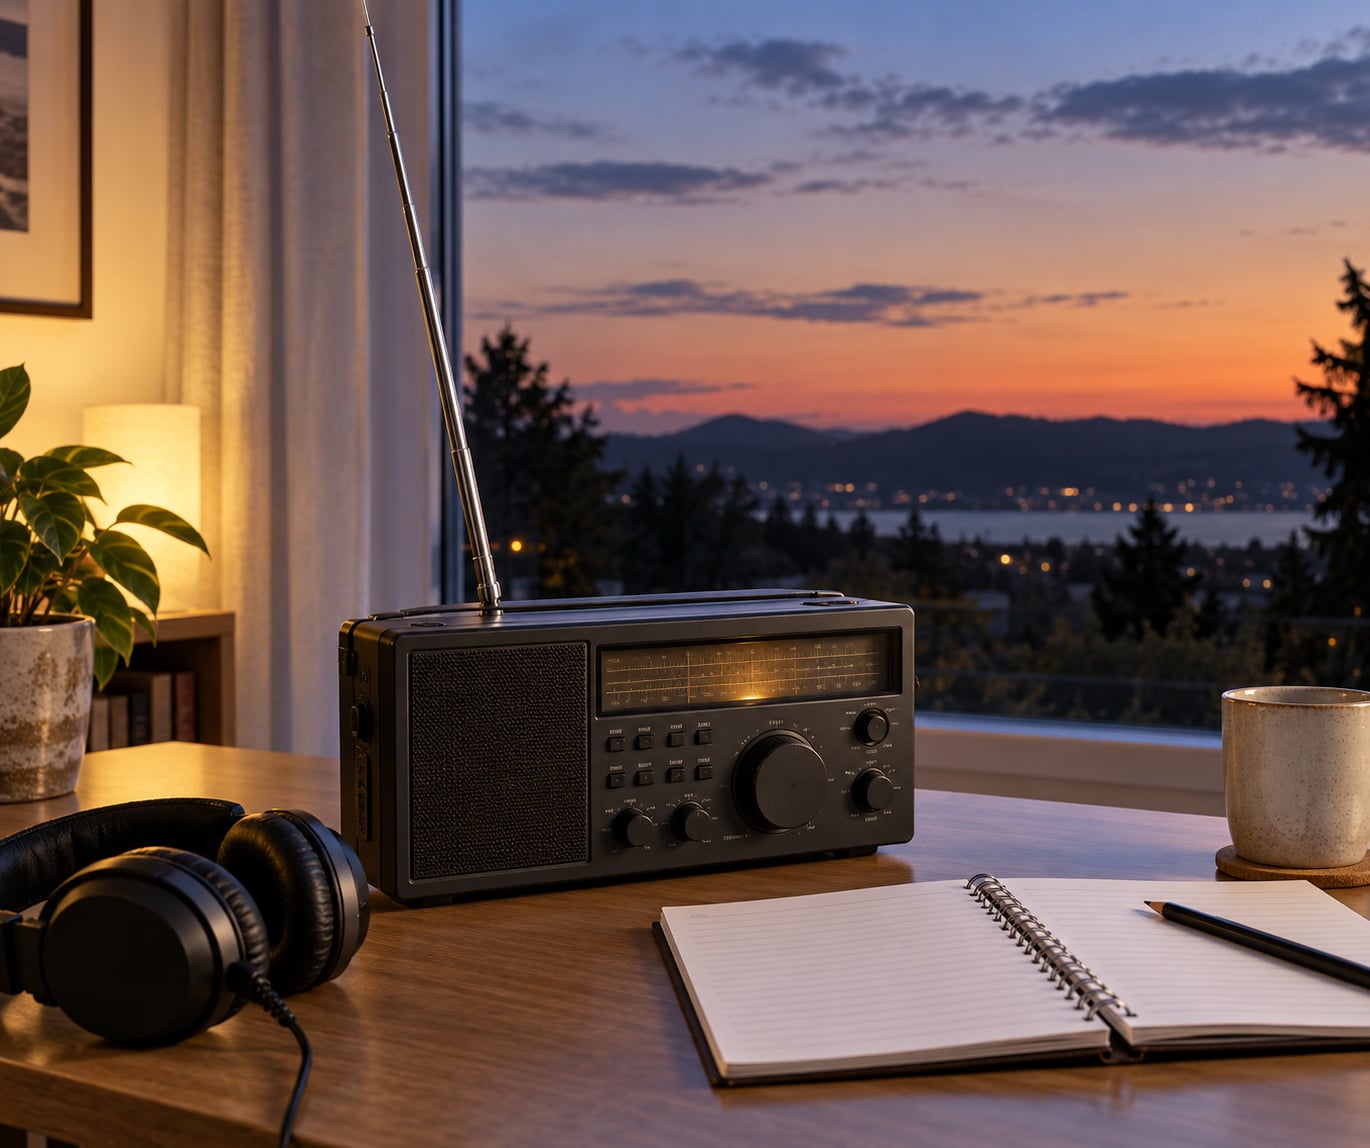
- A shortwave receiver. Any set that covers HF, ideally with a digital frequency readout. An FM/AM/shortwave portable will do for a first session.
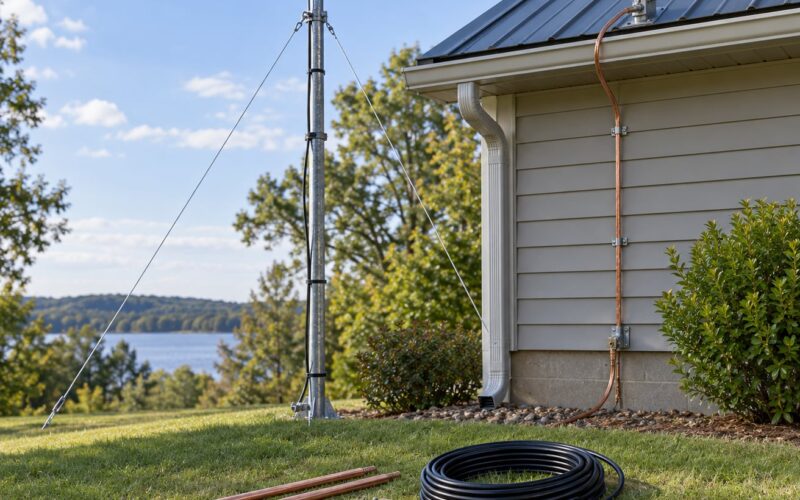
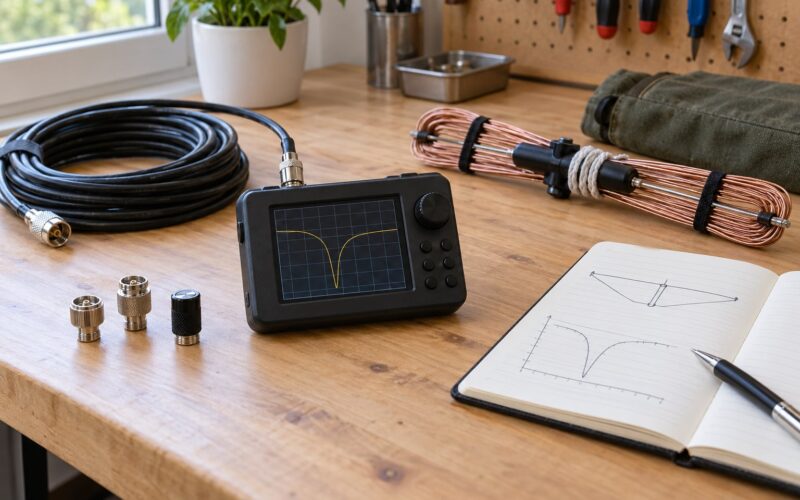
- An antenna. The supplied telescopic whip, plus about 5 metres of insulated wire and an alligator clip if you want more reach.
- A power source. Batteries, ideally, so the set is not sitting on a noisy mains supply.
- Headphones. A weak signal buried in static is far easier to follow quietly than at full volume.
- A schedule source. A printed frequency list or a short-wave.info account, so you know what to tune to and when.
- A notebook. A pencil log of what worked, which is how you stop repeating failed sessions.
For portable listening, collapse the whip and take the set outdoors. Even a balcony or garden chair beats an apartment, because buildings and their wiring generate far more interference than open air.
Step-by-Step
1. Set Up the Radio and Antenna
Start on batteries if the set allows it, then sit at least a metre away from computers, LED lamps, phone chargers and switch-mode power supplies. Those devices radiate noise straight into the frequency range you are trying to hear.
Connect any external antenna before switching on, and extend the telescopic whip fully if you are indoors. The whip is roughly a quarter wavelength at the middle of the shortwave range, which is the length that works best for most listening.
You worked if a strong local AM station, or a time signal, comes in clearly with no crackle. If the noise floor is high before you have tuned anywhere, the problem is the room, not the band.
2. Choose the Best Shortwave Band
Bands open and close through the day as the ionosphere changes, so picking the right band saves most of your listening time. Daytime favours higher frequencies, and after sunset the lower bands come alive and reach much further.
| Band | Frequency range | Best time | What you tend to hear |
|---|---|---|---|
| 41m | 7.3 to 7.45 MHz | Daytime | Regional relays, amateur and utility traffic |
| 49m | 5.95 to 6.2 MHz | Day and night | Large numbers of English-language services and relays |
| 31m | 9.4 to 9.9 MHz | Day, night near dawn | Broadcast bands, stations drifting at night |
| 25m | 11.6 to 12.1 MHz | Daytime | Long-distance services, less crowded than 49m |
| 19m | 13.6 to 15.1 MHz | Daytime | Distant broadcast and utility stations, numbers activity |
| 16m | 17.48 to 17.9 MHz | Late afternoon | Seasonal band, open during sunspot highs |
| 13m | 21.45 to 21.8 MHz | Daytime | Sparse, short-lived openings, watch for weak signals |
One more limit worth knowing: the maximum usable frequency is the highest frequency that can be refracted back to Earth that day. Above it, signals escape into space. When it drops during a geomagnetic storm, the higher bands go quiet and everything moves down to 49m and 31m.
3. Set the Mode and Bandwidth Before You Tune a Shortwave Radio
AM broadcast is the normal mode for spoken shortwave services, and the default on most sets. A 2.4 to 3 kHz filter width is plenty for AM and keeps adjacent stations from splashing over. Narrow it to 500 Hz for CW beacon and utility signals.
SSB (upper or lower sideband, often shown as USB and LSB) carries utility and amateur traffic and sounds cleaner at long range, but you must be on the correct side of the carrier frequency or you get a hollow, watery sound. Some simpler sets have no SSB at all, which is fine for news broadcasts.
On a digital set, enter the frequency numerically when you can rather than hunting with the dial. Turn the RF gain down to about half, then bring it up only if the signal is weak. That keeps the receiver from being swamped by strong local stations.
4. Find the Station’s Peak Signal
Slow down. A typical tuning rate of a few kilohertz per second crosses an entire AM channel, which is why fast scanning makes a crowded band sound like unbroken static.
On an analogue set, the dial scale is a guide, not a measurement. Many are badly inaccurate at the shortwave end, so find the station by ear, note the dial position, then re-enter that frequency on a digital readout once you have identified it.
Distinguish the three controls that beginners confuse. Volume sets loudness. RF gain sets how much signal reaches the front end, and too much of it causes overload. Squelch only mutes noise on FM and repeater-style modes, so leave it alone on a shortwave set.
Centre the carrier rather than the edge of the station. If a broadcaster sits at 9.560 MHz, the clearest position is the middle of the channel, not the lowest or highest point where the voice is still audible.
5. Confirm the Station and Check Signal Reports
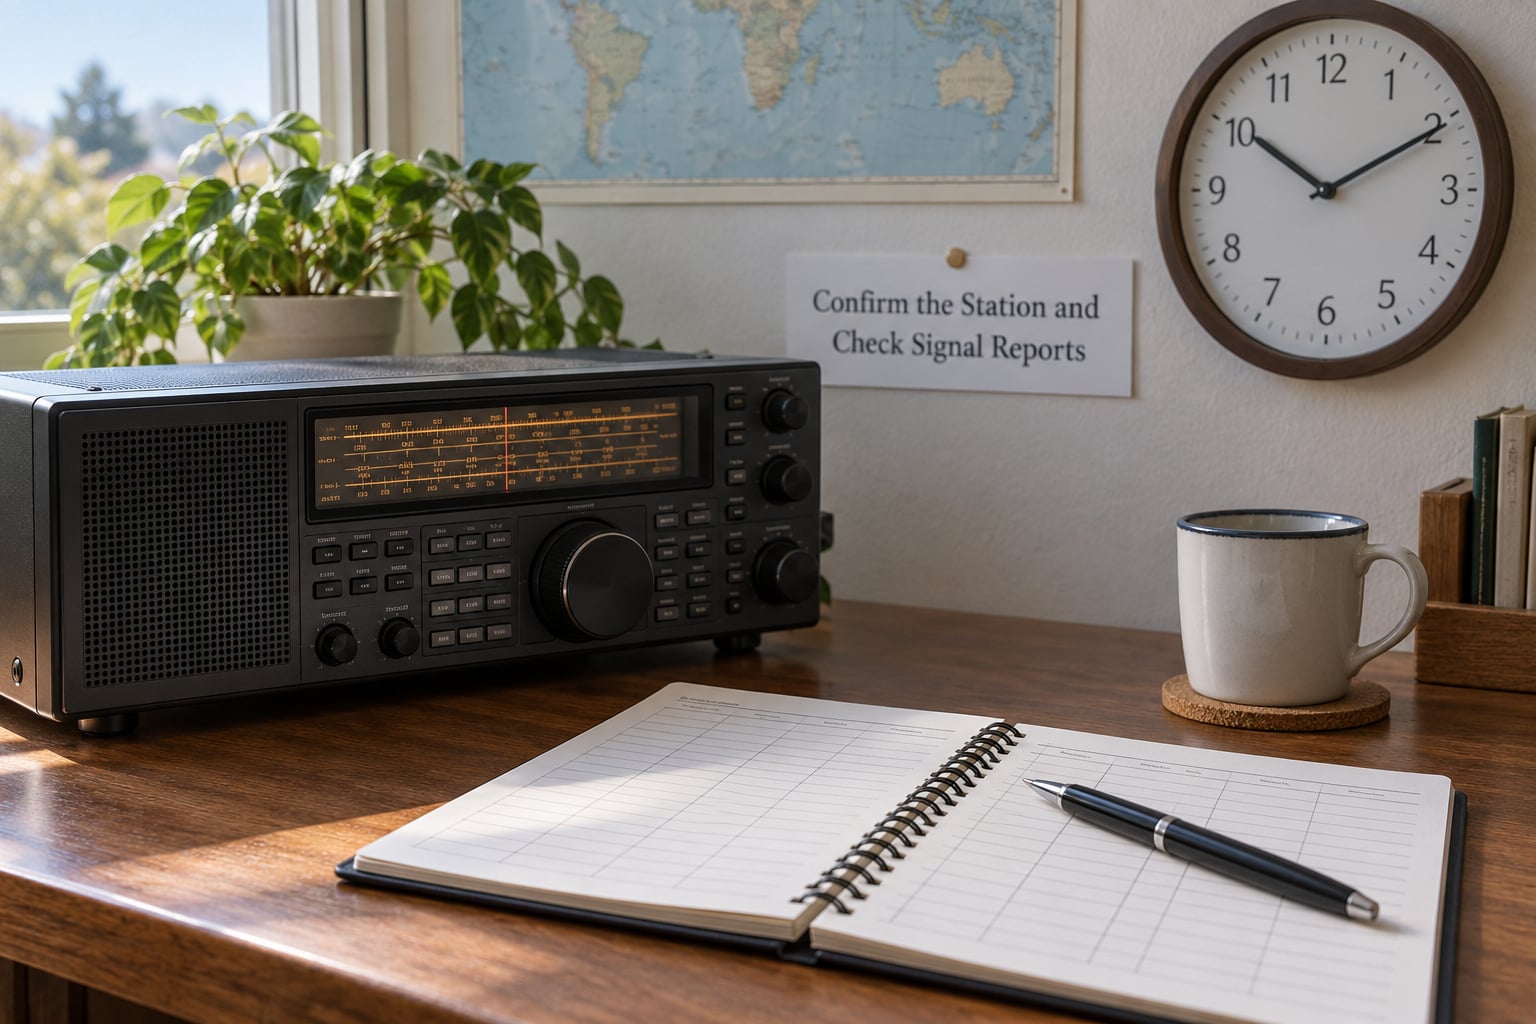
Identify what you are listening to. Station intervals, time pips, news jingles and language changes all narrow it down, and a call sign at the top of the hour confirms it. Numbered and unidentifiable utility stations often repeat a female voice reading groups of figures, which is how you tell them apart from broadcasts.
Use the time signals as your benchmark. WWV in Colorado and WWVH on Hawaii broadcast continuous time and frequency information on 2.5, 5, 10, 15, 20 and 25 MHz. If you hear one of those cleanly, your antenna, mode and settings are all right, and any static elsewhere is a propagation problem rather than a fault.
Then check the schedule and the current conditions. A frequency listed for 21:00 local time may be a different one at 02:00, because stations move bands with the season and the time of day. Solar flux, the K-index and the maximum usable frequency forecasts tell you which band is worth your attention before you switch on.
6. Preserve the Reception
Once a signal is up, resist touching anything. On receivers with an antenna matching or attenuator control, nudge it slowly rather than turning the main tuning. Repositioning a whip a few centimetres at a time often recovers a station that a metre of movement would lose.
On an indoor wire antenna, orientation matters more than length. Turning the whip horizontal and aiming it toward the target’s bearing has been reported by listeners as the single change that brought back a station that was inaudible with the whip vertical.
If a strong local AM or FM transmitter is within a few hundred metres, move away from it. Overload makes distant signals weaker, and paradoxically a longer antenna can feed more of that interference into the front end. In a home with heavy RFI, a magnetic loop antenna often beats a long wire, because the loop rejects much of the local noise instead of collecting it.
Choose your listening window. The first hour after local sunset and the hour before sunrise usually give the best long-distance conditions, and running on batteries removes one of the worst noise sources in the house.
7. Record What Works
Write down each session while you still remember it. A short log turns hours of hunting into a repeat list.
- Frequency in kHz or MHz
- Station name or language
- Time in UTC, plus your own local time
- Mode and bandwidth
- Band conditions and K-index that day
- Antenna used and its orientation
- Signal quality from 1 to 5
- Notes for next time
After a few sessions your log shows patterns. Some stations only appear on 41m in the morning, some drift by several kilohertz between sunset and midnight, and some nights simply had better conditions than others.
Common Mistakes That Stop You Tuning a Shortwave Radio
| Symptom | Likely cause | Fix |
|---|---|---|
| Only local AM stations, no foreign broadcasts | Antenna retracted, or wrong time and frequency | Extend the whip, check the schedule, try 49m after sunset |
| Strong FM station heard on a shortwave frequency | Receiver overload from a nearby transmitter | Move 300 to 500 metres away, reduce RF gain, add an attenuator |
| Constant crackle that never changes | Local RFI from LED lighting, chargers or switch-mode supplies | Switch off devices one at a time, run on batteries |
| Signal fades in and out every few seconds | Ionospheric fading, or a marginal antenna | Re-tune slowly, keep the antenna still, try again at dusk |
| Station drifts off over several minutes | Frequency drift as the propagation path changes | Use the fine tuning control and log the offset |
| Sounds hollow, watery or unintelligible | Wrong sideband, or off-centre tuning | Switch USB to LSB, re-centre the carrier |
| Everything is fuzzy at any hour | Stretched antenna, damaged connection | Check the whip contacts and the external antenna socket |
| Band sounds dead after a bad few days | Geomagnetic storm lowering the maximum usable frequency | Drop to 49m and 31m and check the K-index |
| Clock disagrees with station timings | Radio clock not set to UTC or the local zone | Set the clock before checking any schedule |
| Station vanishes when the antenna is extended | Overload from a stronger signal entering the receiver | Shorten the whip, lower RF gain or use the attenuator |
Tuning Tips for Difficult Conditions
When a signal is very weak, drop the bandwidth before anything else. A 500 Hz filter on AM lifts a marginal station out of the noise where a 3 kHz filter leaves it buried. Move the antenna by small increments and stop at each position for several seconds.
On crowded bands, work from a schedule rather than scanning. Pick two or three target frequencies, give each a full minute, and log the result before moving on. Bandscanning sounds productive and mostly tells you how busy the ionosphere is.
On an unfamiliar receiver, find the bandwidth and RF gain controls before you start hunting stations. If the set has an attenuator button, remember it exists for a reason and it is not a fault.
And keep the wire antenna well clear of power lines, and take it down before a thunderstorm. A long wire is a lightning rod, and no station is worth that.
Frequently Asked Questions
Why does a shortwave station fade while I am tuning?
Shortwave signals bounce off the ionosphere, and that layer changes constantly as solar activity shifts. The path can be interrupted for seconds or minutes, which sounds exactly like fading. Re-tune slowly through the fade and hold the setting when the signal returns, because the station is often a kilohertz or two off where you left it.
Should I use AM, CW, or SSB for distant shortwave stations?
AM is the right mode for news and talk services and is the sensible starting point for a beginner. SSB is used by utility and amateur stations and sounds cleaner at range, but you must be on the correct sideband or the voice sounds hollow. CW is for beacons and numbers stations, and it needs the narrowest filter of the three.
What bandwidth should I use on a crowded shortwave band?
Start with 2.4 to 3 kHz for AM broadcasts, which passes speech without letting neighbouring stations bleed over. Drop to about 500 Hz for CW beacons and numbers stations, and narrow further only if the signal is strong. A narrower filter rejects more noise, but it also chops off parts of a wide transmission.
Why does my radio sound better with the RF gain turned down?
RF gain controls how much signal reaches the receiver’s front end, and strong local stations can overload it. When the front end is swamped, distant weak signals get pushed below the noise floor and nearby stations splatter across the band. Pulling RF gain back to about half, or using the attenuator, often improves distant reception rather than harming it.
How do I know whether a weak signal is a station or interference?
A real station fades smoothly and returns to the same place, usually with recognisable speech or music structure. Interference tends to be steady, buzzy, or pulsing, and it does not move with the tuning dial. Switch to a wider filter and sweep slowly: a genuine signal stays audible across part of a channel, while electrical noise keeps a constant level.
Does a longer antenna always help me hear distant shortwave stations?
No. A longer wire collects more signal, but it also collects more local noise, and in a house full of RFI the result can be worse. Extending the whip can also overload a receiver sitting near a powerful local transmitter. In a noisy home a magnetic loop antenna often works better, because it rejects much of the local interference.
Your First Tuning Session
Pick one station that is definitely on air right now and find its current frequency and mode. Set your clock to UTC, set the radio to AM with a 3 kHz filter, and RF gain at about half.
Run on batteries if you can, move away from the nearest strong transmitter, and put the antenna where it will stay put. Tune slowly around the listed frequency until a voice appears, then re-centre it and listen for the interval and the time check to confirm the station.
Then write the whole thing down: frequency, time, mode, antenna and a rating out of five. Ten minutes of that will tell you more than an hour of scrolling through the band, and the second session will be far more productive than the first. For more detail on the antenna side of this, our shortwave listening and antenna guides cover the setups in more depth.