An RF exposure evaluation is a calculation. You work out the RF power density your station produces at the closest place a person can stand, then compare it with the FCC’s Maximum Permissible Exposure limit for your frequency and your exposure category. Here is how to do an RF safety evaluation at home, end to end, with a free calculator and about half an hour of work. Nothing is filed with the FCC — no form, no fee, nothing you have to send anywhere.
Most people skip the whole thing because of the old power table that used to spare amateur stations. That exemption ended with the transition period on 3 May 2023, so a 5 watt handheld station and a 100 watt HF rig now carry the same requirement. The FCC adopted the current framework on 3 May 2021, splitting limits into occupational (controlled) and general-population (uncontrolled) tiers, and the amateur exemption never came back.
Here is the honest good news, and it comes up constantly on r/amateurradio and ham.stackexchange: most home stations pass the calculation the first time, usually with no change to anything. People who run the numbers and then find a genuine problem almost always fix it by moving the antenna, not by turning the power down.
Table of Contents
- 1What You Need
- 2Step-by-Step: How to Do an RF Safety Evaluation at Home
- 3Step 1: Identify the antenna, transmitter, and exposure areas
- 4Step 2: Establish the applicable RF exposure limits
- 5Step 3: Make a conservative clearance estimate
- 6Step 4: Measure representative areas with suitable equipment
- 7Step 5: Apply safety margins and repeat worst-case tests
- 8Step 6: Document the result and make corrections
- 9Common Mistakes
- 10Frequently Asked Questions
- 11Do I have to do an RF exposure evaluation if I only run low power?
- 12Can I use an EMF or gauss meter to check my RF exposure?
- 13Which limit applies to my family at home, controlled or uncontrolled?
- 14How far should my antenna be from my house?
- 15Do I have to file an RF exposure evaluation with the FCC?
- 16When should I pay for a professional RF safety survey?
- 17Conclusion
What You Need
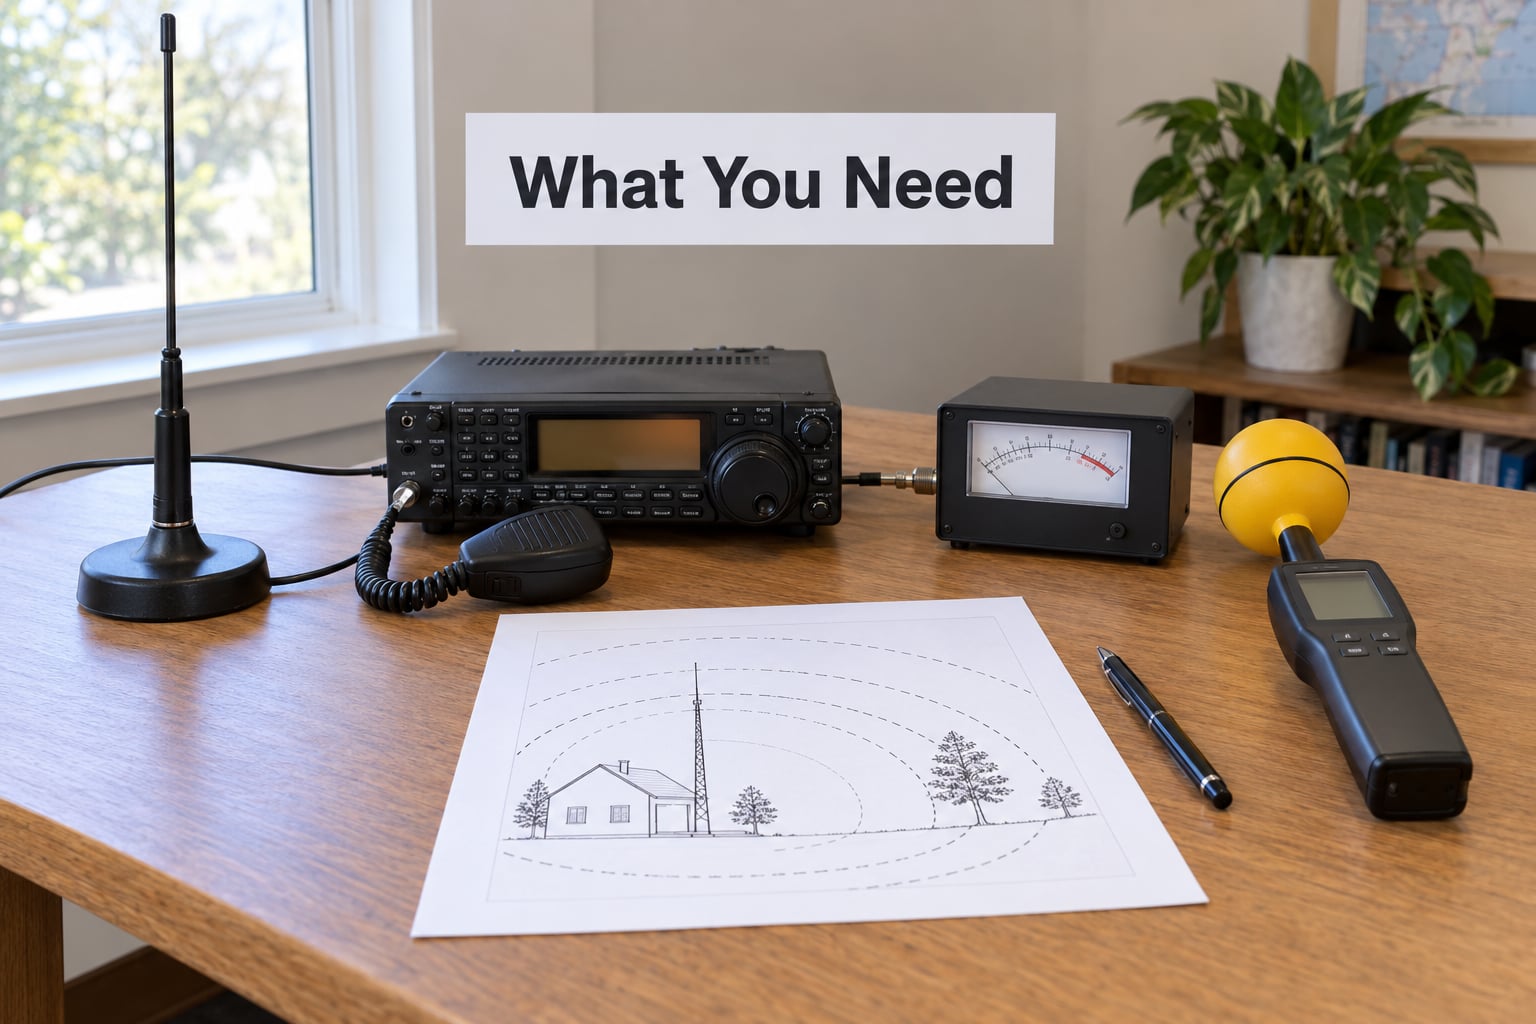
You need fewer things than people assume, and almost all of them are free.
- A calculator. The ARRL RF Exposure Calculator runs in a browser with no account and no signup. N7OH’s multi-band calculator is a good second option if you want to sweep several bands in one pass. The ARRL RF Exposure Evaluation Worksheet is the printable version if you would rather do the arithmetic on paper with a pencil.
- The limit tables. OET Bulletin 65 is the FCC’s compliance guide and it carries the Maximum Permissible Exposure values by frequency. Read the actual row for your band rather than trusting a chart somebody reposted in a forum thread three years ago.
- The rule references. Two numbers do most of the work: 47 CFR 1.1307(b), which is the general RF exposure rule, and 47 CFR 97.13(c), which is the amateur-specific section requiring a routine RF exposure evaluation. Both matter because your licence attestation already commits you to them.
- Your station facts. Five inputs: power at the antenna after feedline loss, the frequency or frequency range, antenna gain, mode and duty cycle, and the distance to the closest person who can approach.
- A tape measure and a sketch. Draw the property in plan view, mark the antenna, the shack, the house, and any fence line or neighbouring structure a person could stand behind. Most mistakes come from eyeballing distance instead of measuring it.
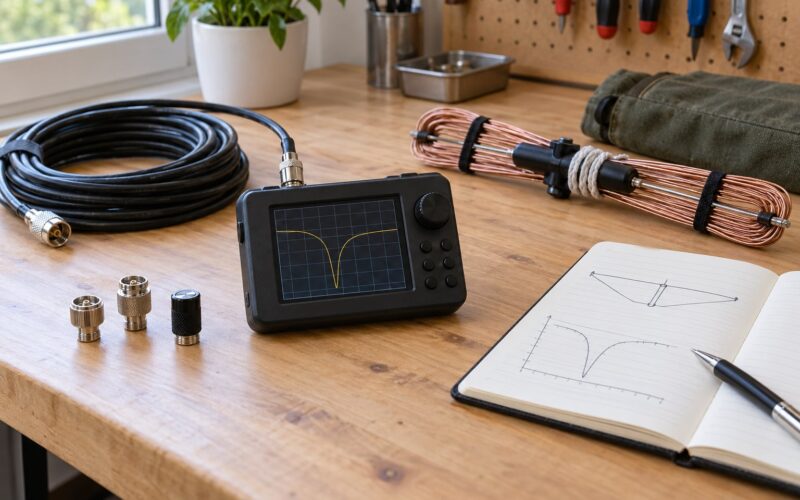
- Optionally, a calibrated field strength probe covering the band you care about, if you want to check the calculation against reality. See Step 4 for what this does and does not buy you.
- A notebook. You will want a written record. The FCC does not require one, but a neighbour, an HOA or a zoning board will.
A few safety notes before you start climbing anything. Do not work on a tower alone, and do not transmit while you are holding a probe in the near field of a running high-power antenna unless you are doing it deliberately and at low power. Antenna and feedline work follows the same rules as any structure work: stable footing, no metal ladder near a live feedline.
Step-by-Step: How to Do an RF Safety Evaluation at Home
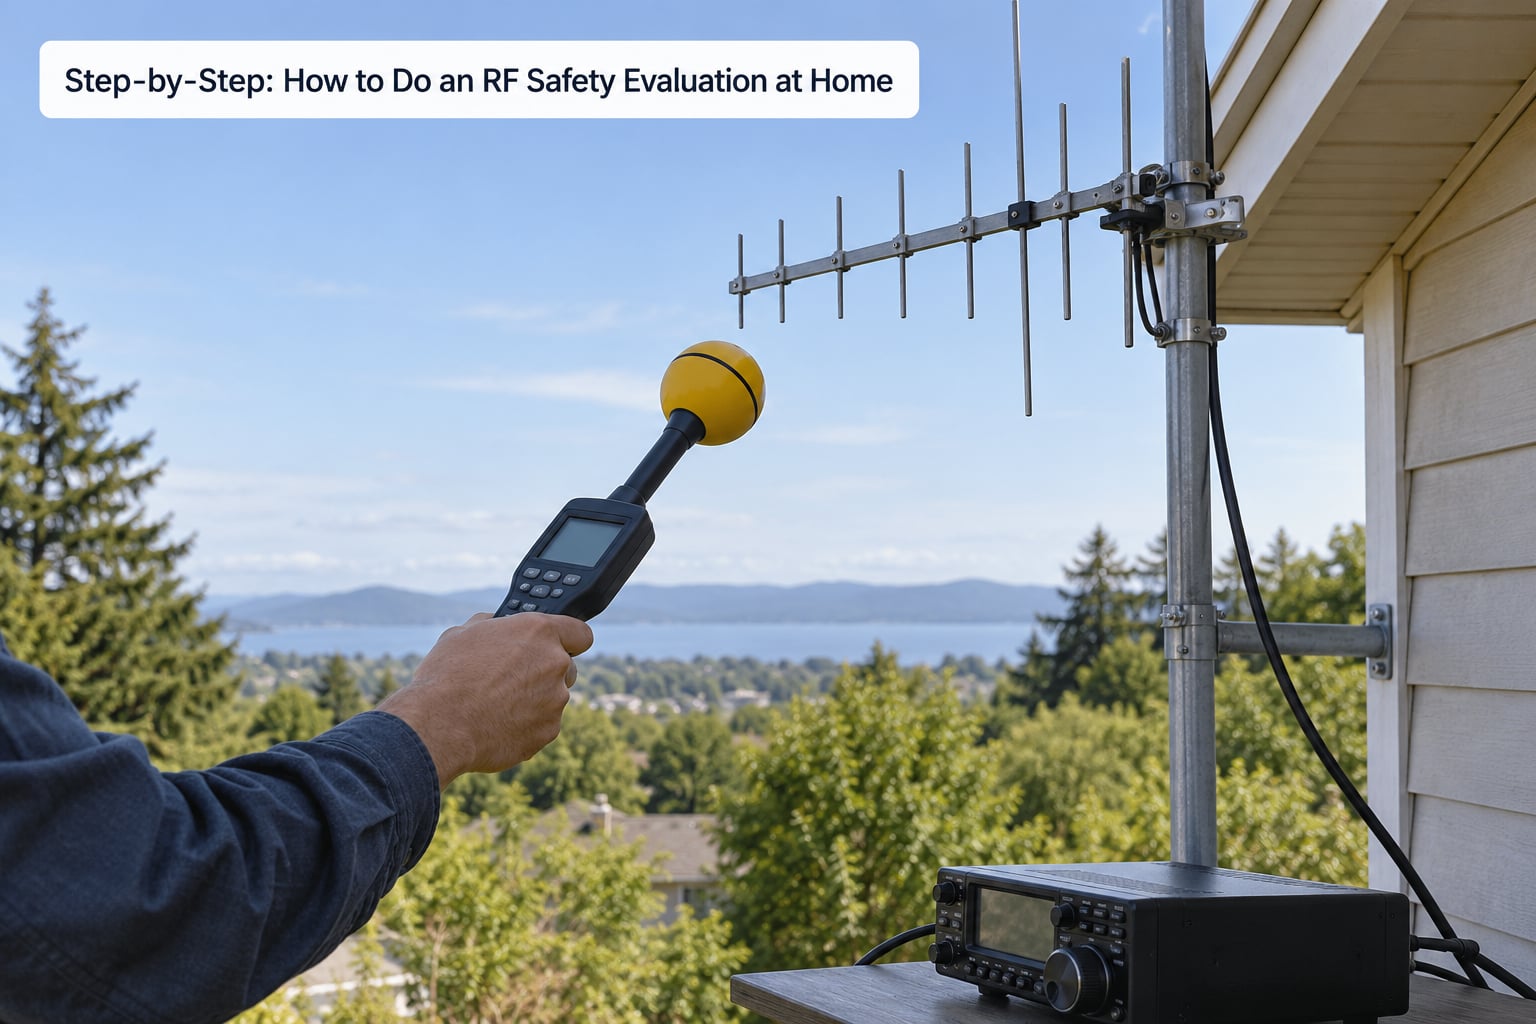
Six steps, in this order. The order matters because the cheap mistakes are all made in the first two steps, before any arithmetic happens.
Step 1: Identify the antenna, transmitter, and exposure areas
Write down what you have before you touch a calculator. For the antenna: type (dipole, vertical, beam, loop, mobile whip mounted through a window), gain in dBd or dBi, and the height above ground. For the transmitter: maximum output power, and the frequency or band you intend to operate on.
Then convert transmitter power to power at the antenna. A 100 watt amplifier feeding a 100 foot run of lossy coax might put 70 watts into the air, not 100. Feedline loss is small on 2 metres and can be over a decibel and a half on 20 metres, which moves your safe distance by roughly 10 percent.
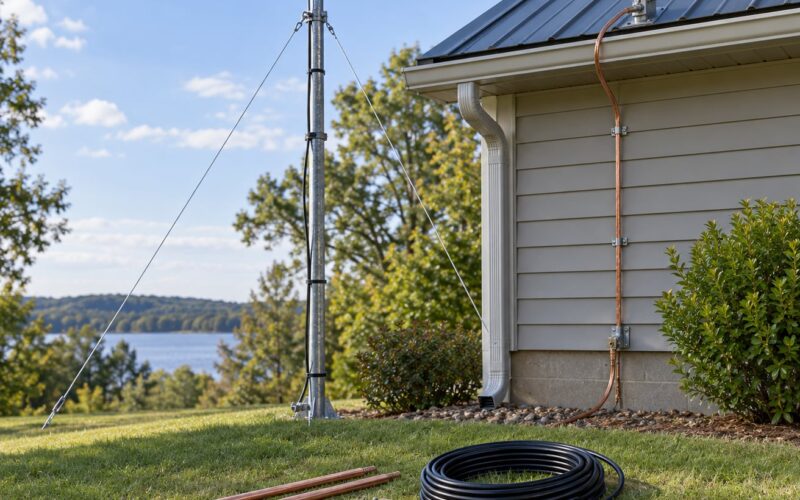
Finally, mark the exposure areas. These are the places where a person can actually be: the shack desk, the chair beside the radio, a bedroom under a loft antenna, the balcony, the garden, the neighbour’s fence line, and the roof of an occupied building. The measurement point that matters is the closest one a body can reach, not the middle of the garden.
Step 2: Establish the applicable RF exposure limits
There are two sets of limits, and picking the wrong one is the single most common error in home evaluations.
| Factor | Controlled environment | Uncontrolled environment |
|---|---|---|
| Who it covers | People who are informed, trained and understand the exposure | Everyone else, including family, visitors and neighbours |
| FCC basis | Occupational limits under 1.1307(b)(3) | General-population limits under 1.1307(b)(3) |
| Relative level | The higher of the two tiers | The more restrictive tier, generally a tenth of the controlled power density at HF and VHF |
| Averaging | Six-minute average | Six-minute average |
| Use at home | Only if everyone in the controlled area genuinely knows the situation | The conservative default, and the one most home stations should use |
The FCC allows household members to be treated under the controlled standard if they are informed and trained. In practice almost nobody runs that conversation at the dinner table, so the lower uncontrolled limit is the honest number for a home station. Use it, and your evaluation still protects everyone you care about.
Now get the actual limit value. Open OET Bulletin 65 and read the power density or field strength limit for your exact frequency from the appropriate table, then compare it to what the calculator reports. Do not copy a number from a blog post — the tables get revised, and the calculator already has the current version loaded.
Step 3: Make a conservative clearance estimate
Before measuring anything, estimate how far you need to be. In the far field, power density falls off with the square of distance, which means doubling your distance quarters the exposure. A quick mental model used constantly on the air: 2 feet away is the full reference exposure, 4 feet is one quarter, 8 feet is one sixteenth.
The distance-versus-power comparison is why antenna placement dominates almost every fix. Halving your transmitter power halves the safe distance. Doubling the antenna’s height or standoff doubles the distance and quarters the exposure. Put a bigger antenna further away rather than a smaller one closer in, and you get the better trade every time.
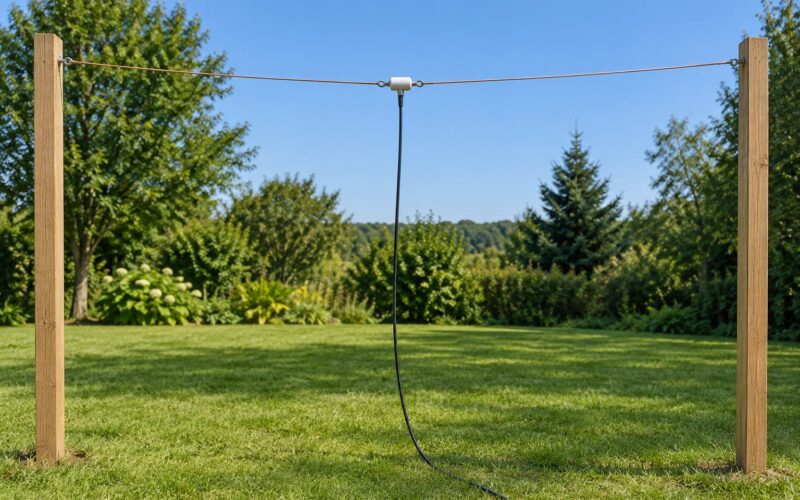
Here is a complete worked example with every input visible. A 100 watt HF transceiver, 20 metre band, into a 20 metre dipole at 20 feet above ground, mounted so the closest person can reach 40 feet away.
- Power at the antenna: 100 W transmitter, 1.5 dB feedline loss, so roughly 70 W actually radiated.
- Antenna gain: a 20 metre dipole is 2.15 dBi, which is 0 dBd by definition.
- Effective radiated power: 70 W multiplied by 1.64 (the linear equivalent of 2.15 dB) gives about 115 W EIRP.
- Power density at 40 feet: EIRP divided by 4 pi d squared, with d in metres, so 115 divided by 4 pi times 12.2 squared gives roughly 0.06 W/m2.
- Applicable limit: read the 14 MHz row of OET Bulletin 65. At HF the uncontrolled general-population limit is on the order of 1 W/m2, so assume that figure for the arithmetic and confirm yours.
- Result: about 0.06 W/m2 against roughly 1 W/m2, which is a comfortable pass. Back-solving for the minimum safe distance gives about 8.5 feet, so the real 40 foot standoff leaves nearly a five-fold margin in distance.
That margin is not a formality. It absorbs the four things that make hand calculations optimistic: a ground reflection that can add up to about 6 dB of field in the main lobe, a 2.15 dB error from typing 0 dBd where the antenna is really 2.15 dBi, higher-than-expected feedline loss, and a second transmitter you forgot about.
Know where the estimate stops working. The far field begins at roughly one wavelength divided by 2 pi. Inside that boundary, and in the near field around a small antenna generally, the calculator’s assumptions break down and the arithmetic is unreliable. A 20 metre dipole at 14 MHz has a far-field boundary of about 4.3 metres, so anything measured a metre from the element needs real instrument work, not formula work.
Step 4: Measure representative areas with suitable equipment
The calculator tells you what should be happening. A measurement tells you whether it is. Here is how to take a real reading at home.
- Pick the meter for the job. You want a calibrated RF field strength meter or a narrowband field probe that covers your frequency of interest. Broadband RF detectors and cheap diode probes are relative indicators only — they tell you the signal went up when you keyed the transmitter, which is useful for finding a leaky connector and useless for comparing against an MPE.
- Understand what an RF wattmeter is. A wattmeter in the feedline measures forward and reflected power flowing toward the antenna. That is a transmission-line measurement, not an environmental one. It tells you how much power is leaving the radio, not how much field exists two metres from the element.
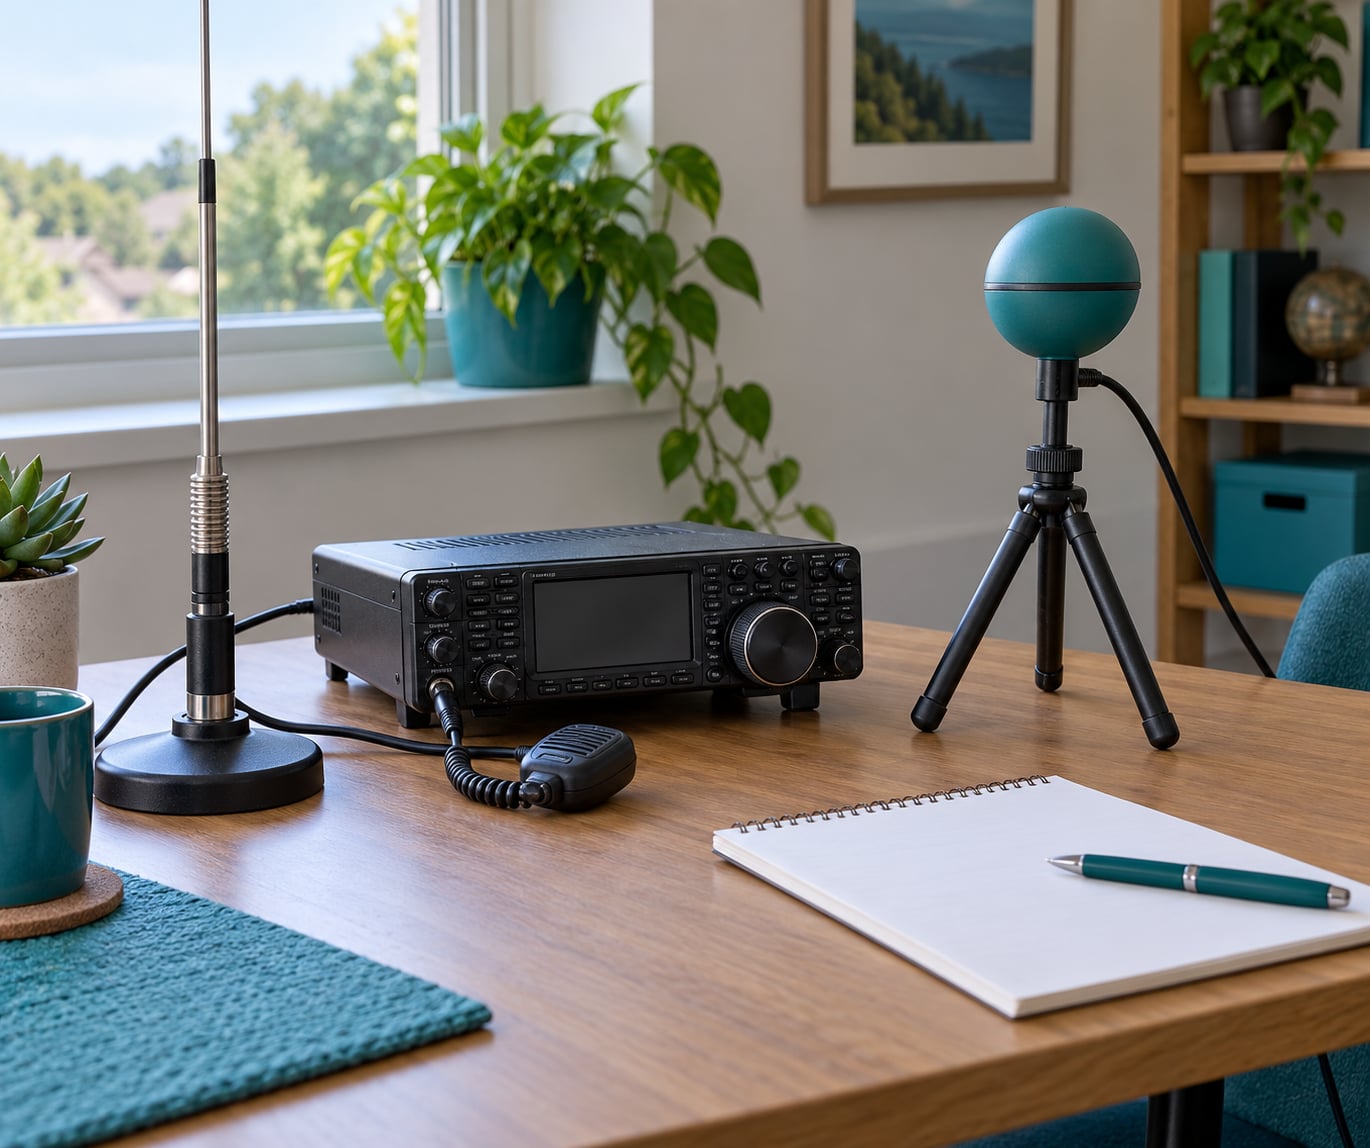
- Ignore consumer EMF and gauss meters for this job. The “EMF detector” sold for house hunting measures low-frequency magnetic fields from 50/60 Hz house wiring, in milligauss. Your exposure question at 14 MHz is about electric field strength in volts per metre at tens of megahertz. Different phenomenon, different frequency, different units. A gauss meter reading 0.4 mG in your kitchen says nothing useful about your antenna.
- Measure at the worst-case point. Key the transmitter at full output in the mode with the highest duty cycle you would actually use, and hold the probe at the closest approachable position — ideally at head height and at the edge of the main lobe, not only in the direction the antenna points.
- Average properly. Log several readings over a six-minute interval and average them, because the MPE is a six-minute average exposure. Take the maximum reading, not the flattering one, and repeat it a few times.
- Compare. Convert the measured field strength to power density, or read power density directly if the meter reports it, then compare against the same limit you used in Step 2.
Forum builders with Arduino-based detectors and homebrew field probes treat their creations as relative instruments, and they are right to. Homebrew gear tells you where your field is hot relative to somewhere else. It does not tell you whether you are under the limit.
Step 5: Apply safety margins and repeat worst-case tests
A reading that lands at 40 percent of the limit is not a pass, it is a pass with no room for anything you have not modelled. Apply a derating margin on top of the regulatory limit — many operators use a factor of ten, which is the same order as the uncontrolled-to-controlled difference, precisely because it costs nothing to be conservative at home.
Then repeat the test in the conditions that are actually worst, not the conditions that are easiest.
- Transmit at maximum power, not at the power you usually run.
- Use the continuous mode you own, not only voice, because duty-cycle derating flatters voice operation.
- Test the closest access point for each antenna separately, including the feedline entry point where the coax comes through the wall.
- If two or more antennas transmit from the same location, remember that exposure from different sources adds.
- Investigate any reading that disagrees with your calculation instead of averaging it away. A big discrepancy usually means near-field coupling, an unaccounted second transmitter, or a badly seated connector radiating.
If the measurement is well above the calculation, believe the measurement. Instruments do not flatter a station, and the arithmetic is the part most likely to be missing a term.
Step 6: Document the result and make corrections
Write it down. The FCC requires no filing, no fee and no record submission, but a one-page record in your station log ends neighbour conversations quickly. Copy this structure:
Station: call sign, address, date of evaluation.
Antenna: type, gain in dBi, height above ground, mounting location.
Feedline: type, length, estimated loss in dB.
Transmitter: maximum output power, power at the antenna, modes and duty cycle.
Bands evaluated: each frequency with its own run and its own result.
Limit used: uncontrolled general-population value from OET Bulletin 65, with the table reference.
Closest approach distance: measured, not estimated.
Calculated result: minimum safe distance, controlled and uncontrolled.
Measured result: instrument used, calibration date, readings, averaging method.
Margin applied: factor used and why.
Conclusion: pass, pass with changes, or fail with the corrections made.
Re-evaluate whenever something changes: a different antenna, a higher power amplifier, a new band, an antenna moved or re-aimed, a new antenna added to the same mast, or a change in who can get close to it. A new neighbour with a fence right where your beam points counts too.
If the evaluation fails, work down this ladder in order, because the steps are ranked by how much they actually buy you.
- Raise or move the antenna. Doubling distance quarters exposure. This is the most effective fix by a wide margin.
- Re-aim the antenna. A beam pointed away from the accessible area, or a vertical with its null where people stand, removes the problem without touching power.
- Shorten the on-air time. Duty-cycle derating is legitimate under the six-minute average, but it only helps if you are genuinely near the limit.
- Reduce power. Effective, and the step people reach for first. It is also the most expensive trade in the hobby, which is why it belongs fourth.
- Install a screening or shielding measure where the field enters a living space. Fixes the symptom at the wall rather than at the antenna, so treat it as a last resort.
- Restrict access. Barriers and signage work at commercial sites. In a home they mostly work in the neighbour’s driveway, which is not a plan.
Bring in a qualified RF safety professional when the antenna is on a rooftop over an occupied building, when your site is a shared tower with other tenants, when several transmitters are co-located, or when an assessment involves anyone with an active medical implant you cannot relocate. Self-assessment stops being defensible when you lose the ability to assume the geometry.
Common Mistakes
These seven errors show up over and over, and each one produces a false result rather than a safe one.
Assuming low power means you are exempt. This is the big one, and it is simply wrong now. The amateur power exemption ended with the 3 May 2023 transition deadline. Power level changes how hard your safe distance is to reach, not whether the evaluation applies.
Measuring only at the transmitter. Inside a shack, the strongest field near the radio is often not from the antenna at all — it is leakage from the feedline at a loose connector. Measure at the antenna’s accessible area, which is where the field is highest.
Treating an RF wattmeter as a field meter. It measures power going down the coax. It has no idea what the field looks like in the room, and a clean wattmeter reading says nothing about exposure at any distance.
Using an uncalibrated or consumer meter. A diode probe or a milli-gauss EMF detector can confirm that RF exists and can help you find a hot spot by comparison. It cannot produce a number you can compare to an MPE, and treating its reading as a compliance result is the most common bad measurement I see.
Ignoring the second transmitter. A beam on 20 metres and a vertical on 2 metres do not get separate budgets. Power densities from different sources sum, so every transmitter at the location needs its own evaluation and the results need to be considered together.
Overlooking feedline leakage. Coax radiates where the shield is compromised. A connector that has not been tightened, or a long parallel run of coax against a wall, can put RF into a room that a clean antenna calculation says is clear.
Assuming distance always fixes it. Distance dominates in the far field with a normal pattern. It does not rescue you in the near field, with a small antenna surrounded by metal, on an attic floor where the roof structure re-radiates, or where a second source sits between you and the safe zone.
Frequently Asked Questions
Do I have to do an RF exposure evaluation if I only run low power?
Yes, if you are a licensed US amateur station. The power exemption that used to spare amateur stations ended with the FCC transition period on 3 May 2023. Power level affects how hard the calculation is, not whether you do it. A 5 watt station usually passes at distances so short they barely register as a restriction, but the evaluation is still the record that shows you checked.
Can I use an EMF or gauss meter to check my RF exposure?
No. Consumer EMF meters measure low-frequency magnetic fields from mains wiring, usually in milligauss at 50/60 Hz. RF exposure at amateur frequencies is an electric field and power density question, measured in volts per metre and watts per square metre at megahertz frequencies. A gauss meter can tell you a transmitter is on. It cannot tell you whether you are under an MPE.
Which limit applies to my family at home, controlled or uncontrolled?
Use the uncontrolled general-population limit unless you have genuinely informed and trained everyone in the exposure area. The FCC does permit household members to be assessed under the controlled standard if they understand the exposure, but most home stations never have that conversation. The uncontrolled limit is the more restrictive tier, and using it costs nothing but a slightly longer required distance.
How far should my antenna be from my house?
There is no single number, because distance depends on frequency, power at the antenna, gain, duty cycle and mounting height. As a practical anchor, 100 watts on HF into a dipole with the feedline kept in good order typically produces a required uncontrolled standoff in the neighbourhood of 8 to 15 feet. Mount it well above head height and outside the room, and 40 feet becomes a comfortable margin rather than a calculation problem.
Do I have to file an RF exposure evaluation with the FCC?
No. There is no form to submit, no fee to pay, and no record requirement for amateur stations. What you do have is the attestation you already made when you applied for the licence under 47 CFR 97.13(c), which commits you to complying with the RF exposure rules. Keep your evaluation in your station log anyway, because that document is what ends a neighbour or HOA question.
When should I pay for a professional RF safety survey?
Hire a qualified RF safety professional when the geometry stops being yours to model: a rooftop antenna over an occupied building, a shared tower with other tenants and transmitters, co-located commercial equipment, or any situation involving a person you cannot move away from the field. Occupied-building rooftops and multi-tenant towers are exactly the cases where a home calculation and a home measurement both stop being defensible.
Conclusion
Start with two things: write down your antenna type, gain, height and maximum power at the antenna, then look up the uncontrolled general-population limit for your frequency in OET Bulletin 65. Run the ARRL RF Exposure Calculator with those inputs and compare the calculated minimum safe distance with the closest place a person can actually stand, measured with a tape rather than estimated.
If you are comfortably inside it, write the numbers in your station log and stop worrying. If you are not, move the antenna before you touch the power control. As of 2026, there is no exemption to fall back on and nothing to file with anyone — but the operators who do the half hour of work know exactly how much room their station has.